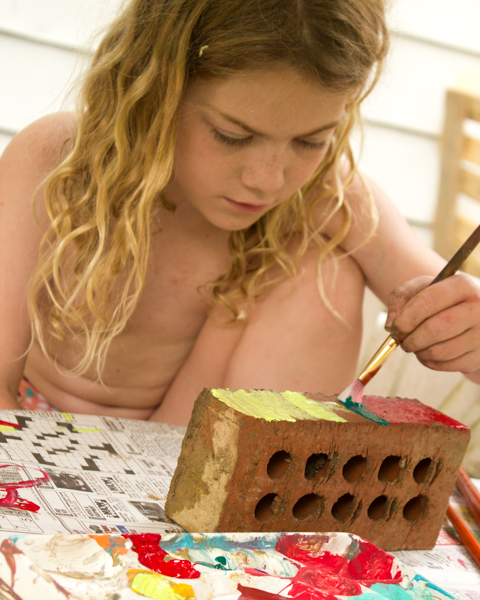
1. Choose your rock. In these photos, my girls are painting a rock and a brick, but we’ve also painted chunks of concrete before, when we came upon them and decided that they were just the right size for something or other. Big or small, rough or smooth, natural or man-made–any type of rock will work.
2. Prep the surface. Rocks are filthy, so grab some eco-friendly dish detergent, a scrub brush, and the garden hose, and head out to the driveway to scrub off all the dirt.
Let each rock air-dry completely.
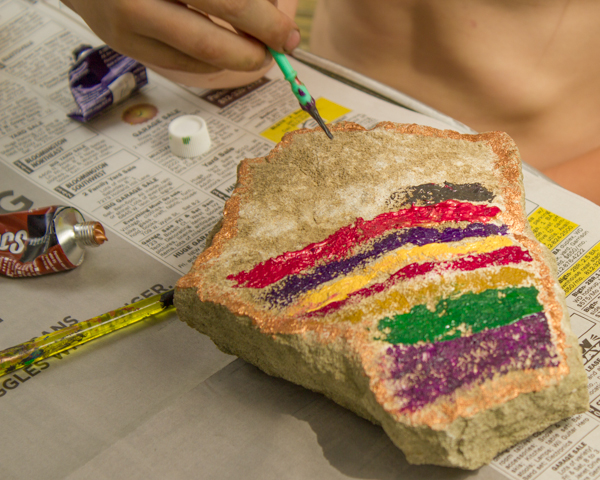
 3. Paint away! For this particular project, my kids are using artist’s acrylics
 for most of the time, but if they want to write something on the rock, I have them switch to craft acrylics
and I give them one of those cheap-o little paintbrushes with the horrible, stiff acrylic bristles. Those stiff-bristled brushes are a *little* easier to write with without making big, fat smudges of the letters.
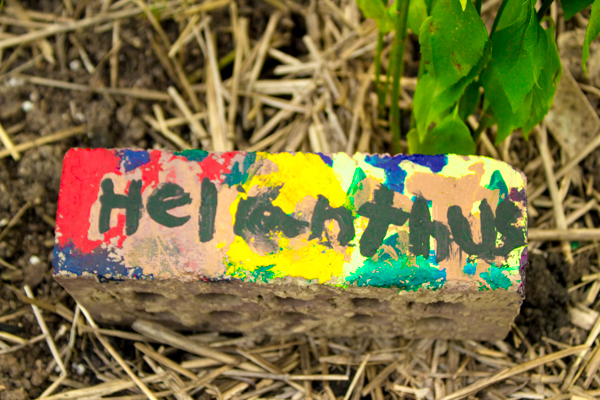
These rocks look really nice if they’re completely covered in paint, so I encourage my kiddos to take their time and paint them in sessions–first a background, then later a foreground image, then finally a label or caption, perhaps.
Let each layer of paint dry completely.
For more detailing, you can also draw on rocks with the right pen.
4. Seal the surface. When the paint is dried completely, I like to let it cure for an additional 24 hours or so, and then seal it. Sealing the surface isn’t completely necessary unless your rock will be outdoors, but it does keep the paint looking nice and protect it from chipping. You can seal the rock using several layers of Mod Podge, but I like to purchase half-used cans of outdoor-grade sealant from my local Habitat for Humanity ReStore. For just the odd craft project here and there, thrifting my materials and combating waste are really important to me.
After the sealant has cured according to package directions, the rock is ready to live wherever you’d like it to. Ours are currently serving as plant markers for the milkweed and perennial sunflowers, ready to welcome the monarchs that will be coming our way soon!