1. Measure your pillow, and do the math. Your pillowcase will have a French seam on two sides, and an envelope closure with an overlap of 6″ in the middle.
First, measure the width of your pillow, and add 1.5″ to this measurement for the French seams (each of my French seams is .75″; if your French seams are different, do the math accordingly), and 2″ for ease (this is my daughter’s pillow, so the pillowcase is a little roomy to make it easier for her to change her linens independently; if you prefer a snugger-fitting pillowcase, allow for less ease).
Now, measure the length of your pillow. Double this measurement, then add 2″ for ease, then add 6″ for the envelope overlap. If you use 60″ natural organic flannel or 110″ natural organic flannel, do not include any extra hem allowance to this measurement. You will use the selvage for the inner edge of the envelope, and homemade flannel bias (I’ll tell you about this in a minute) for the outer edge of the envelope.
Cut your organic flannel to this measurement.
2. Make and sew the flannel bias trim. Make homemade bias tape that is 4″ wide using your favorite flannel print, and use it to trim the cut short side of the organic flannel.

3. Assemble your pillowcase and pin. The beauty of French seams is that you can put together your pillowcase the right way out, so that you can get it just right.
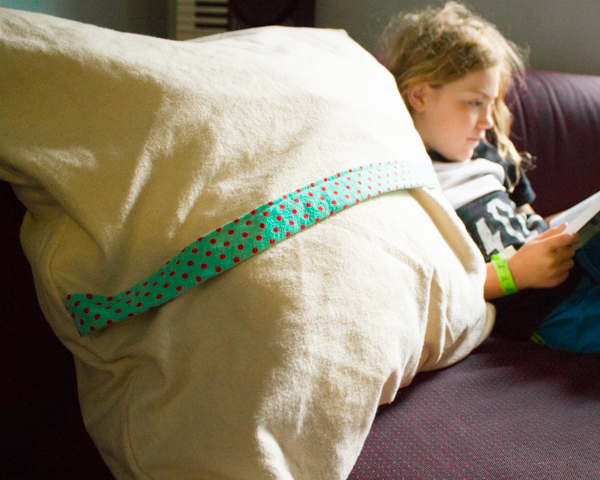
Center your fabric on your cutting table with the right side down, then fold the selvage edge down and over so that it comes 3″ past the center. Fold the bias edge down and over so that it also comes 3″ past the center going the other way.
Does it look right? Sure, it does! Pin both sides well.
4. Sew both sides using French seams. To make a French seam, I first sew my seam, right sides, out, with a 1/4″ seam. I then trim that seam to 1/8″, turn it inside out, and iron it (some people iron the seam to one side before turning–I iron after). I sew the seam again, now that the wrong sides are out, with a 1/2″ seam, enclosing the raw edge of the first seam.
To do this with the pillow, sew the first seam on both sides, then trim both sides, then turn inside out, iron both sides, and sew the second seam on both sides.
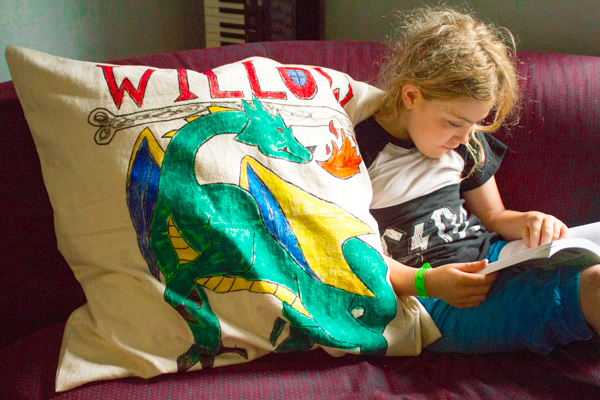
5. Embellish the pillowcase. To freehand a drawing on the natural flannel, first use pencil, which will show up against the cream-colored fabric. I had my partner use this method to draw our kiddo’s name and a dragon on the finished pillowcase.
Next, I put cardboard inside the pillowcase to keep any paint from bleeding through and traced the pencil using Jacquard Neopaque fabric paint and a small paintbrush, and I let it dry.
 When the paint was dry, I gave my kiddos Tee Juice markers
 and let them treat the drawing like a giant coloring page. The Tee Juice markers won’t make the fabric stiff like kid-applied Jacquard Neopaque fabric paint will, so it’s a better choice for a pillowcase.
After letting the paint dry, I ironed it to heat set it according to the package directions.
My kiddo LOVES her dragon pillow. The flannel is soft and comfy, it’s organic so it’s safe for little faces (if you’re concerned about the fabric paint, just have your kiddo turn her pillow to the blank side for sleeping), and it makes an EXCELLENT canvas for painting beloved imaginary creatures.
Next up? Well, a dragon pillow obviously needs a castle pillow to attack, right? And a knight pillow to save the castle! And a unicorn pillow for the knight to ride!
Organic Cotton Plus gave me the organic natural flannel for this project, because I can’t write about flannel if I haven’t let my kids mush their faces into it and tell me if it’s comfy!


That pillowcase is awesome! Great idea for a simple yet personal gift.
I really like how our entire family came together to make it for Willow. I’m hoping it’s something that she’ll always have!
Pingback: Feelgood Style | Sustainable fashion reporting, organic beauty tips, DIY projects + tutorials, + natural product reviews.