

Halloween decorations can be incredibly wasteful, but they don’t have to be! You could buy plastic decorations that you’ll probably only use once, but with a little crafty know-how, you can whip up your own custom decorations that are less wasteful and have a whole lot of heart. Karen showed you how to mummify glass candle holders and make paper luminary covers, and you can use reclaimed tin cans to make some light-up Halloween decorations, too!
My local co-op recently had a sale on big cans of beans. Not the regular 15 oz can, but those bigger 30+ oz cans, that are closer in size to a coffee tin. I knew they were going to be perfect for crafting, and they sat on my shelf, mocking me, for weeks. Well, mock no more, cans! I have a craft project for you!
This set of upcycled lanterns spells out “BOO” for Halloween, but you can really do any design you like. Have fun with it! Kids will dig this project, too. How cool would it be to hammer their spooky Halloween art onto a set of lanterns?
Materials
- 3 tin cans, cleaned and with the labels removed
- water
- freezer
- hammer and nail
- scrap paper – junk mail would work well for this
- markers
- 6 rubber bands
- 3 tea lights
Directions
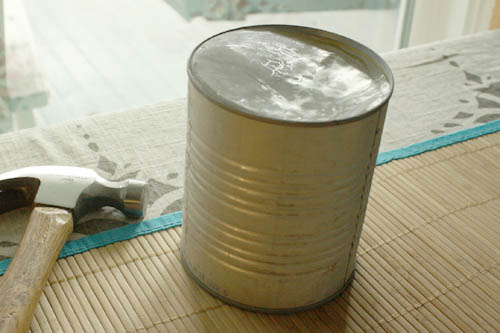
1. Fill your cans up with water, and stick them in the freezer. The ice inside will keep your cans from denting while you’re hammering them. They may need to freeze overnight, depending on the size of your cans, so plan ahead!
2. Meanwhile, sort out your artwork. Cut your paper to size, so the art will fit on your cans, then draw the design you want onto your scrap paper.
3. When your cans are completely frozen, pull out the first one, and use the rubber bands to attach the art to the cans.
4. Hammer away! It takes 3-5 whacks with the hammer to make each hole, so be patient as you work your way around. The idea here is to “trace” your design with somewhat equally-spaced holes. If things are a bit uneven, don’t sweat it!
5. Repeat with the other two cans.

6. Place the hammered cans into a bowl or bucket, so that you can collect the water when the ice melts. You can use it to water some plants, instead of letting it go to waste.
7. Place one tea light into each luminary, turn off the lights, and bask in the glow of your crafty creations!
Have you guys made any upcycled Halloween decorations? I’d love to hear about them in the comments!


