 Beeswax cut-outs take seconds to make, and can be used to decorate candles (even boring store-bought ones!), make candles of their own, or just hang out in your house and look pretty. Here’s how to craft them:
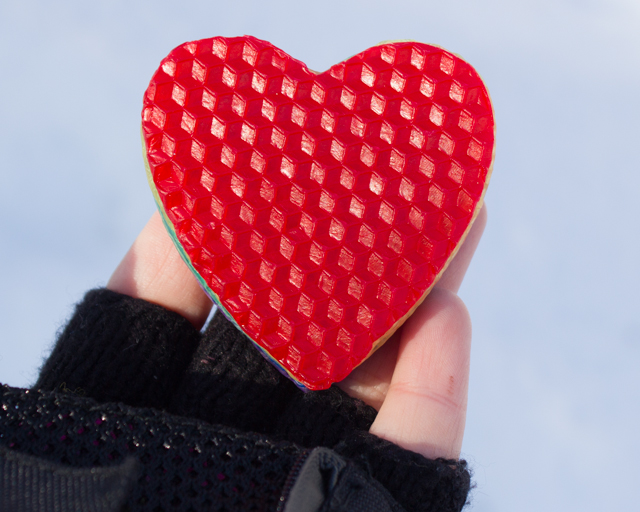
Start with a sheet of honeycomb beeswax. Lay it flat over a covered work surface, and press a shape into it with an ordinary cookie or clay cutter–I like to use cookie cutters for larger shapes, like hearts or stars, and the smaller clay cutters for letters and numbers.
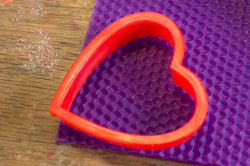
If you’re using a plastic cookie cutter, you should be able to press all the way through the beeswax by hand, but if you’re using a metal cookie cutter (especially a homemade one) that would hurt your hands if you pressed that firmly against it, you can also gently thump the cookie cutter with a mallet to push it through the beeswax.
There are a bunch of ways to use beeswax cut-outs in your crafting:
Next >>
- stacked candles: Press out an even number of cut-outs, and divide them into two stacks. Cut a wick to size and press it in between the two stacks, using a heat gun, if necessary.
-
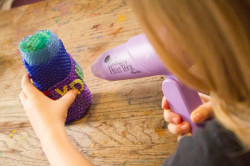
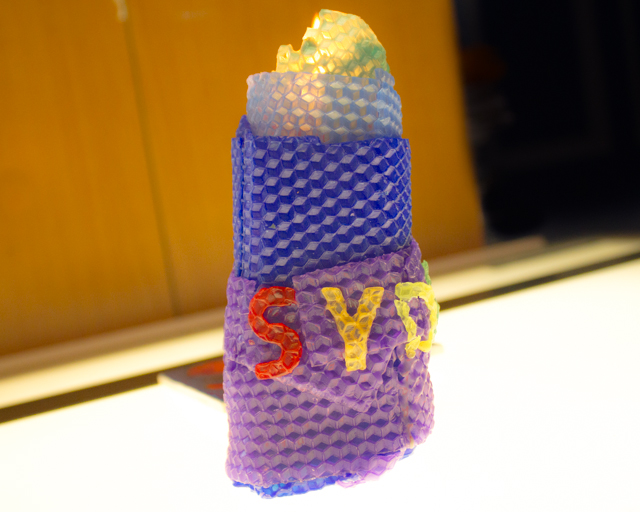
Sydney uses a heat gun to add her name in beeswax cut-outs to the candle that she made. decorative candles: Press beeswax cut-outs onto any candle, homemade or store-bought, using a heat gun to warm up the wax and make it easier to adhere the cut-outs, if necessary. This is an especially useful trick to use with candles for a party or other event, since you can easily embellish them with a name or number using the beeswax cut-outs.
- buntings: Beeswax cut-outs are thin but stiff; in terms of workability, they’re distant cousins to felt. Use a hole punch or awl to put holes into two sides of the beeswax cut-outs, then use twine, knotted between the cut-outs, to string them into a bunting.
- Christmas ornament: Punch a hole at the top of a single beeswax cut-out or a stack of cut-outs and tie a loop for hanging from the Christmas tree.
- luminaries: Beeswax cut-outs can also be pressed into upcycled Mason jar or oiled paper lanterns–you’ll probably need to make ample use of your heat gun (or a little hot glue) to adhere the wax, but it will be nicely translucent when the lantern is lit.
Beeswax cut-outs are a nice way to use up the scraps of wax sheets that tend to accumulate when you make your winter’s supply of candles. The biggest challenge in my house, and one that I don’t even attempt to take on, would be to convince my two kiddos that every single candle in our house does NOT need to be blinged out with a million cut-outs!