
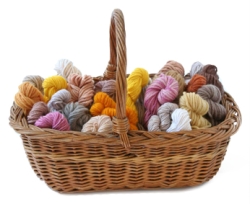
If you’re a fabric hoarder collector like me, then you completely understand that fabric is art.
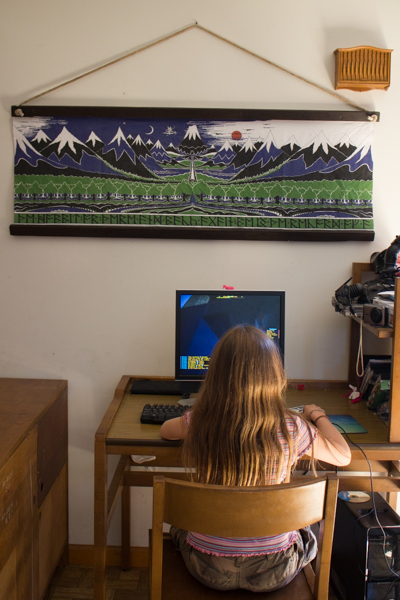
That being said, of course there are times when you want to showcase that beautiful fabric of yours not on a body, or even on a quilt, but instead displayed on the wall like the art that it is.
Making a fabric wall hanging is a little more complicated than just nailing a length of fabric to your wall (that wouldn’t work because the fabric would pull and warp), but it’s actually not much more complicated. The trick is to attach the fabric to something that you CAN nail to the wall.
Here’s how to make that fabric wall hanging happen!
You will need:
fabric. I’m using a panel that’s 20″x54″. It’s a print of The Hobbit’s book cover that I bought from Spoonflower, and it’s my current Most Favorite Thing. Ideally, your fabric panel will have a margin of at least 2″ at the top and bottom that you don’t love. If not, then sew a narrow strip of fabric at the top and bottom.
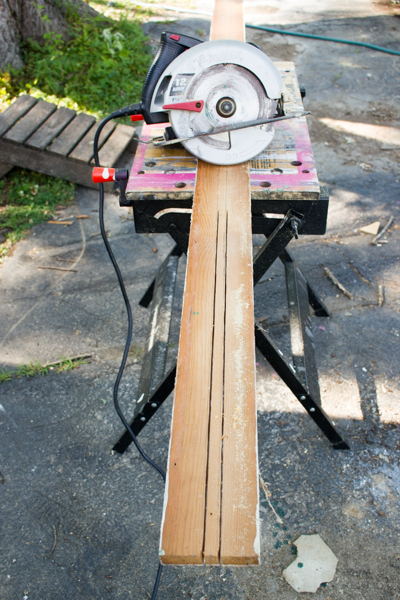
wood. You’ll need two thin boards, around 1″-2″ wide and each a little longer than the fabric panel. I’ve still got a bunch of boards in the garage from when I tore out the closet in the kids’ bedroom last year, so I cut one of those up for this project.
glue. You can use a variety of glue for this project, but hot glue is the least fussy.
1. Cut your panel to size. You need an extra 1″-2″ at the top and bottom of this panel where you’re going to attach it to the wood, but the sides of the panel can be cut flush to your pattern or hemmed to be so.
Take care to cut the top and bottom of your panel completely parallel; otherwise, your panel will hang wonky!
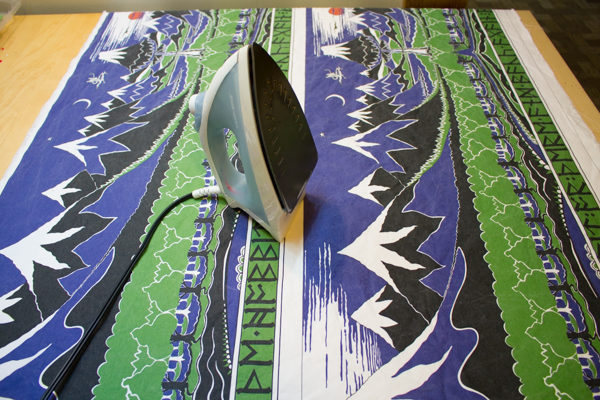
You can also starch the fabric at this step–here’s how to make homemade fabric starch.
2. Prepare the wood. Because I’m cutting down an old board for this project, I also needed to sand it and stain it. You can paint your boards in a custom color, as well, or leave them natural.
3. Attach a hanger. Choose the board that will be on top, then attach the hanging hardware to it. There are several ways to do this. You could nail on a picture hanger or wire, attach an old belt, or do as I’ve done and drill a hole at each end of the board. After the fabric is mounted to the board, thread a length of clothesline or paracord through each hole, back to front, and knot it in the front. At the back, hot glue the cord from the place where it emerges from the hole straight up to the top of the board–this will keep it from flipping the board sideways when you hang it.
4. Attach the fabric to the wood. This part is a little fiddly, because you want your panel to hang straight and even. Going in small sections, glue the top two inches of the top of the panel to the back of top board. Be careful not to stretch the fabric as you work, and take care to keep it level.
Repeat for the bottom of the fabric and the bottom board.
Your fabric wall hanging is going to look great wherever you put it, but when you’re tired of it, just cut it away from the boards and make it into something else!


This is so pretty! I’m jealous!