
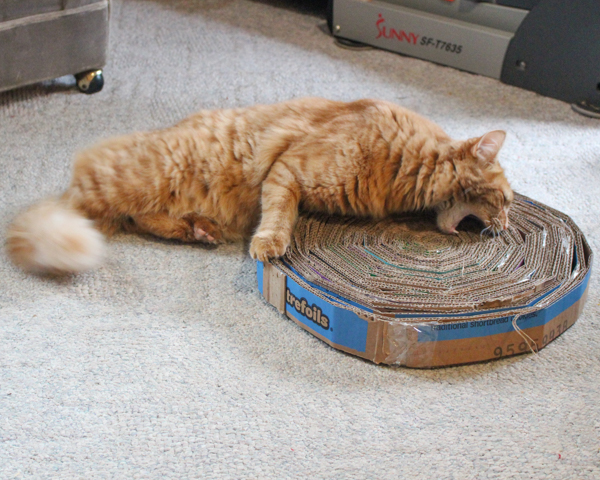
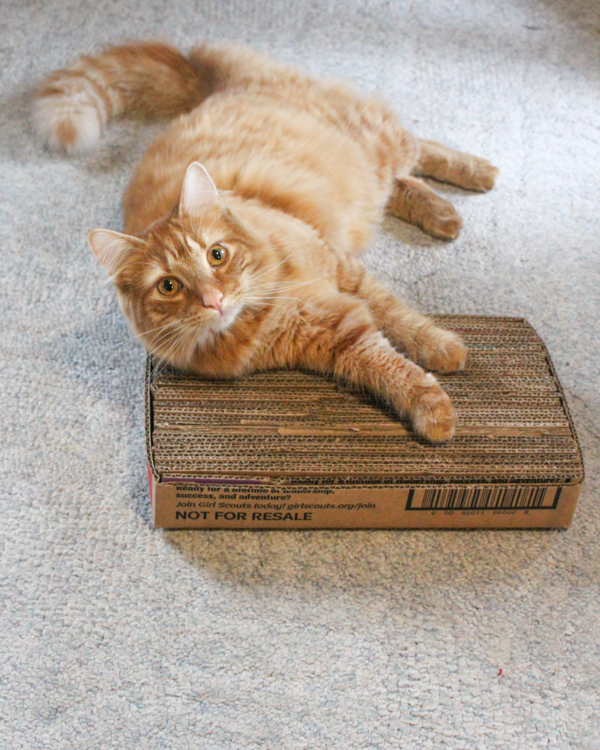
In case you’re wondering if your cat would use this corrugated cardboard cat scratcher instead of your chair legs, let me just tell you:
Our feral little murder-brat, the Marvelous Mr. Jones, LOVES his corrugated cardboard cat scratchers!
I mean, he also loves scratching my chair legs still, but to be fair, he IS a feral little murder-brat…
Corrugated cardboard, sliced and stacked edges out, has a texture that cats adore, and they really will use them, play with them, and sharpen their claws on them!
These corrugated cardboard cat scratchers also require little to no other supplies to make, and when your cat wears them out, you can pop them right into the recycling bin, so there’s no extra burden on the waste stream. Making them is a kid-friendly craft, especially for a group, and it’s easy to find an animal shelter or animal rescue to donate them to.
So gather those Girl Scout cookie cases or Amazon boxes, put a new blade in your x-acto knife, and let’s make a couple of cat scratchers!
Tools & Supplies
To make these corrugated cardboard cat scratchers, you will need:
Corrugated Cardboard
Upcycle this cardboard from any source, although shipping boxes are your most likely candidates. It HAS to be corrugated cardboard, though, so don’t cut up a bunch of cereal boxes and think that your floof is going to happily scritchy-scratch away on them.
Measuring and Cutting Supplies
For this project, I used a self-healing cutting mat, metal meter stick, and x-acto knife. You could hand-cut these, but you do want the strips to be identical in width.
Glue Or Tape (for the round cat scratcher)
Whether you use hot glue or clear packing tape here is a personal choice. Both can be easily removed from the cardboard before you recycle it.
Directions
1. For both cat scratchers, cut the cardboard into 2″ strips.
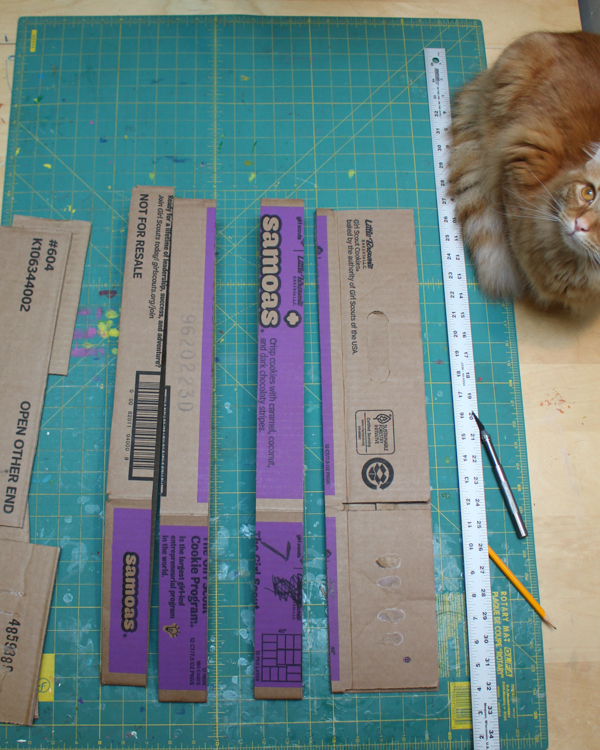
This is a great step to do in advance if you’re going to be working with kids or a club, as there’s little further cutting required and the 2″ strips can be used for either cat scratcher.
Round Cat Scratcher
2. Start rolling!
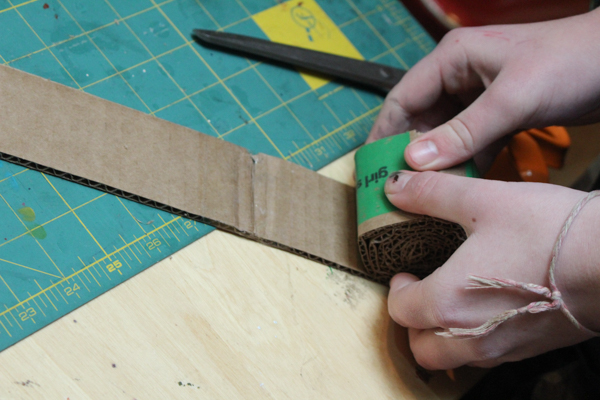
Choose one long strip, and begin to roll it up as tightly as you can. Roll evenly, so that the roll stays flat.
3. Add new strips when necessary.
When you reach the end of a strip, use hot glue or tape to attach a new strip, then continue rolling.
4. Attach the end piece to the roll.
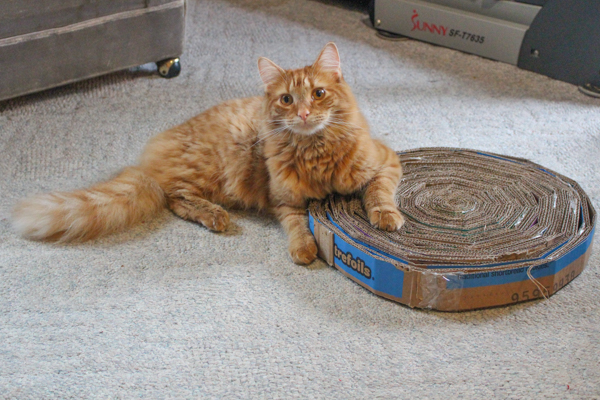
When the round cat scratcher is as wide as you want, use the hot glue or tape to attach the final strip securely to the base. Make this VERY secure, because if it comes loose, then so does the entire cat scratcher!
This is a great cat scratcher to make for a large or very active cat, because you can make it as big as you want. For that same reason, also consider choosing this cat scratcher if you’ve got a lot of cardboard to use up, as you can use as much of it as you need.
Box Bottom Cat Scratcher
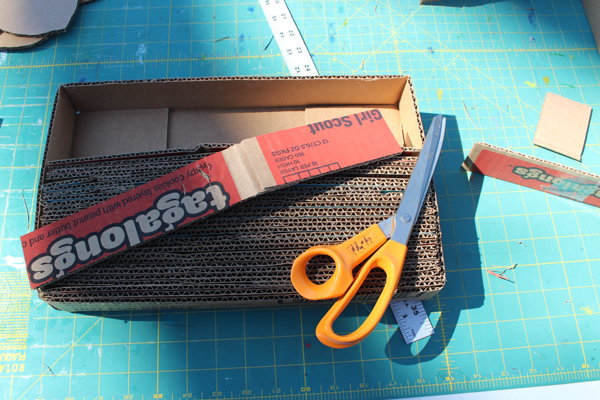
2. Cut the bottom off of a corrugated cardboard box.
Make the cuts 2″ from the bottom of the box, measured from the inside, so that what you’re left with consists of the box’s bottom with 2″ sides all around.
3. Measure and cut the cardboard strips.
Measure the 2″ cardboard strips so that they exactly match the inside length of the cardboard box, then cut the strips to size.
4. Fill the box bottom with cardboard strips.
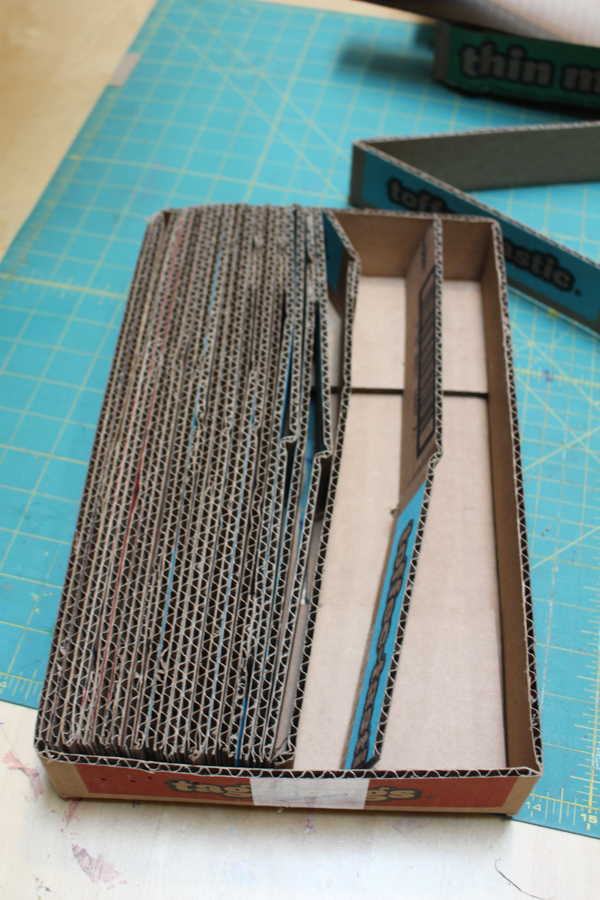
Stack the cardboard strips in the box, cut sides up. Continue until you’ve filled the entire box bottom with these cardboard strips, placed tightly until there’s no room for another strip.
This particular cat scratcher requires more effort to make than the round version, but I think it has the potential to look a little nicer, if that’s important to you. Because this version, unlike the round cat scratcher, has a bottom piece, you can also mount it to something by screwing the box bottom directly to a surface, then adding the corrugated cardboard strips. Velcro strips would also work well, and would allow you to replace the entire cat scratcher when necessary.
The con to this particular cat scratcher is that you will have some cut ends to toss in the recycling or compost as you trim the corrugated cardboard strips to size. If you’re looking for a truly no-waste cat scratcher, then make the round one and glue the strips together.
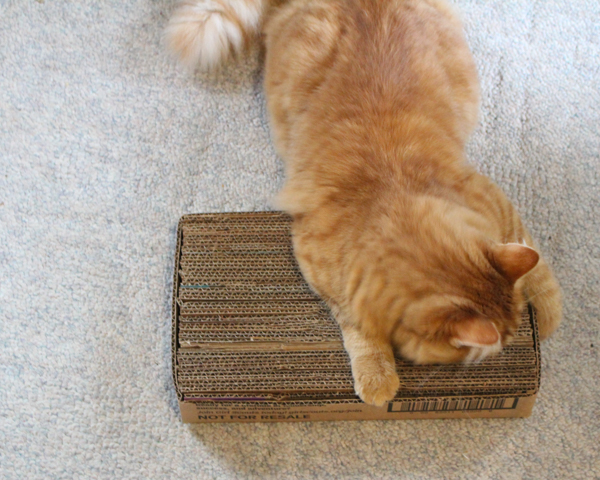
If your cat is reluctant, at first, to try out their new cat scratcher, sprinkle a little catnip into the spaces between the cardboard, or hide a small, favorite toy in between the strips for them to find. Some cats also really enjoy lying on this surface, so you might find that you’ve actually made your cat not a brand-new scratcher, but a brand-new bed!


If you happen to have a band saw in your shop, it cuts cardboard like going thru butter. Yes, it takes an extra step to mark the 2″ (or whatever size) strips, but once marked you can cut dozens in no time at all. If you are not familiar with band saw use, get someone experienced to show you how to use it SAFELY, first!
Bonjour,
Savoir, pour quoi faire des boîtes à des œufs vide.
Merci 😽
Bonne journée 😼
Your cat could be my cats twin down to the pattern of his fur and tail. You do know he is a Maine Coon mix? I adopted mine. Yours looks like he is still a kitten, Mine is about 5 yrs old. Just a heads up as he gets older he may develop “freckles” on his mouth and nose. I asked my vet about them and he said as long as they are not raised nodules they are freckles. The freckles will look like dark brown to black spots and they are common in orange cats. Thank you for the tutorials 🙂
I’ve made stacks of scratchers for years using a metal yardstick. I cut box board alternately ALMOST all the way through accordion-style (I know – a lot of flipping) then white glue between folds and let it dry in bar clamps. They favor the longer ones, 2-3 feet long.