That cross-stitch bookmark isn’t complete just because you’ve stitched your final “x.”
You’ve still got to cover the back and protect the edges and turn it from just another WIP to your brand-new finished product!
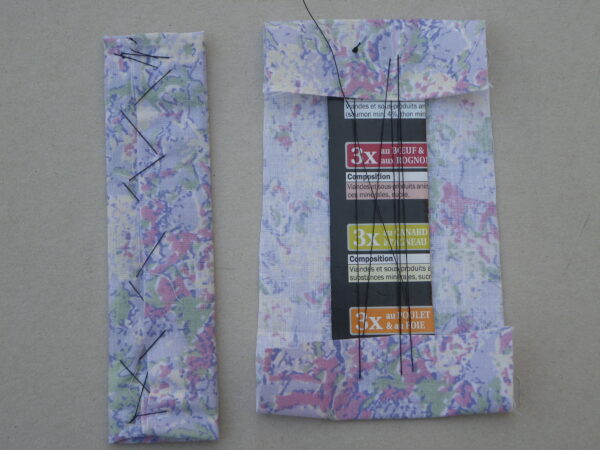
I’m actually not completely satisfied with the way that I finished my first few cross-stitch bookmarks, which is why I went on this internet scavenger hunt to suss out all the best methods to properly finish my future projects. I backed each of my first few bookmarks with wool felt, and that part I’m VERY happy with because wool felt is beautiful and feels wonderful to the touch. It’s stain- and fire-resistant, and although wool felt is not archival nor is it insect-proof (Curse you, wool moths!), that shouldn’t be an issue, because you shouldn’t be storing your bookmarks inside of your books for the long-term. Only acid-free materials should be stored in between book pages.
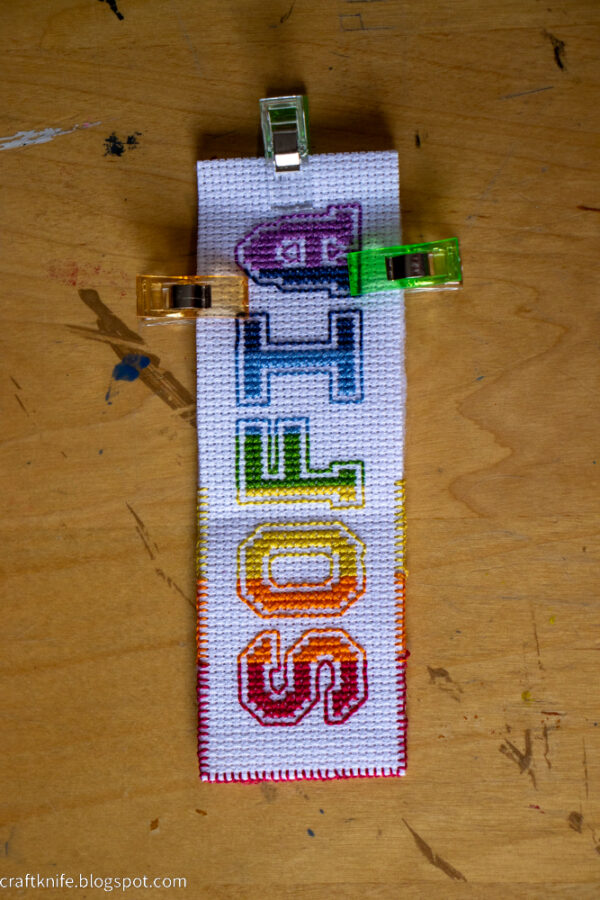
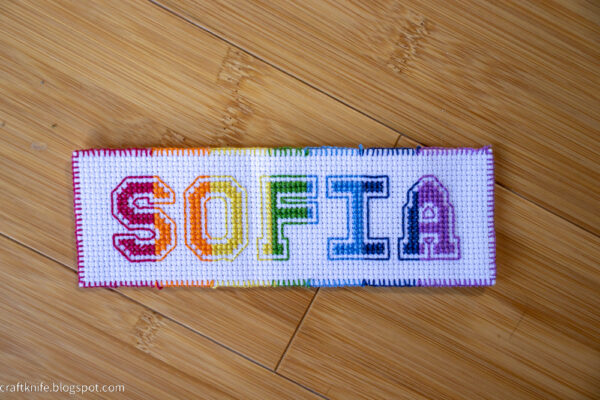
To bind the edges of my first few bookmarks, I chose to blanket stitch them using the same colors and weight of embroidery floss that I’d used for my stitching, and that’s the part I’m unhappy about. The stitching itself looks nice, and the Aida means that the spacing is nice and precise, but there wasn’t really anywhere to hide the knots. This was exacerbated by my choice to keep changing floss colors on one of the bookmarks, because there are SO many knots and they’re all I can see, grr.
Here, then, are some different methods to try when finishing a cross-stitch bookmark. Some are quick and easy and some are technical and fancy, but I think they’re all worth a try depending on the final look that you’re going for.
Bookmark Backed with Quilting Cotton
Okay, THIS is what I wish I’d done, and the finishing technique that I’m going to try on my next project (these mini unicorns from The8BitGeekery on etsy!). It requires just a few more rows of Aida per side, which is good because I’m stingy with my Aida, but when you fold it to the inside it gives you so much more fabric to work with around the edge, especially backed with quilting cotton that also has the edges folded to the inside. This tutorial also models blanket-stitching around the perimeter with regular thread, which knots more easily and, most important for me, hides its knots more easily.
Bookmark with Cardboard Interfacing
This is a cool idea if you prefer your bookmark to be stiff. Fold the backing fabric around a piece of cardboard of your preferred stiffness, then top it with the cross-stitched front of your project and bind it via your preferred method. It means that your bookmark won’t be washable, but who even thinks to wash a bookmark, anyway?
No-Sew Finish
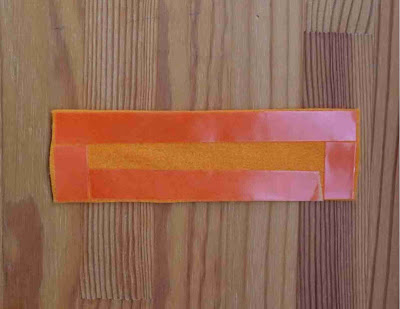
This super quick and easy method is even easier if you back your project with wool felt, which irons much better than polyester felt. Whatever you do, don’t melt your polyester felt! This tutorial uses iron-on adhesive tape, but double-sided interfacing would also work very well, and the different weights of interfacing allow you to customize the stiffness of your finished project.
Padded Bookmark
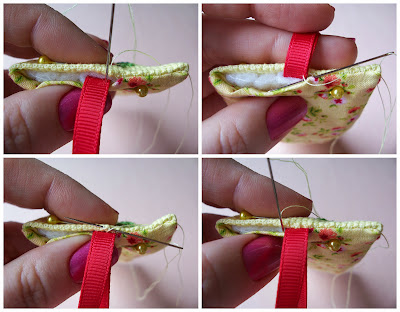
This is probably the most complicated finishing technique on this list, but the results are so pretty, and it’s a great way to use up those little scraps of batting! I like that you sew the front and back sides of the project together, then turn them, avoiding the issue of visible edge stitching, and the knots thereof, entirely. Depending on the stiffness of your Aida, this may or may not be easy, but you can soften up Aida by soaking it in water.
Corner Bookmark
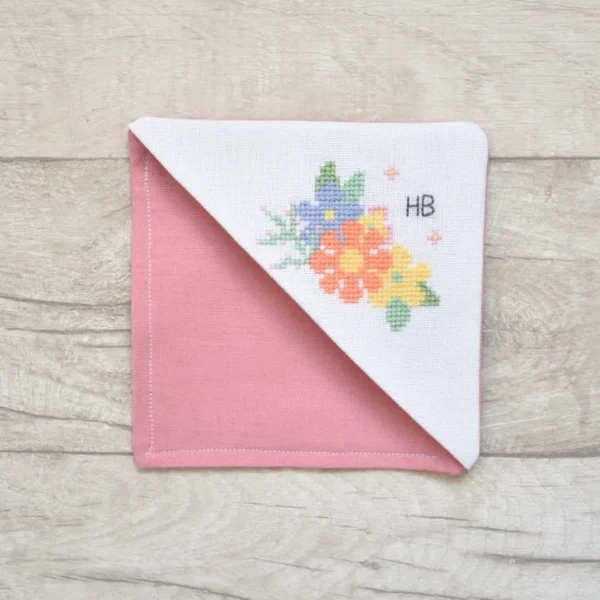
If you’re making a corner bookmark, this is such a pretty method for finishing it! I love that the backing fabric is super visible, and as such has its own opportunity to show off how pretty it is. You could make the stitching on it disappear by matching the thread to the fabric–when that’s impossible, go a little darker with the thread than the fabric and it’ll still be pretty inconspicuous.
Fringed Top and Bottom
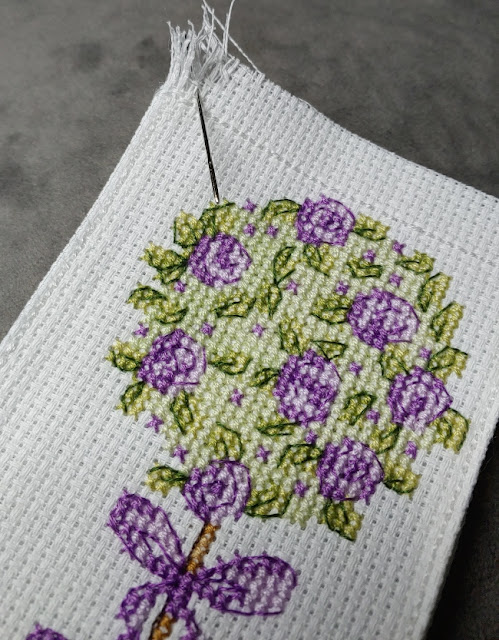
I LOVE this fringed look, which you can create with any of these finishing techniques. Instead of folding the top and bottom of the Aida to the inside, pull out threads to create this beautiful fringe, then stitch it to the backing to secure it. If you’re feeling extra fancy, you can create this fringe all the way around, like I did with my bookmark stitched onto burlap, below.

P.S. Do YOU have a favorite way to finish a cross-stitch bookmark? Let us know about it in the Comments!