
Denim quilts are about the warmest, snuggliest quilts you’ll ever nap under. They’re comfortingly heavy like those weighted blankets that people love–so heavy, in fact, that you’ll find you can skip the batting altogether when you’re making a denim quilt!
Denim quilts also tend to be super soft, since they’re most often made from well-loved and well-worn blue jeans. They tend towards all cotton, so that’s a plus for those of us who prefer natural fabrics. And if you put it out into the world that you’d like to have some old jeans to craft with, old jeans WILL come to you–I have relatives I don’t even remember who call every now and then to ask me if I want their old jeans! What an awesome way to save on new material AND save some great aunty once-removed from tossing her ripped jeans in the dumpster!
You can make some marvelous quilt creations from this upcycled denim, but my favorite type of denim quilt is also the easiest: a strip quilt is super quick to create, and when you sew it entirely from upcycled denim, you can achieve a really cool ombre effect.
Supplies & Tools
To make your own strip quilt out of upcycled denim, you will need:
- Blue jeans. Using a random collection of gifted jeans will generally result in a good variety of blue tones, perfect for making an ombre quilt. I tend to break down my jeans for crafting and storage, and for this project, I use just the jeans’ legs. Save those back pockets, zippers, and bulky seams for other projects!
- Cutting/measuring supplies. You’ll want a self-healing cutting mat, a meter stick, chalk, and scissors or a rotary cutter.
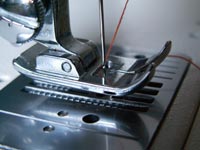
- Sewing machine with jeans needle. My sewing machine does NOT love sewing denim. One thing that I do to make it easier on my machinery is install a sharp jeans/denim sewing needle, one designed specifically for helping home sewing machines muscle through all that thick cotton.
- Flannel fabric matching your quilt top’s dimensions. To keep this quilt quick and easy and not too hard on my poor old sewing machine, I am NOT binding it–gasp, I know! This means that the backing fabric just needs to match the dimensions of the quilt top.
Directions
1. Do the Math
To make your own quilt top, you first have to make some decisions:
- What size do you want your quilt to be? I, for instance, am sewing two quilts that will match the dimensions of a Twin XL mattress, and one quilt that will match the dimensions of a king mattress.
- What seam allowance do you want to use? I’m using 1/2.”
- What width do you want your strips to be? They can be any width, as long as it’s uniform.
- Add double the seam allowance to your strip width to find the total width that you should cut each denim strip.
2. Cut the Denim Strips
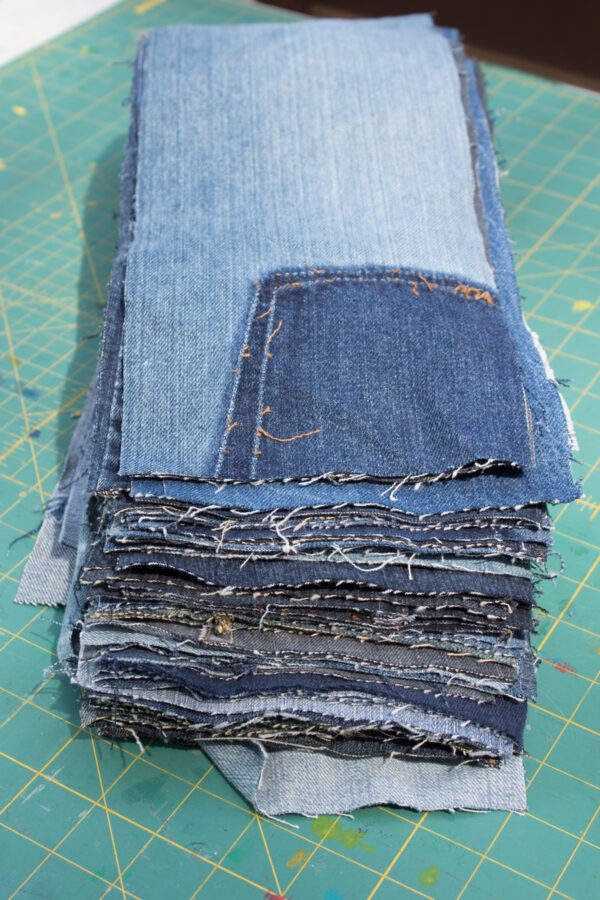
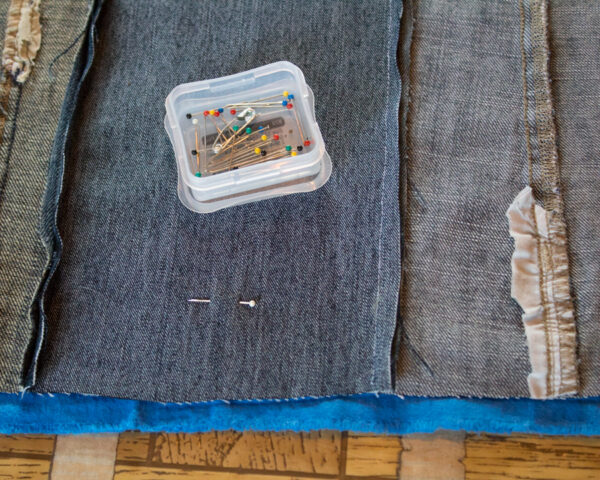
As long as your strips are the same width, each one can be a different length–in fact, it adds to the fun of making a strip quilt to have a lot of strips of different lengths! You can also decide if you want to cut your strips so as to avoid worn knees or holes, or if you want to keep them. I’m cutting out grass stains and giant rips, but I’m actually keeping a few worn spots in my denim strips. It’s not hard to tack a small hole so that it doesn’t continue to unravel, and it adds character to the quilt.
3. Begin Piecing the Quilt’s Rows
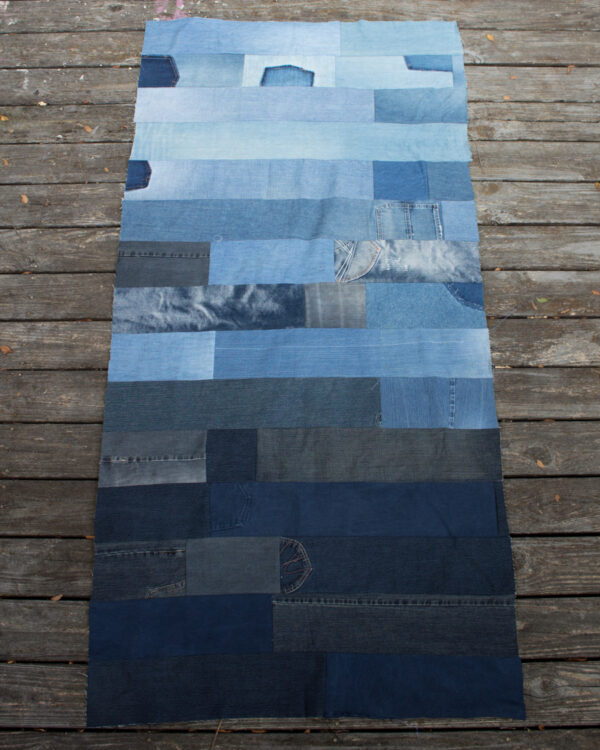
Because I want an ombre quilt, I first arranged my denim strips into light, medium, and dark piles, each of which will take up an approximate third of the quilt. You can arrange your tones anyway you like, or make it random!
Sew denim strips together at the short sides until their length matches the desired width of your quilt, ironing each seam open. Piece together another row out of strips, then sew the two rows together, again ironing the seam open. You can continue to sew each row onto the quilt as you make it, or sew all of your rows individually before piecing them into the quilt top.
My sewing machines hates sewing thick fabrics and therefore sometimes feeds unevenly, so I also have a little trick: I cut each of my denim rows too long. I line them up carefully at one side, but I don’t bother to trim the other side until my quilt top is finished. At that point, I can trim it to size and it looks as if I had everything matched perfectly from the beginning!
4. Pin the Quilt Top to the Backing
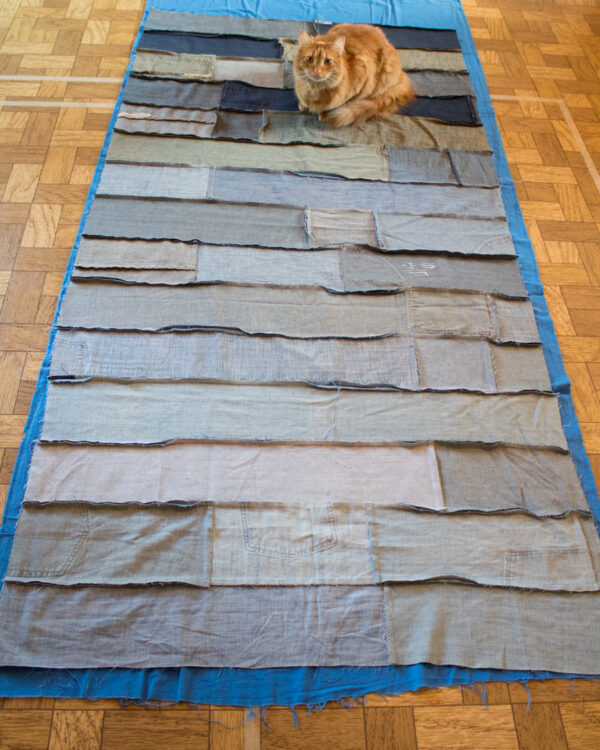
Iron the quilt top and the backing fabric. Lay the backing fabric right side up, then place the quilt top, right side down, on top of it.
If you have trouble keeping the backing fabric taut and smooth while adjusting the quilt top, consider that I sometimes will literally tape the backing fabric to my floor with masking tape while I’m working with it.
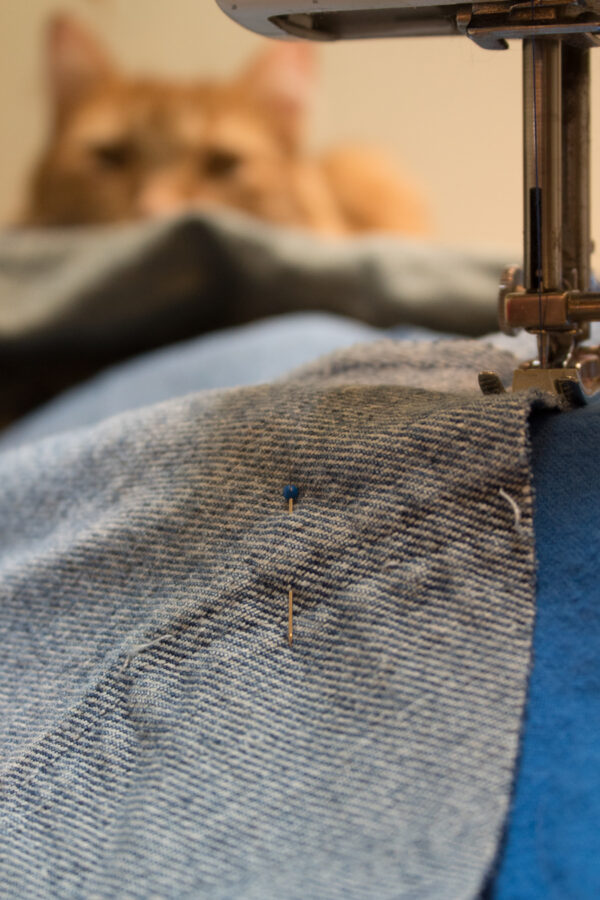
It does not help when the cat decides that the quilt top is his personal playscape and takes a running dive at it with his claws out, but it helps in other, non-cat scenarios.
5. Sew the Quilt Top to the Backing
Use a 1/2″ seam allowance to sew around the perimeter of the quilt, leaving an opening in one short side, about a third of its length, unsewn.
Turn the quilt right side out through the opening (this is also known as binding a quilt “pillowcase style”), then iron the seams to set them. Fold the raw edges of the opening to the inside, and iron to crease them.
6. Edgestitch and Tie Your Quilt
You don’t have to edgestitch around your entire quilt, but you do need to edgestitch that opening closed, and so if your sewing machine can possibly stand it, it does look nice to edgestitch it all the way around.
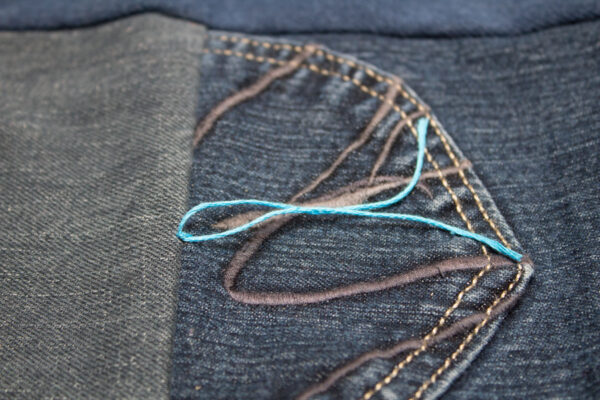
Technically, we’re not making a quilt but a tied blanket here, since instead of quilting it, you’re going to use embroidery floss to knot together the quilt top and backing at intervals. Here’s the detailed tutorial for how to tie a quilt.
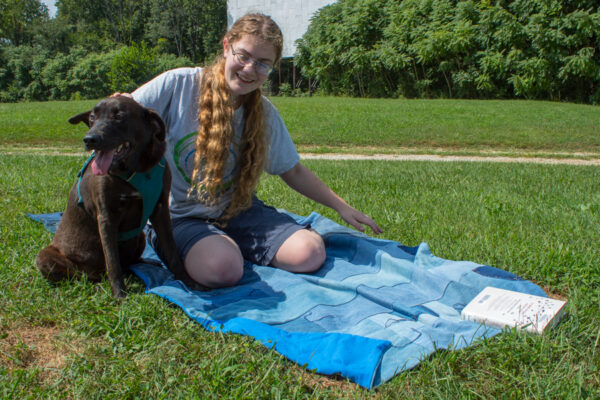
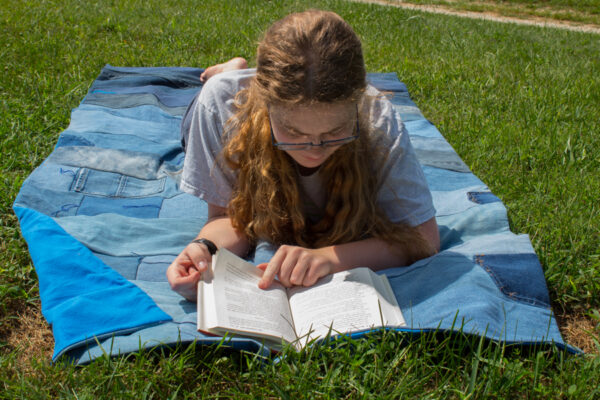
What you’ve got now is a very warm, very soft, VERY heavy denim and flannel quilt. Whether its made from your partner’s (or your great aunty’s!) beloved jeans, or simply old jeans that you’ve scored from the thrift store, it’s gone from trash to an heirloom, thanks to you!
Now go throw it down in some quiet field tonight, and lie on it and look at the stars. You deserve it!


I want to include pockets but they’re sewn on caddywampus to the grain of the fabric. Do I line up the grain and have the pocket crooked or line up the pocket and have the grain crooked? I’m a bit OCD and this dilemma is driving me crazy!!
I think the pocket alignment is what would be noticeable to most people, and even though you notice the grain, I bet the pocket alignment is going to be more noticeable to you, too. Unless the pockets are caddywampus in all fun and cute ways that will look intentional and charming on the quilt, I’d probably go for lining them up and letting the grain do what the grain does. But that being said, the most important person to please with the quilt is YOU!
Could you use a flannel sheet for the back instead of new flannel fabric or is a sheet too thin? Should I add batting if I go with a sheet?
Honestly, denim is SO warm and heavy that you really want to go as thin as possible for your backing fabric, lest you consign your lovely quilt to a fate of forever being kicked off the bed in the middle of the night. I think a sheet is PERFECT for this! Flannel, too, goes exceptionally well with denim, so I think it’s a match made in heaven.
A lot of cheap flannel says flammable nowadays so you need to be aware.
Finally took the time to cut up all my jeans. Now I’m scrolling pinterest for ideas what to do with it. I love your quilt. Fast and easy. Thank you for you post.
Using 1/2 seam allowance is a good idea ! I recently made a denim quilt using recommended 1/4 in and after a few washings, I have seams fraying apart. I should have known better because, of course, fraying is one of the things jeans are famous for 😄
I made a log cabin quilt out of wide denim strip. One big square. 1“ seams. And them cut them like a rag quilt. After washing, the seams looked like little ruffles. No backing. It turned out great
I LOVE that idea! Denim is pretty when it frays!
I made my grandson a denim quilt and backed it in flannel with his favorite sports team. The Kansas City Chiefs in red. No middle warm cotton. It was heavy enough. He loved it. Try it.
I have many blue Jean quilts too. My oldest, 37 still just loves them. And is always saving his jeans for more! They also make great picnic blankets, as loose grass or sand brush off easily.