Do you have a lot of little bits and bobs that like to clutter up some particular surface in your home?
A lip balm, three different remote controls, matchbook, and erasable pen that all want to live on the exact same 12″x18″ surface of your nightstand, say?
Here’s a little pro tip for you: toss all that nonsense in a nice tray, and it’s no longer clutter. Because it’s CONTAINED!
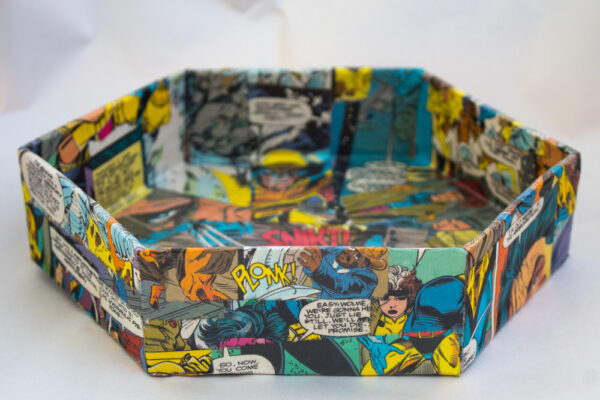
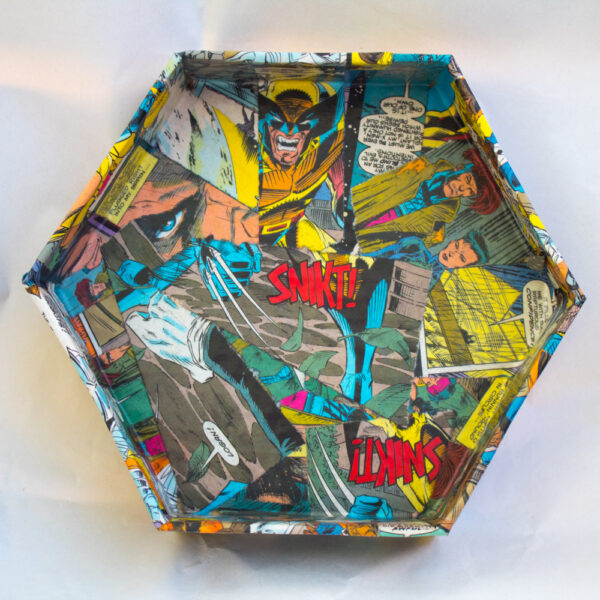
Bonus points if the tray is handmade, and double bonus points if it’s handmade from upcycled materials! Tidying up is MUCH more fun if Wolverine is helping!
These decoupaged cardboard trays are some of my favorite things to make. Other than the glue, all the supplies come from the recycling bin, but you’d never know it because these trays are as cute as they’re handy. The decoupaged paper makes them surprisingly sturdy, and I LOVE being able to embellish them exactly the way I like. You do have to wait for stuff to dry a few different times, but the actual hands-on time for this project is also quite low, making it easy to make multiples or to spend a little extra time to make one crazy-elaborate, fancily perfect tray.
Supplies & Tools
Here’s what YOU need to make your own decoupaged cardboard tray!
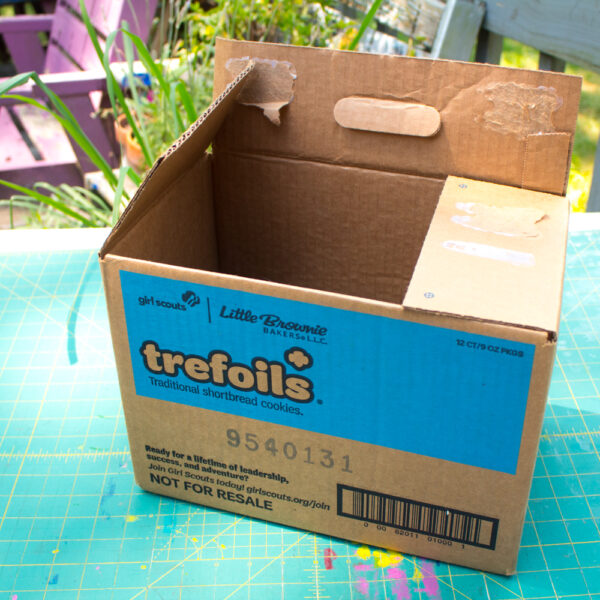
- Corrugated cardboard. Look for pieces that are clean and uncreased. I use Girl Scout cookie cases for EVERYTHING, so that’s what’s going on here, but I’ve also spent my pandemic staycation being kind of grossly consumerist, so I can also tell you that Zappos and Amazon boxes work well, too.
- Cutting and measuring tools. I use a self-healing cutting mat, metal ruler, x-acto knife, and scissors.
- Hot glue. I’ve just realized that the hot glue gun I’ve used for my entire adult life is a low-temp version. What magic can one do with a high-temp glue gun?!?
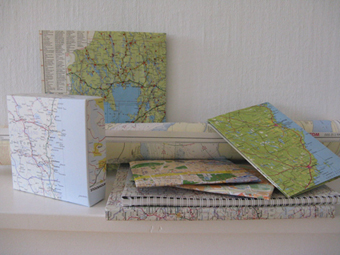
- Papers for decoupage. You can decoupage nearly any paper, although for this project since we’re partly relying on the paper to add to the tray’s strength, you’ll want to avoid tissue paper, napkins, or paper products of similar weight.
- White glue. I use Mod Podge or Elmer’s with a little water mixed in.
- Polyurethane sealant. Look for a water-based, clear sealant
Directions
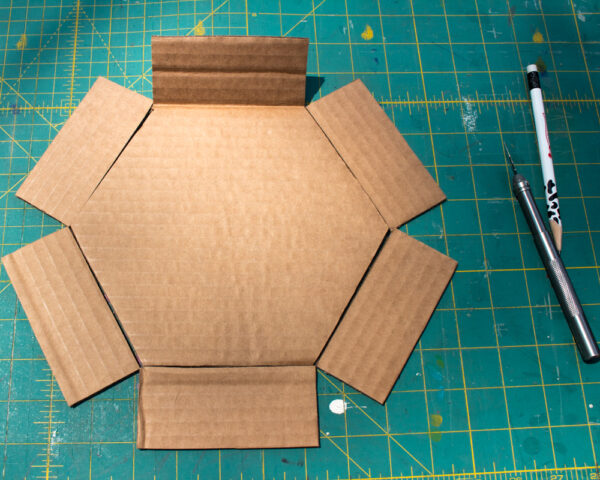
1. Cut Your Pieces from Corrugated Cardboard
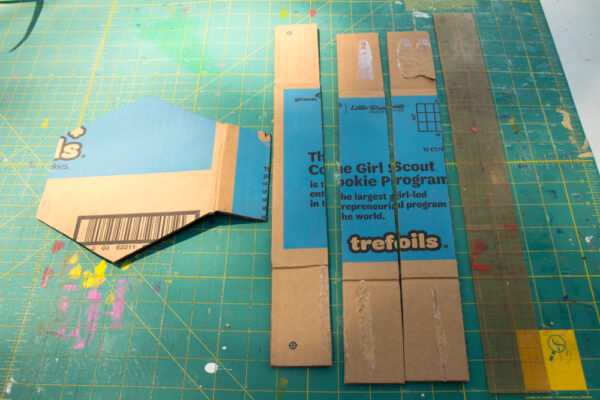
One of the coolest things about these trays is that you can make them just about any shape, but I’m being kind of lame here and making a simple hexagon-shaped tray, with a 2″ rim.
Cut your rim pieces to the height that you want the rim to be, but don’t bother trying to cut their lengths to match the tray bottom yet; I’ll show you a neat trick for that in a minute!
If you can cheat like I did, though, and use the natural bend in a cardboard box to cut your tray’s bottom with a side already attached, go for it!
2. Cut the Rim Pieces to Size
This is SUPER easy to do. Just line up the piece against the side, mark the cutting line, and cut it!
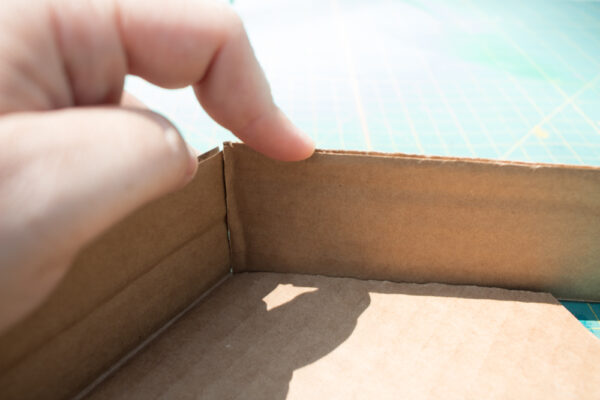
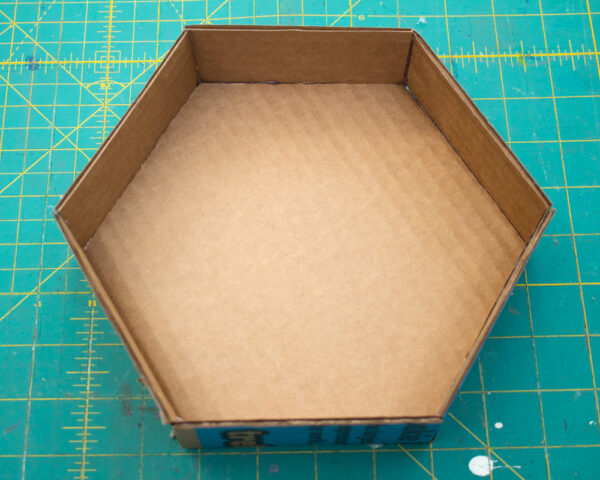
3. Hot Glue All the Sides to the Tray Bottom
Corrugated cardboard lives for hot glue, so this is also an easy step. Your hot glue will adhere best if you have the patience to let the glue gun get nice and hot, and if you hold the pieces together for a few seconds after you glue them.
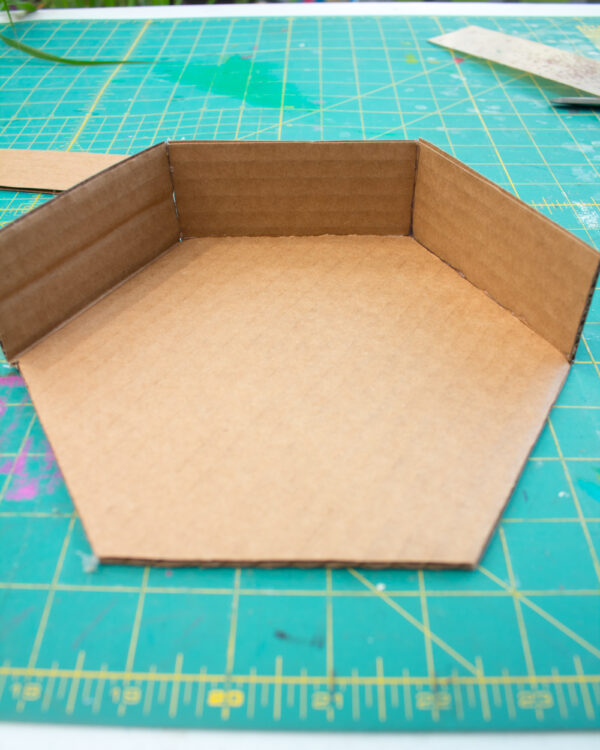
Don’t worry if you’ve got a few see-through cracks at the joins, because the decoupage will cover that completely!
4. Decoupage the Tray
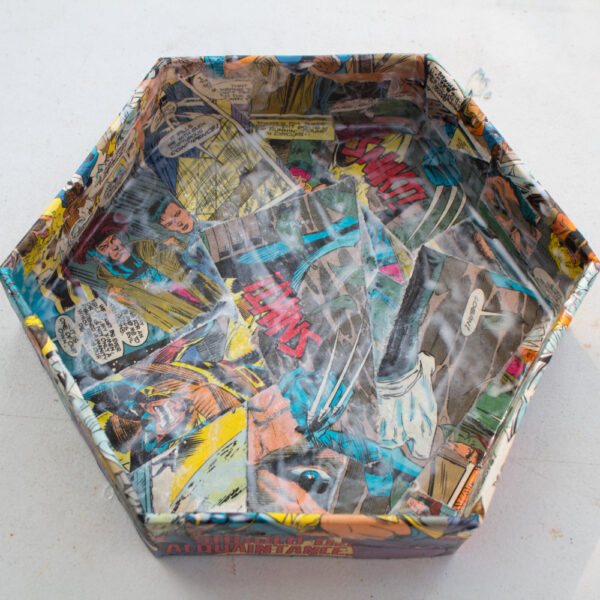
This project works best when you cover the cardboard tray completely in glue, then paper, then glue. The easiest way to do this is to treat it like papier-mache; I dip each piece in white glue, squeegee it off with my fingers, apply it to the tray and smooth it down, and repeat with a new piece of paper.
It’s not a tidy activity, so make sure you don’t have too many closed doors between you and the nearest sink!
No matter which kind of white glue you used, let the entire tray cure for at least 24 hours before you seal it. It sucks to wait, but you want that tray to be bone dry!
5. Seal the Tray
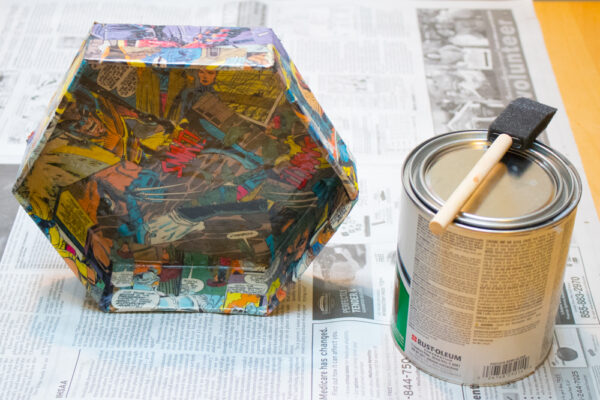
Coat the entire tray in 4-5 layers of clear, water-based, polyurethane sealant. I don’t generally recommend polyurethane sealant for, say, a solely decorative project, but you’re going to get a lot of use out of this tray, and you want it to last.
Again, let the tray cure for at least 24 hours after its final coat before you start tossing all your clutter into it.
I think this cardboard decoupaged tray is an easy way to neaten up any surface in your home. And if you have too much clutter for one tray to hold…
…stack another tray on top of it!
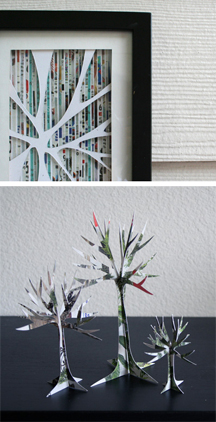
P.S. Like this super simple way to make stuff out of corrugated cardboard? Here’s even more stuff you can make!