What to wear to a 1970s-themed costume party?
Bell bottoms, of course!
Bell bottoms are a simple DIY, when made from an existing pair of well-fitting pants and some scrap fabric. This project does require some careful measuring, a bit of geometry, and precise sewing. Fortunately, none of that is hard… just a little painstaking, perhaps.
And you’ll be glad that you measured and sewed so carefully when you see how beautifully your bell bottoms turn out!
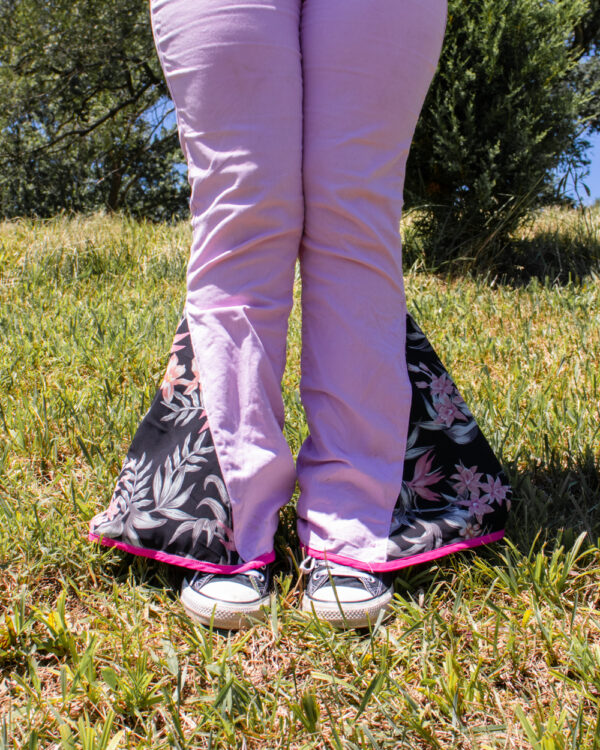
This tutorial results in a pair of bell bottoms with a medium amount of flare. This means that they’re legit bell bottoms, but not clownishly over-large. Not only will you fit right in at your 1970s party, but you could absolutely pull these off anytime you want to look cute.
And here’s what you need to make your own pair!
- well-fitting pants. These can be as old and patched as they need to be. They should, however, fit well and be the correct length.
- seam ripper. Get a sturdy one to rip through all those serged seams!
- measuring and cutting tools. You’ll want all the usual suspects, as well as a drafting square.
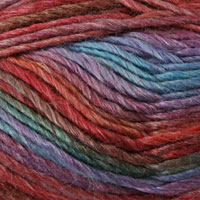
- scrap fabric. If the fabric you like isn’t as heavy as your pants fabric, also choose a heavier piece of scrap for a backing fabric.
- sewing supplies. A sharp or denim needle will help you sew through this thick material.
- bias tape (optional). You don’t need it, but I LOVE finishing a seam with bias tape instead of turning and hemming.
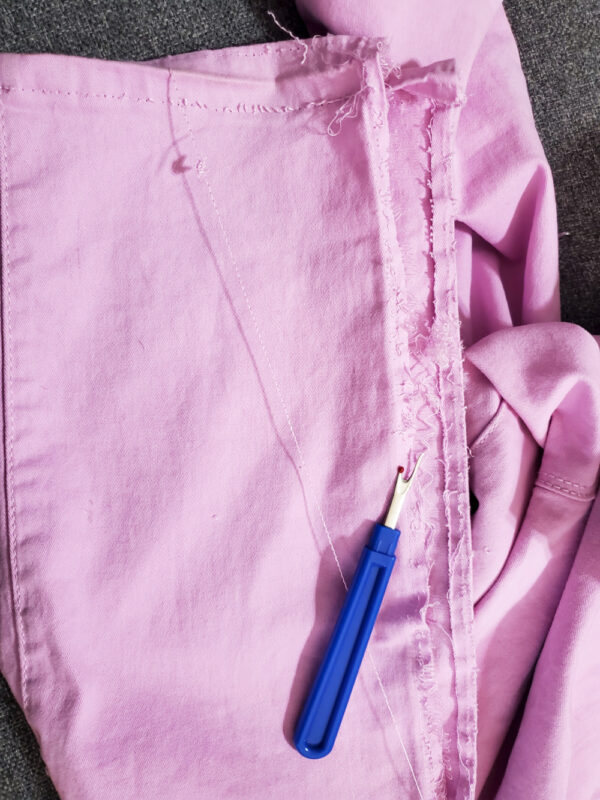
Step 1: Seam rip your pants.

Bell bottoms need to be a bit longer than regular pants. After all, part of the fun of bell bottoms is that they sweep the floor! To easily add this extra length, seam rip both pants cuffs and uncuff them
Note: depending on the fabric of your pants, those original stitching holes may or may not heal. They’ve never stayed visible when I’ve uncuffed 100% cotton pants, but they remained open on this particular pair of pants in these photos. The pants are thrifted and the tag is long gone, but I’m sure they’re heavily synthetic, as they’ve got a significant amount of stretch. Regardless, the holes aren’t noticeable on the finished garment. Seriously, who is going to put their face right up to the cuff of your pants to comment on the stitching holes?
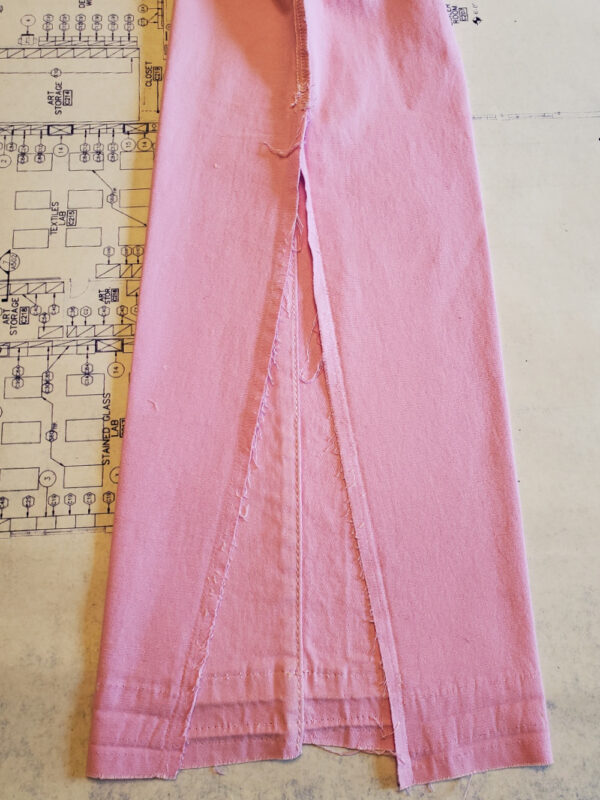
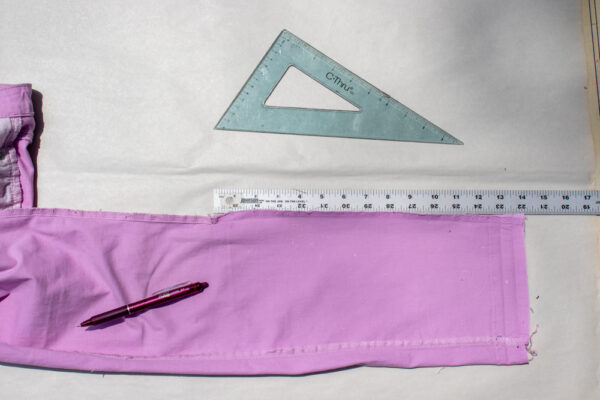
Measure the circumference of your pants cuff. Seam rip that same length up the outside seam of each pants leg. Pin where you stop seam ripping, so the pants don’t come further apart.
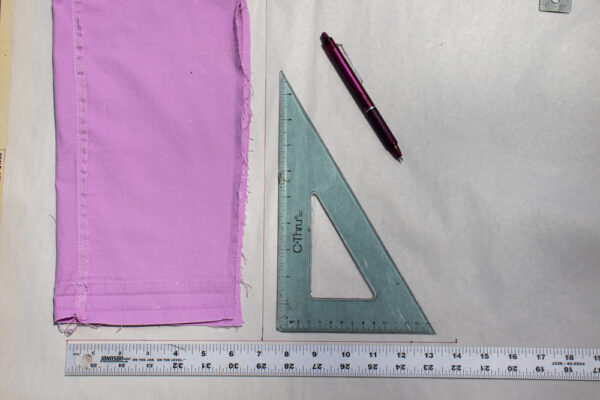
Step 2: Measure and cut the triangle insert template.
An equilateral triangle whose sides match the original cuff circumference is simple to measure and sew, and it always looks proportional to the pants.
That amount that you seam ripped up the outside of your pants legs–in these photos, 14″–will also be the measurement of each side of your equilateral triangle.
To make this triangle template, measure out that length and mark the center point. Use a drafting square to draw a perfectly perpendicular line from the center point. Make the line nice and long!
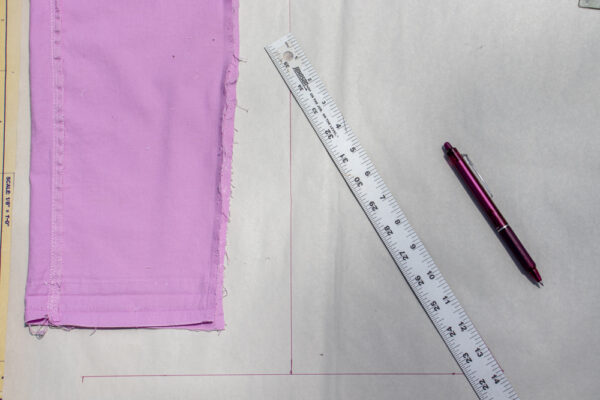
Use a ruler to measure out the equal sides by putting one end of the measurement against the center line and the other end against the original line. Draw that line on each side, and each side of your triangle will be equal!
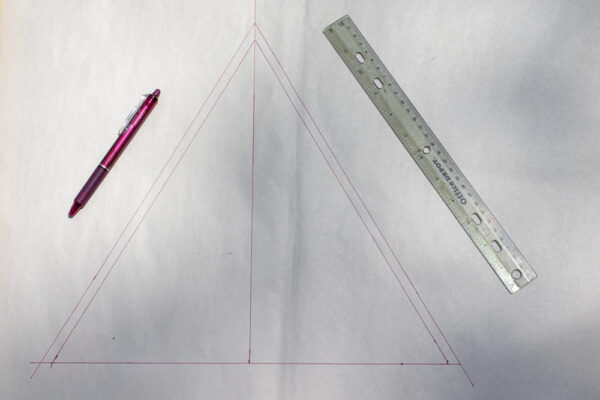
Use a ruler to measure out a .25″ seam allowance on two sides of the triangle. Cut out your finished template.
Step 3: Measure and cut the triangle inserts.
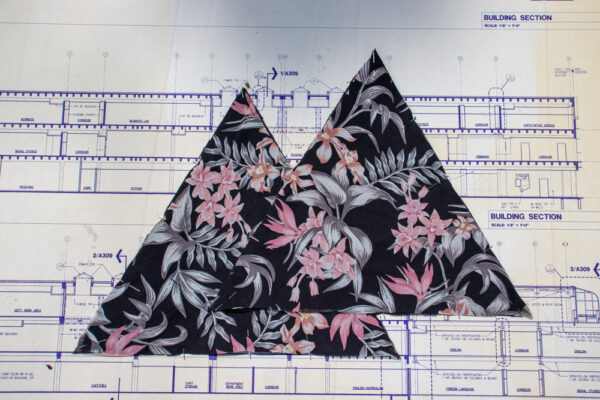
Use the template to measure and cut two inserts. If you choose a light fabric, as I did with the above print, you’ll need to back the inserts with a heavier fabric that matches more closely the fabric weight of the pants. Otherwise, the flare won’t hang evenly.
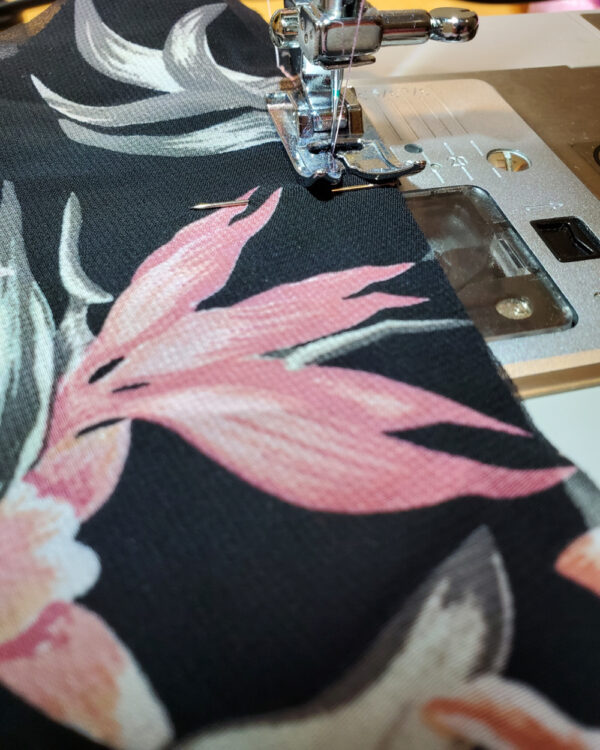
I backed this thin fabric with some scrap black denim. I cut the denim to size, then sewed it, wrong sides together, to the light fabric, stitching around all sides with a scant .25″ seam allowance.
Step 4: Pin the triangle inserts to the pants.
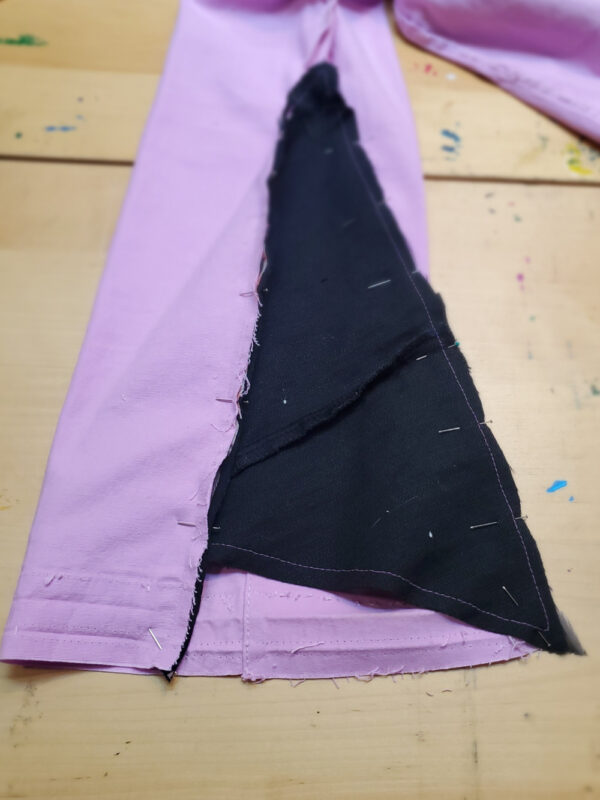
With right sides facing, pin the two sides of the triangle insert that have the seam allowance to the raw edges of the seam-ripped pants legs. Mark about 1″ from the top of the triangle on both sides of the insert.

Starting at that 1″ mark, sew the triangle insert to the pants by stitching a straight line from the mark to the cuff on each side.
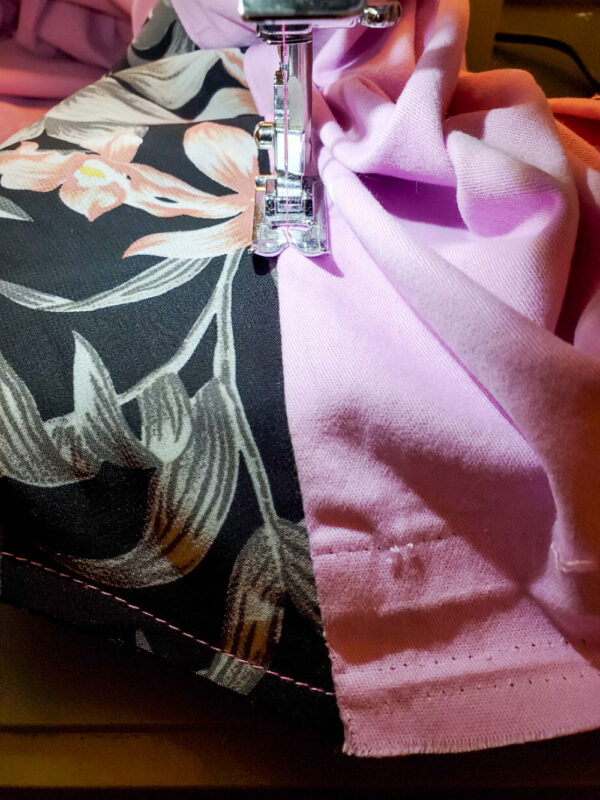
Turn the pants leg right side out. Smooth the seams so that they’re towards the pants leg and top stitch, catching that top corner of the insert as you sew.
Step 5: Cuff the pants.
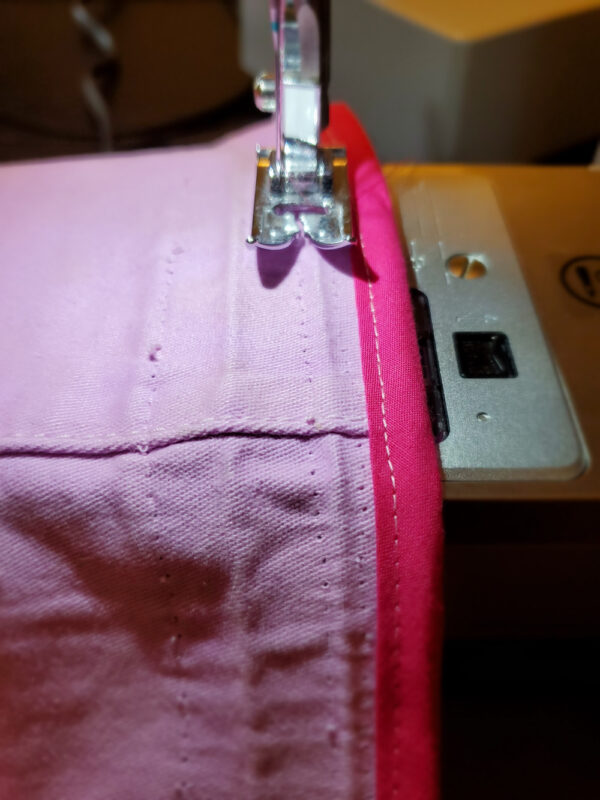
You can fold the raw edges to the inside and stitch if your bell bottoms really are too long, but try them on first. Bell bottoms should ideally sweep the floor when you’re wearing them with shoes on.
Assuming they’re a good length when uncuffed, bias tape is such a quick and easy way to finish this seam!

These bell bottoms turned out so cute, and my kid and I got lots of compliments at our party.
If you’d like to try out a different look for your bell bottoms, check out these tutorials:
- 12th House Studio teaches you how to hack the free Patterns for Pirates Peg Legs leggings pattern (which is my all-time favorite leggings pattern!) to create bell bottom leggings.
- Time Well Spent shows you how to add a ruffle to your pants legs. The result is a similar look to bell bottoms, with no need to open up the side seams on the pants. This is also a good way to add length to an existing pair of pants, especially children’s pants.
Or just stay tuned, because next week I’ll share with you how I made the bell bottoms my husband is wearing in the above photo. They’re a LOT more dramatic, but also cute and comfy!