If you don’t like the color of your T-shirt, overdye it a color that you do like!
Be warned: when you overdye a piece of clothing, you do have to have an appetite for experimentation. There are SOOOO many variables in overdying a piece of clothing, included but not limited to:
- What is the material the item is made from? If it’s thrifted and/or doesn’t have a tag, you may not know for sure.
- What kind of stains/dirt has the item been exposed to? Even with a very good pre-wash, an item might have a hidden stain or unknown type of dirt or adherent that won’t wash out and will react unpredictably with the dye.
- What color is the item? The darker the overdyed color, the more accurate the result to the color you want, but if the original color of your item is anything other than white, that will affect your final result.
- What graphics are already on the item? The materials and colors used for graphics take dye unpredictably.
That being said, if you like a little adventure in your refashioning journey, then overdyeing is a fun, eco-friendly, and often thrifty way to take something you don’t love and turn it into something you do.
To illustrate that, here’s how I overdyed some clothing items for my college-aged daughter using materials purchased entirely from the nearest big-box store. It’s a super accessible process, and the clothes turned out great!
Materials
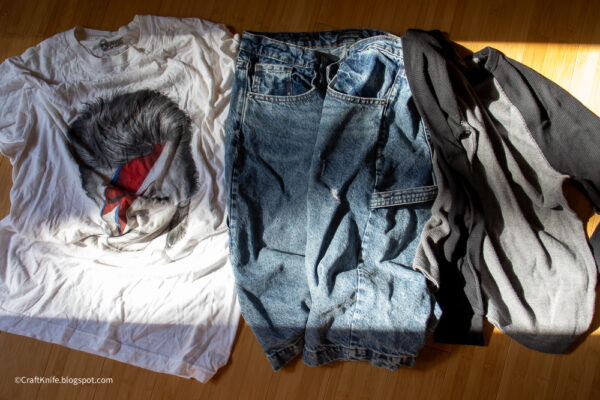
To overdye your own clothing items, you will need:
- clothing items. Ideally, your items will have the tags so you know their fabric makeup. If not, though, it’s okay–just know the results will be a little more unpredictable. For this project, the items are either definitely cotton or are likely cotton-adjacent.
- dye. For this specific project, I am using 1 bottle of black Rit liquid all-purpose dye per pound of clothing. Note that this is double the amount of this specific dye that I’d need if I were dyeing it a lighter color. Black needs a lot of dye!
- color fixative (optional). For this project, I am using 1/2 cup of Rit ColorStay Dye Fixative per pound of clothing for the non-denim items only. My daughter actually wants the denim to be able to fade a little in the wash over time, but if you want the color to stay super-saturated for denim, too, then this color fixative would also work well on it.
- salt. You need approximately 1 cup of salt per dye pot. Iodized salt is fine.
- dish soap. You need approximately 1 tsp of the dish soap you use for handwashing dishes per dye pot. This breaks the surface tension of the water and encourages even absorption of dye.
- giant pot. Your dye pot should be able to fit 1 pound of clothing with enough room for the clothes to be able to agitate freely. If your pot holds less, you can divide the dye and clothes and do this project in batches.
Note that my specific project here is for cotton clothing. If you want to dye items with a polyester content, check out the manufacturer’s instructions here.
Step 1: Weigh, then wash your clothing items REALLY well.
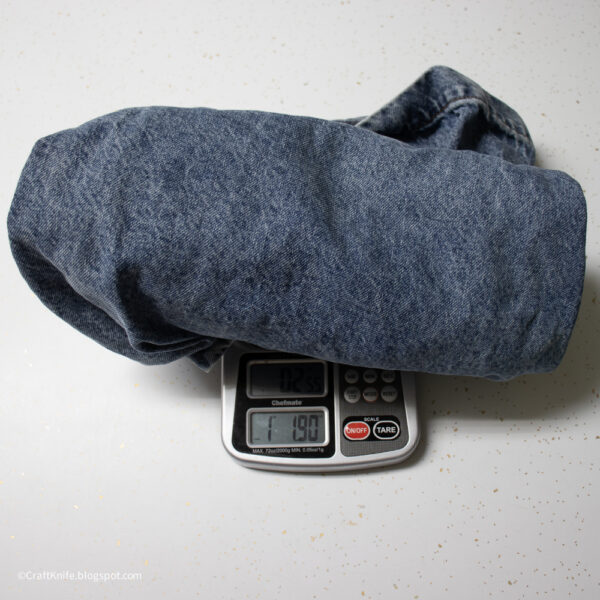
Before you throw your items in the wash, weigh them on a postal scale. My specific project here is for 1 pound of clothing, because that’s what fits in my pot.
The thing about dyeing fabric is that anything on the fabric–dirt, sure, but also body oils, deodorant, soap residue, minerals from hard water, even oils from your fingertips–can affect how the dye adheres. This is exacerbated when you’re overdyeing, as I’m assuming that you’re overdyeing something that you’ve already been washing and wearing, perhaps something that you’ve thrifted. That’s a lot of history that you don’t know about!
So this is not the time for a quick wash. This is the time for a hot water wash with an excellent detergent that contains lipase but not optical brighteners (thank you, r/laundry!), and multiple rinses with a rinse aid like citric acid that will knock off soap residue and hard water minerals.
If you’re overdyeing immediately afterwards, skip the dryer because your clothing items will need to start off wet anyway.
Step 2: Prep the dye bath.
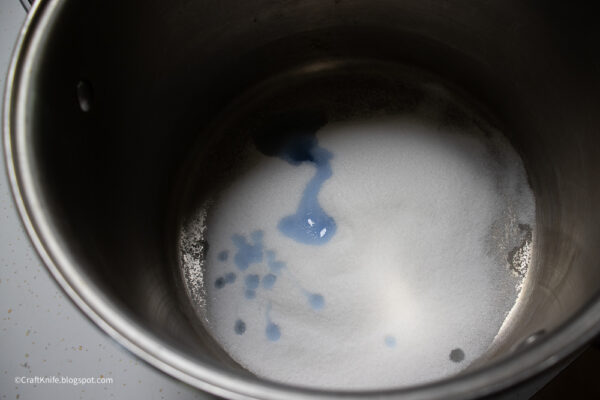
Into a metal pot, add 1 cup salt and 1 tsp dish soap, then fill the pot with water, leaving enough room for your clothing items.
If your clothing items aren’t already wet, soak them in water and ring them out. Don’t put them in the pot yet, though!
First, put the pot on the stove and heat the water until it’s just about to boil–you should see steam, and maybe just a little movement in the water, but it shouldn’t be boiling.
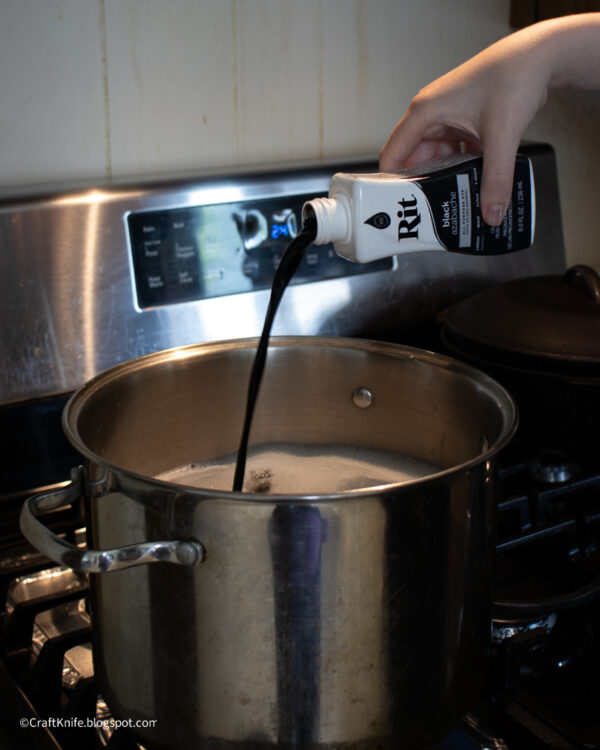
Shake the whole bottle of Rit dye well, then add to the water. I like to refill the bottle with tap water, shake it up again, and also pour that into the pot just to make sure that I’m getting every speck of dye.
Step 3: Add the clothes to the dye pot and stir.
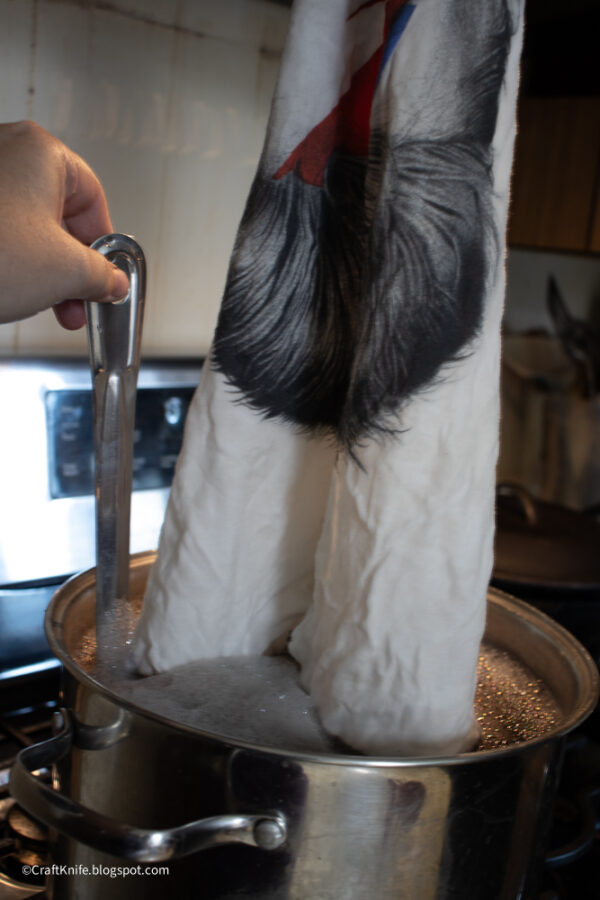
This is where your real time commitment starts.
The Rit dye instructions recommend a dye bath time of 20 minutes to 1 hour, and since I’m dyeing clothes black, I’m using the longest dye time. Combined with stirring every couple of minutes, it’s a chore!
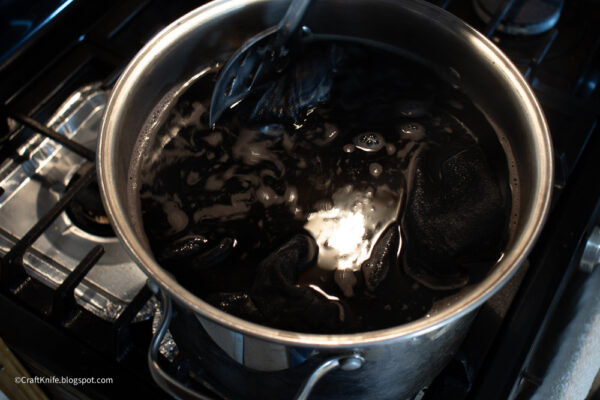
Especially if you’re going for the full hour, you’ll need to readjust the heat down a few times to keep the temperature just below boiling.
Step 4: Rinse, then color fix.
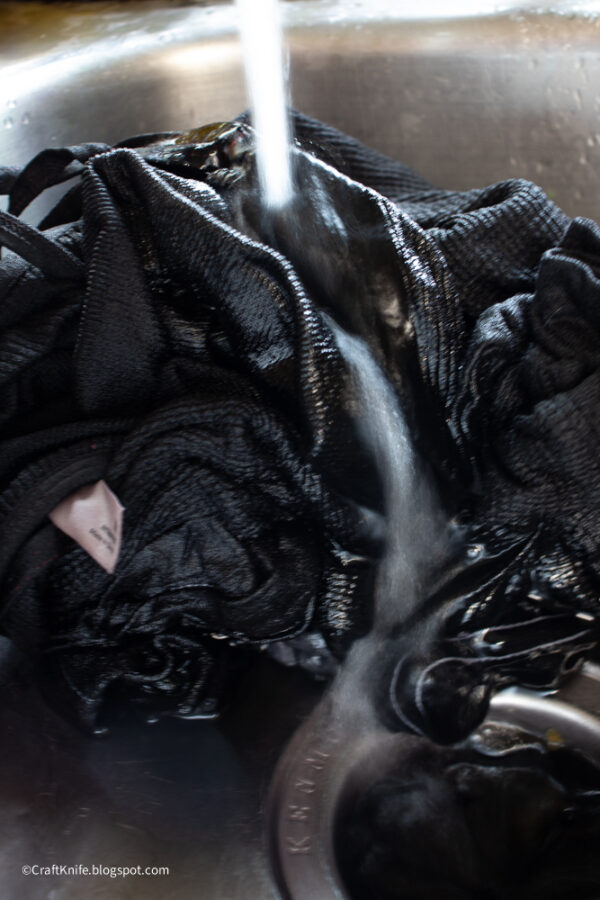
When the dye time is up, pour out the dye water and rinse the clothing items until the water runs clear.
While you’re doing that, refill the pot with water and heat it on the stove until it’s once again just below boiling.
Add 1/2 cup of Rit Dye ColorStay Dye Fixative to the pot, and stir well.
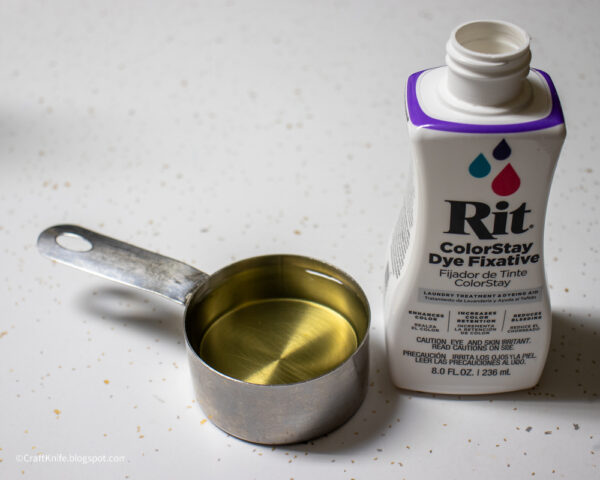
Wring out the rinsed clothing items, then add them to the pot. This time you only have to keep them in the bath for 20 minutes, but you do have to keep stirring every couple of minutes. It’s still a chore!
Step 5: Rinse again, then wash well.
Pour out the water again, and rinse the clothing items again until the water runs clear.
Wash the clothing items again exactly as you did in Step 1. Optionally, add color catcher sheets to the wash load to absorb excess dye, but the thorough wash should be sufficient.
Dry clothes as normal.
Afterwards, the fun part is seeing how your experiment turned out!
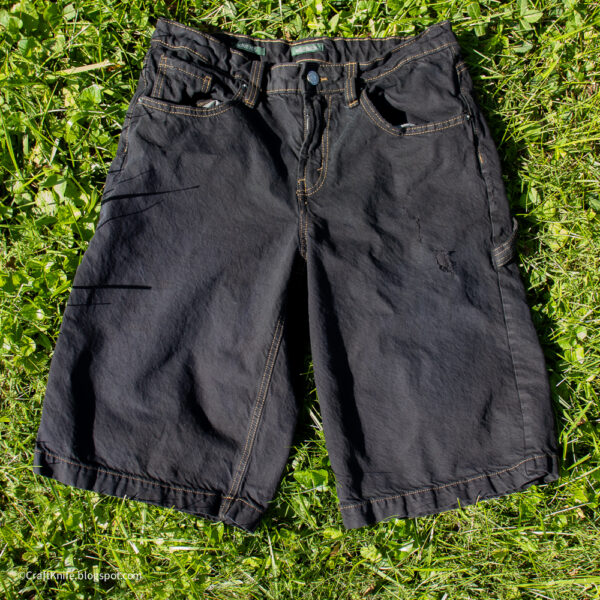
The denim shorts turned out super black and super even. They’re honestly a little darker than my daughter would prefer, since she likes a more faded look, but I skipped the color fixative on these and denim is notorious for fading, so I think it’ll look closer to what she wants after a few washes and wears. I’d already warned her that the thread on these garments likely wouldn’t dye, so that wasn’t an issue.
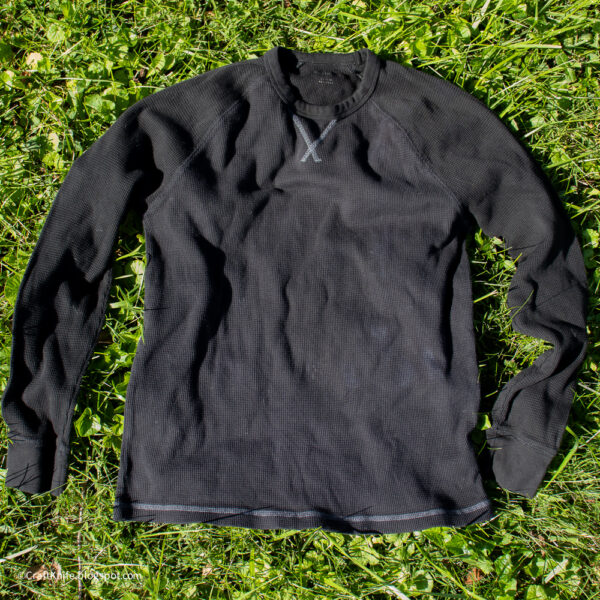
The long-sleeved shirt was more of a gamble, since I could tell by the feel that it’s not 100% cotton. It actually took the dye great, though… except for a couple of uneven spots, grr. The shirt was originally dark enough grey that the spots could represent stains that weren’t previously visible. Crowding items in the dye pot or insufficient agitation can also cause uneven dyeing, but I don’t think that’s the case here. If the color was very important I’d dye it again, but my daughter says she’ll wear it as-is, so I guess we’ll wait and see if that’s true!
Here is the real winner of my dye pot gamble!
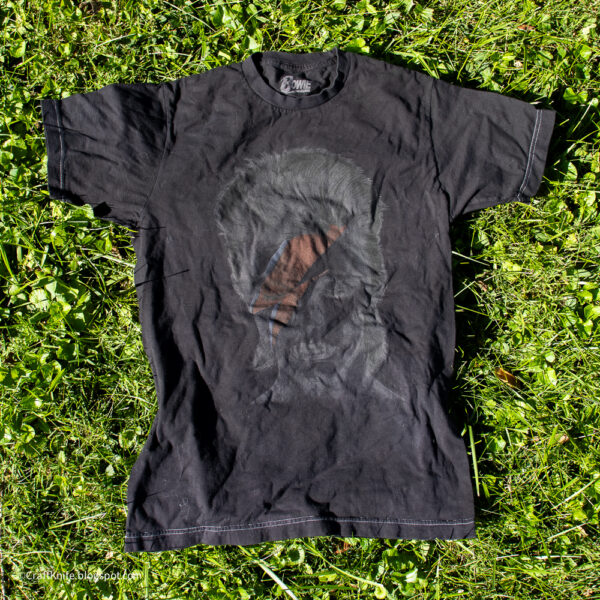
My daughter LOVES how her Bowie T-shirt turned out, and I agree! The lightning bold is present but more subdued, and the Bowie graphic now looks like a spooky negative. The dye is completely even and a lovely black, and the shirt has been promoted from a pajama top that she wears only around the dorm to one of her favorite everyday T-shirts.
Which is good, because I’m pretty sure that unevenly-dyed long-sleeved T-shirt will end up being demoted to pajama top…
P.S. Want to overdye wool instead of cotton or polyester? Here’s how!