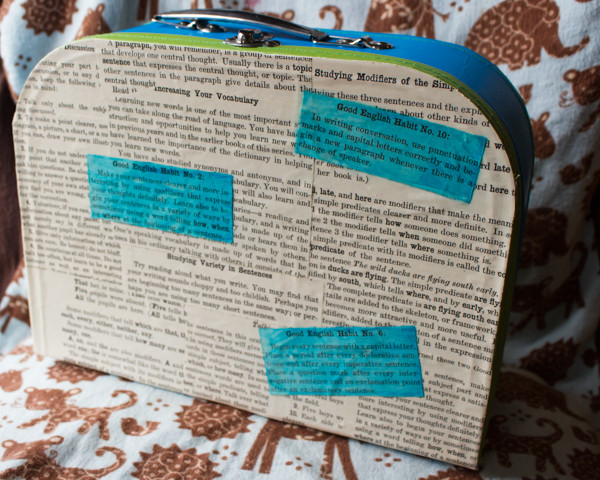
“I just made a decoupaged lunch box! Here is a picture.”
The previous two sentences are courtesy of my ten-year-old, who popped in as I was staring at this blank page, failing to think of a catchy way to begin this post. I solicited her advice for a first sentence, dutifully wrote down what she dictated, and it worked, because here I am, 50+ words in and still plugging away!
So this lunch box used to be ugly:

I wanted a lunch box, but I didn’t want an ugly one. In a case like this, decoupage is actually a great method–I don’t have to remove the hardware, like I would if I was painting it, I don’t have to worry about primer, I can upcycle vintage papers that I already think are pretty, and the Mod Podge also seals my work, so there’s very little that I require in the way of supplies.
The project does take a while as you wait for various layers of paper and glue to dry, but other than that there’s not a ton of hands-on time, so while I would give this project a full weekend, it’s not going to have to be a weekend solely devoted to lunchbox decoupaging.
How to Make a Decoupaged Lunch Box
You will need:
1. lunch box. Anything flat-sided, of any material, will do. This one is only laminated cardboard, but it’s sturdy enough for my own purposes, and the inside is wipeable.
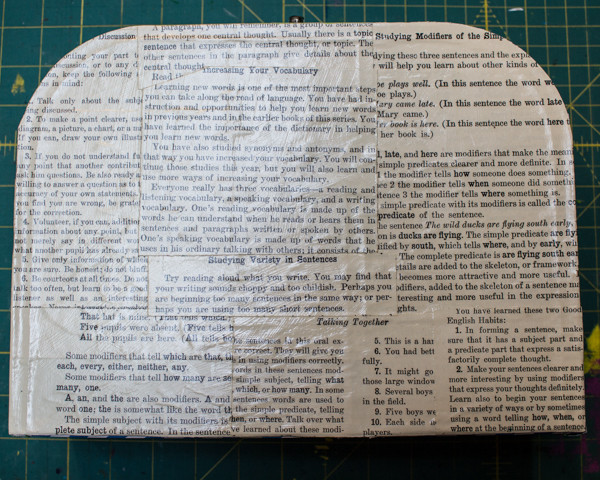
2. vintage paper. I considered using vintage comic books for my lunch box, but seriously–I cover everything with comic books. This time, I chose a *slightly* more grown-up vintage grammar and composition textbook.
3. x-acto knife. Cuts paper to size, trims excess paper from the edges–scissors won’t be an acceptable substitute.
4. Mod Podge. This glue, with several coats, will also seal your work.
1. Clean up your lunch box. Wipe it down well (I like to use my homemade vinegar spray cleaner, which leaves no reside), so that its lifetime of packed lunches won’t spoil your embellishments or keep them from adhering.
 2. Cut and glue. Begin adding paper to one side of your lunch box, in whatever way pleases you. Paint a light coat of Mod Podge on either the paper or the lunch box, then press it in place and smooth from the center to the edge. Be judicious with the glue, to keep the paper from bubbling. You may extend the paper past the edges of the lunch box, since you’ll be trimming it later.
Feel free to glue paper on top of paper without waiting for the glue to dry. If you have any special pieces to place, however, do wait for the glue to dry and cure, and then you won’t have to deal with a messy work surface. For instance, I wanted to highlight the boxed grammar rules from this textbook on my decoupaged lunch box, so while I waited for the glue to dry, I cut out these rules and then painted them with watercolors so that they’ll stand out.
Because watercolor will bleed if you get it wet, and glue is wet, I then painted each grammar rule with a top coat of Mod Podge and let it dry. Then I was able to decoupage the painted pieces onto the lunch box without the blue watercolor bleeding all over it.
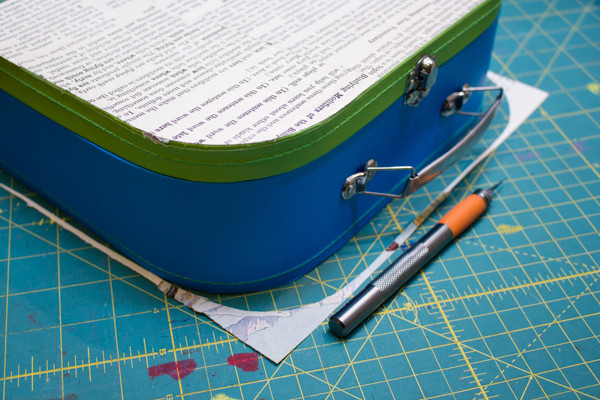
3. Trim. Set the lunch box on top of a self-healing cutting mat, then use the x-acto knife to carefully trim the excess paper away from the edge:
4. More Mod Podge! The more layers of Mod Podge that you paint onto your piece, the better it will be sealed. Since a lunch box needs to be wipeable and able to handle the odd bump and bruise, paint on plenty of layers.
Give your lunch box at least a couple of days to cure completely after painting on the final layer of Mod Podge, and then take it out for a spin.
Doesn’t your packed lunch look so grammatically correct now?