
How to make your own greeting cards that aren’t super cutesy and twee?
Include something vintage!
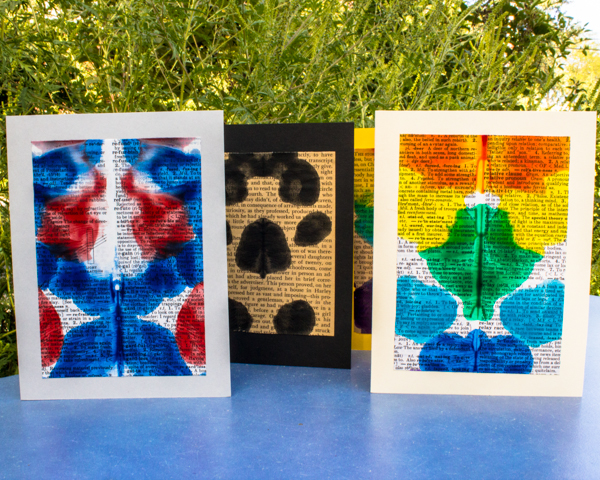
I made these DIY greeting cards not with rubber stamps of teddy bears or foam stickers of ducks in bonnets, but with vintage book pages. Pages trimmed from a ratty, torn copy of The Turn of the Screw and an old dictionary, embellished with paint, compose the front images of a set of all-purpose blank cards, suitable for either the kids or the adults in the family to use.
The book page prints come from the Halloween craft book Spooky and Bright; to see how I transformed the prints into greeting cards, read on:
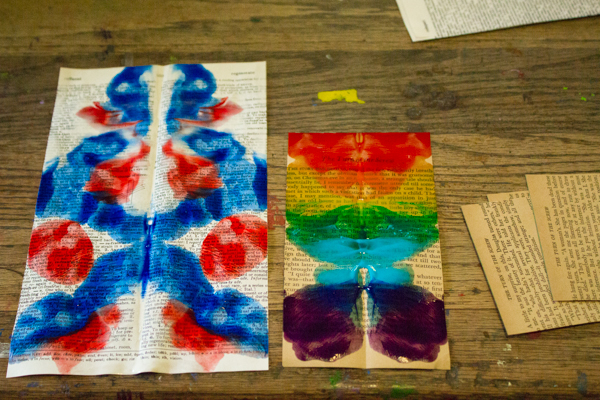
To make the paint printed book pages, I used the ink blot prints on vintage ledger pages from Spooky and Bright as inspiration. If you don’t want ink blots to look spooky and Halloweeny, add some color!
I’m betting that you learned how to make these paint prints back in early elementary school when you learned about bilateral symmetry, but just in case, here’s a refresher:
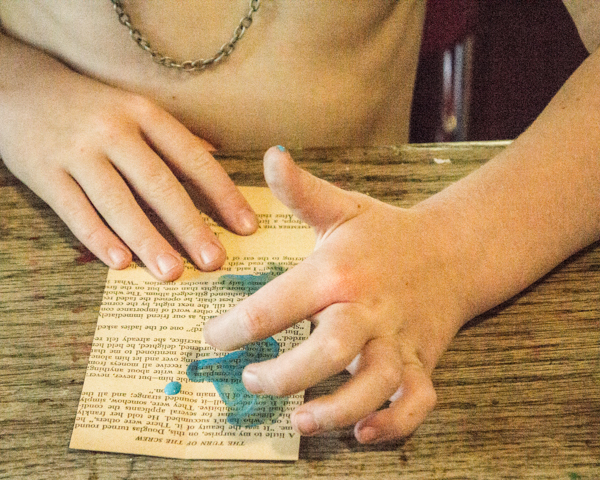
- Crease a page in half.
- Add paint to only one side of the page.
- Fold in half, sandwiching the paint between the two halves of the page. Press flat, then open.
Lovely, yes? And highly addictive–I won’t tell you how many of these prints my kiddos and I made before we tired of them, but I will tell you to guess high.
Let the pages dry completely, and then let them sit underneath a heavy book for another day or so to relax the center crease.
To make the greeting card, cut a piece of cardstock to size. For a card that opens horizontally, cut the cardstock to the height and twice the width of the desired card; for a card that opens vertically, cut the cardstock to the width and twice the height of the desired card. Fold in half and crease well down the center.
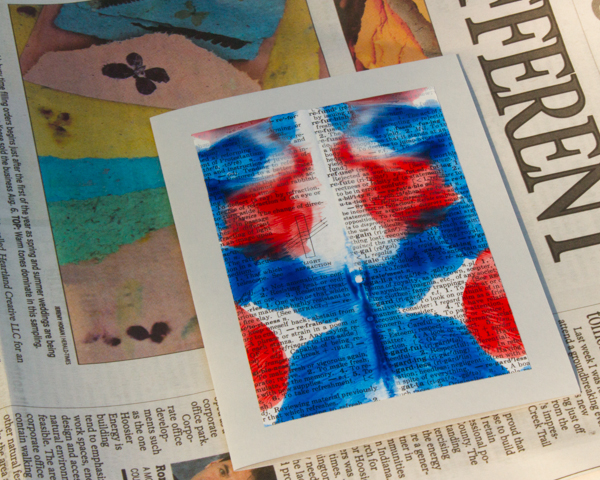
Trim the paint printed book pages to approximately 1″ less in both height and width than the dimensions of the card front, then center the trimmed page to the card front and adhere. I keep spray mount in my stash solely for gluing situations that absolutely require it; for an eco-friendly solution, choose an eco-friendly white glue or stitch the page to the card using your sewing machine set up with a long stitch and an extra-sharp needle.
Since the greeting cards are blank and contain no adorable, punny messages, they make for excellent all-purpose cards. And now that you have them, you can make them custom envelopes from recycled paper!
I received a free copy of Spooky and Bright, because I can’t write about a book until I’ve gotten paint all over myself. Apparently.


I make notecards out of old books too. I’m interested in your suggestions for how to adhere the pages to the card stock. What kind of white glue do you recommend? I use pH neutral glue, designed for book-binding, but it’s smelly and sometimes leaves a stain-like image on the paper.
I love your idea for sewing the pages onto the card stock. I’ll give it a try.
The white glue that I like the best for cardmaking isn’t eco-friendly, unfortunately. I use Aleene’s Tack it Over and Over for fussy things like scrapbooking and some cardmaking, because I like the way that I can apply the glue, let it dry slightly, and then adhere it after the danger of it seeping and staining has passed.
Stitching remains my favorite way to adhere paper items in cardmaking and some scrapbooking, however. No glue = WAY less mess for me!
Pingback: Crafting a Green World | The home for green crafts and tutorials!
Pingback: How to Display Vintage Photographs - Crafting a Green World