Back in 2006, one of my super awesome friends gifted me with an adjustable tailor’s mannequin. Obviously, I was over the moon! Mannequins are not cheap, and I’d been coveting one to take product photos and start making some clothes for myself.
Six years and dozens of craft shows later, that mannequin was kind of in shambles. The plastic was cracking, so it was kind of collapsing in on itself in places, and the felt that covered the body was stretched and saggy. It looked terrible in photos unless I spent lots of time arranging it just so, then snapped a quick photo or two before things shifted back into a hot mess.
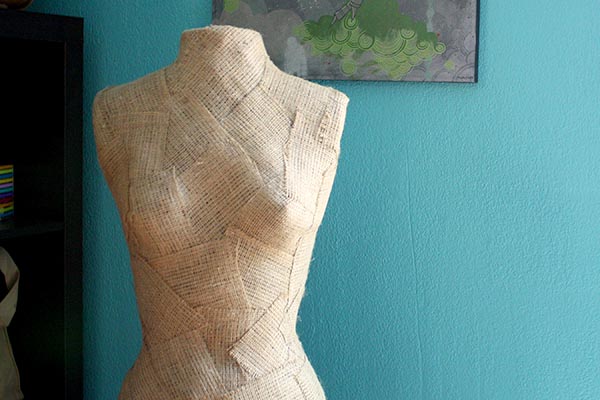
Now that I’m not doing craft shows, it felt like it was finally time to take a risk and try to fix this thing! I kind of made this up as I went along, but my revamped mannequin – pictured above – looks great and is so much sturdier! I can’t wait to take some photos of craft projects on it for you guys!
On the next page, check out how I repaired my old mannequin to give it a brand new life with just a few simple supplies! Click here for the tutorial.





Definitely modge podge! Fabric will “stick” to your burlap! You will be glad you did!
Modge Podge for ease of draping fabric. Too bad though, love the mannequin as it is – looks very artsy, like a sculpture.
Sold! I’ll pick up some Mod Podge for fabric when I’m out running errands this week.
If you want to save money, don’t use Mod Podge – I use the white wood glue from the hardware shop, add some water to thin it out a little and a way you go.Sooooo much cheaper than Mod Podge!