Salt dough is one of those crafts that is begging to be reclaimed by the indie crafter. Traditionally the provenance of children or the unironically countrified, salt dough has been used to make so many kindergarten turtles and faux braids of onions that it’s ready for a makeover.
Fortunately, salt dough is also an oven-baked clay that is made of natural materials (unlike FIMO or other plastic clays), which makes it a green craft for children or adults. Here’s how to make it and use it:
You will need:
- 1 cup salt
- 1 cup water
- 3+ cups white flour. It’s nice to use organic flour even though you won’t be eating this dough, because pesticide usage is also an environmental issue and a concern to farm worker health.
- oven preheated to 200 degrees

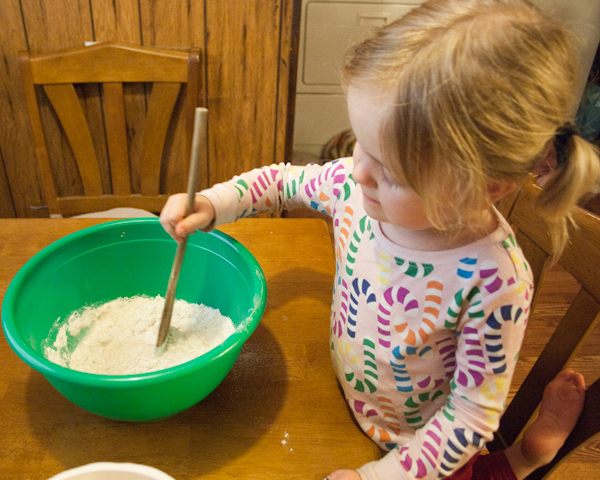
1. In a large mixing bowl, combine one cup salt and one cup of water until the salt has dissolved.
2. Gradually stir in at least 3 cups of flour. To make a stiffer dough that has more structural integrity for three-dimensional sculptures, you can gradually mix in even more flour, as much as the dough will hold without becoming crumbly.
If you accidentally make your dough crumbly, add in a little more salt water at a 1:1 ratio. If your dough is just too sticky, add in a little more white flour.
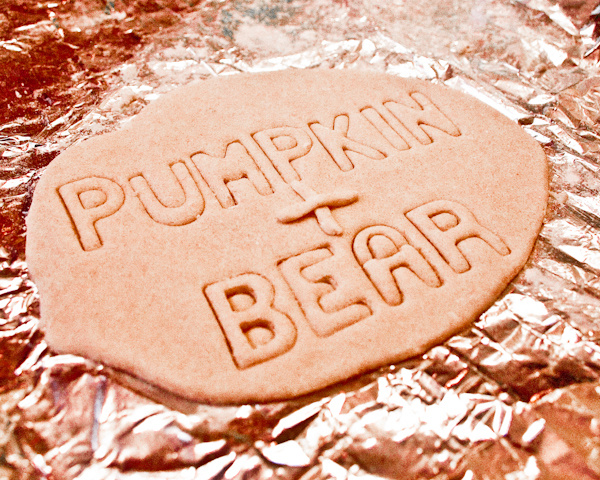
3. Sculpt your salt dough into whatever shapes you like, putting each finished sculpture on a baking sheet.
4. Bake your salt dough sculptures in a 200-degree oven for at least two hours, and until the sculpture is completely dry. Thicker sculptures will take significantly more time to dry than flat ones.
Okay, you can let your little kid make a salt dough turtle while you make a faux onion braid if you REALLY want, but personally, I’m waiting to see your first salt dough Mario.


Yeah! We have some in the oven right now. Our barbie house needed some furniture…
How do you carve letters into the salt dough?