
A Memory game is one of the easiest and most versatile toys that you can give a kid.
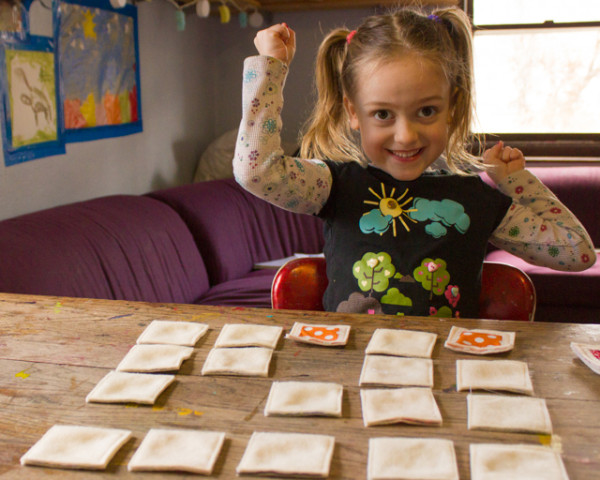
Little kids who can’t yet play a full-on game can have fun simply matching the tiles. Slightly older kids can play a simplified game with just six or nine tiles. More tiles support more sophisticated game play or multiple players. But playing alone is fun, too!
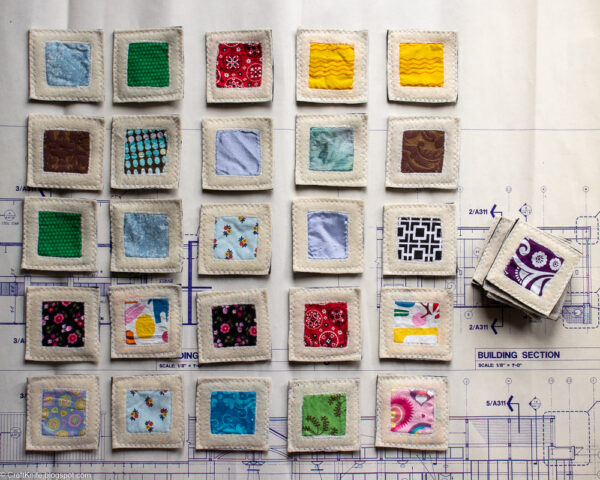
Your favorite kid may even already own a few iterations of Memory. This stitched scrap fabric and felt version, however, is special. Using fabric prints requires a kid to develop a different type of pattern recognition than matching identical images does, because two cut pieces of print fabric will rarely be identical. These pieces are also soft, so this Memory game can be played quietly while you’re on a Zoom or a sibling is napping. You can use fabrics with different textures to support kids with sensory needs or differences, or even just to up the challenge level by requiring a kid to match by feel instead of sight.
And if you happen to have the type of kid who’s prone to tossing the entire game board when, say, Candy Land doesn’t go their way… well, good luck throwing around a bunch of fabric scraps!
But of course, MY favorite part of sewing up this simple Memory game for my favorite kids is stashbusting! This is a great way to use up small scraps from your recent projects, and especially other projects that you’ve sewn for these same kids.
To make your own DIY scrap fabric and felt Memory game, you will need:
- frame fabric, 3″x3″. This fabric will frame the matching tile pieces, so choose a neutral.
- backing fabric, 3″x3″. This is the fabric that backs the tiles. Choose a dark color to make sure that you won’t be able to see any bright prints through it. No hints allowed!
- tile pieces, two each, 3″x 3″. This is the fun part! Any fabrics are suitable to use as matching tiles. I especially like to fussy cut novelty prints for these.
- interfacing. I hate purchasing interfacing, since it’s not eco-friendly, so feel free to use up any interfacing scraps you have for this project. Its sole purpose is to stiffen the matching tiles, so you can also use a thicker fabric like felt or denim as interfacing.
- measuring, cutting, and sewing supplies. I used a rotary cutter and self-healing cutting mat, gridded quilter’s ruler, sharp scissors, and a sewing machine with a universal needle.
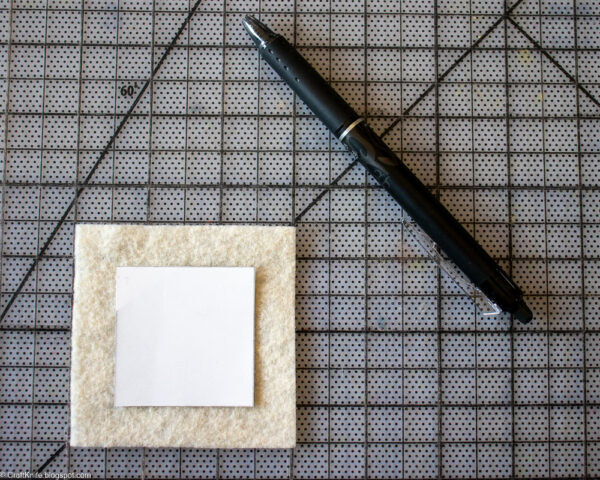
Step 1: Cut felt pieces to size.
Cut 3″x3″ squares from scrap felt to frame the Memory tiles. Use a dark color for the back of each tile, and your choice of neutral color for the front.

Cut a 2″x2″ template from scrap paper, and use this to mark out the center of each front piece. Cut out these center pieces with sharp scissors.
Step 2: Cut Memory tiles from scrap fabric.
Cut pairs of 2.5″x2.5″ squares from any scrap fabric of your choice. These pairs will serve as the matches for the Memory game, so make sure that the cuts are similar enough for even a small child to identify them as matching. I had to discard a couple of novelty print fabric tiles when I realized that my small children couldn’t identify the fabric as matching if, for example, each tile showed a different fussy cut dinosaur from the same dino print fabric.
Interface the back of each piece.
Step 3: Sew the Memory tiles to the felt frames.
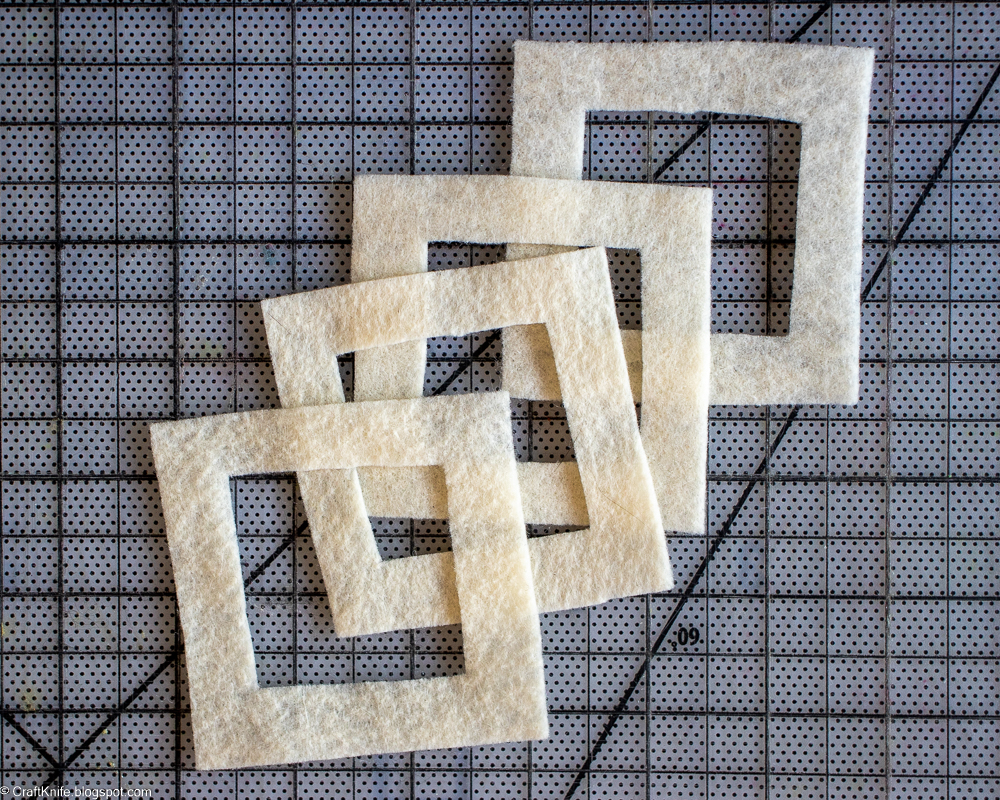
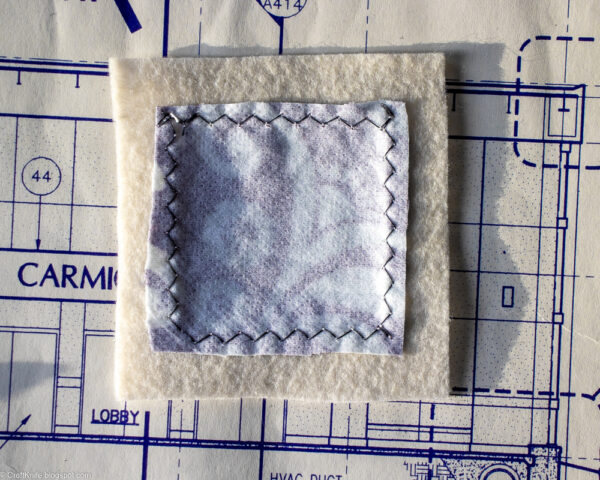
Your felt frames should look like this:
Place each frame over a Memory tile, then set your sewing machine to a medium zigzag stitch and sew the frame to the tile.
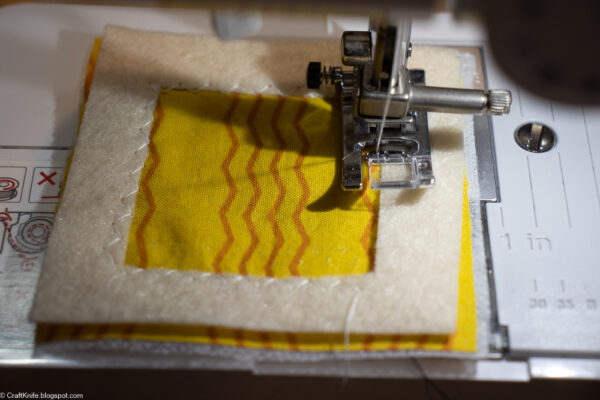
Felt doesn’t ravel, and the raw edges of the tile fabric will be sandwiched inside the Memory piece, so this is a very forgiving stitch.
When the tile is sewn to the inside of the frame, turn the piece over and trim away the excess Memory tile fabric all the way around. This will reduce bulk and keep the tile fabric from peeking out of the edges of the Memory piece. There are no hints allowed in this Memory game!
If you have an excess of interfacing, you can make these Memory pieces SUPER sturdy by ironing another piece of interfacing to the back of this stitched frame piece before you sew on the back.
I like to batch sew these pieces, so feel free to do all the stitching of the front frame pieces before you sew on their backs.

Step 4: Sew the backs of the Memory pieces.
Set each front piece over a back piece.
Use the same zigzag stitch to sew around the edges of each Memory piece, stitching the front and back together.

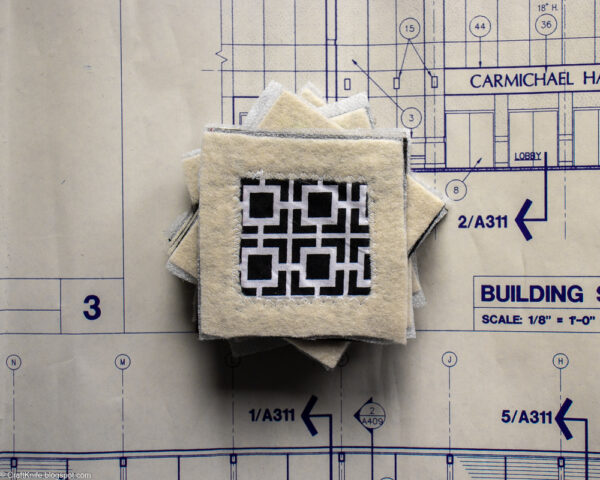
These stitched scrap fabric and felt Memory games make wonderful handmade gifts for young children. Pop a set into an Easter basket or take advantage of how light they are to mail a set cross-country to your favorite preschooler… just like I’m about to do!


