
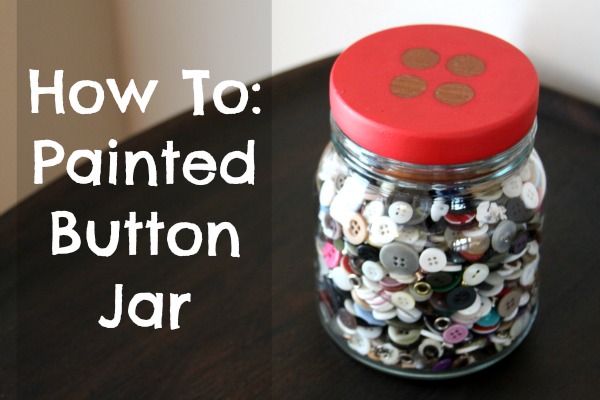
Looking for a unique way to store your button collection? What about a jar that actually looks like a button? I saw this button storage idea from S.C.R.A.P using a peanut butter jar, and it inspired me to make my own button jar!
What You Will Need:
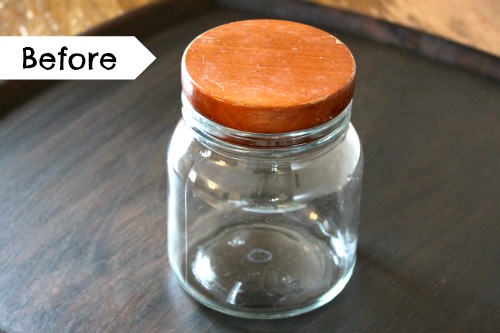
1. A jar with a lid that you can paint. You can easily find these at garage sales or thrift stores.
2. Paint. If you can, use an eco-friendly paint like this one from Blick.
3. A pencil
4. A small paintbrush
How To Do It:
1. Draw four circles on the top of your lid. You can use a penny to help create similar circles. These will become your “button holes.”
2. Paint the lid, except for the circles. You might have to do several coats to get full coverage.
Once your lid is dry, add your buttons. This cutie is going on the shelf in my craft room! I love the way it showcases my collection, but is functional at the same time. Oh, and if you’re looking to add to your button collection (or get rid of some) be sure to check out our Craft Supply Classifieds! You can share and swap all of your craft supplies!


