
This tutorial is part of Garden Week here at Crafting a Green World. We’ve teamed up with some of our favorite DIY bloggers to talk about all things gardening!
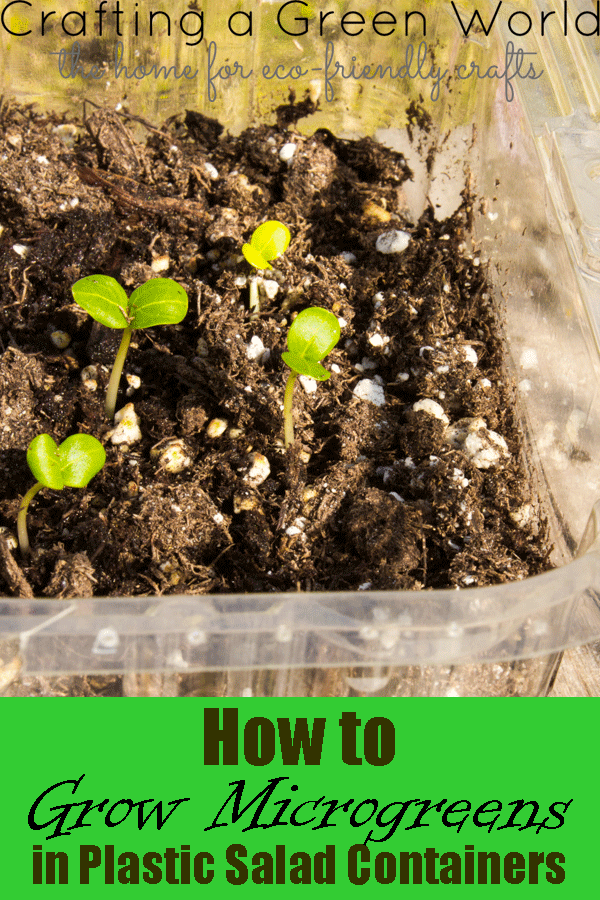
I eat a lot of grocery store salad throughout the winter, but I don’t stress about those awful plastic salad containers. If you’re comfortable growing food plants in plastic (not everyone is, but some people are, so stay calm about it), then those awful plastic salad containers make EXCELLENT miniature greenhouses for growing microgreens and starting seeds. Here’s how:
1. Find a plastic salad container. The ones that I use are like medium-sized clear plastic boxes with lids, and I buy them full of salad or baby spinach at my local big-box grocery store.
If you don’t buy grocery store salad in plastic boxes but you want to try this tute, then just ask around. You definitely have a Facebook friend who wants to give you their clear plastic salad container hoard.
2. Turn your plastic salad container into a mini greenhouse. You can clean the label off of the lid of your container, but you don’t have to. Do use a needle or awl to punch a few holes in the lid so that your greenhouse plants will be able to breathe.
Fill the plastic salad container about halfway full with an excellent-quality potting soil, moisten the soil well, and you’re ready for planting!
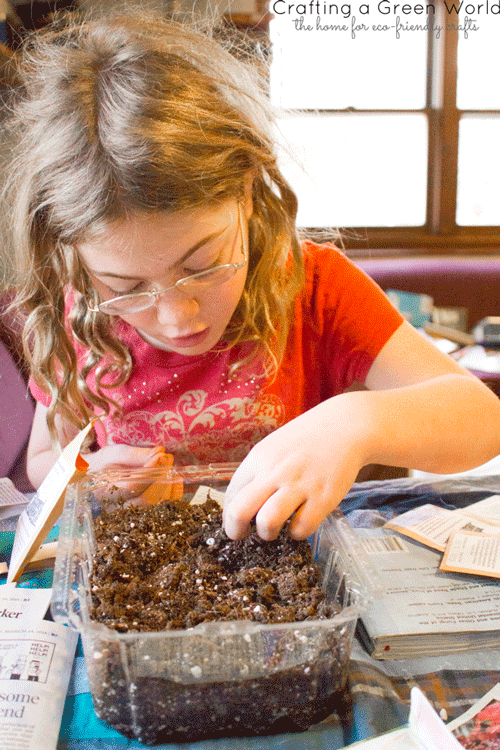 3. Plant seeds for sprouting or microgreens. Follow these instructions for planting microgreens, or start seeds in the container following the directions on your seed packet.
4. Let the greenhouse do its magic. Put the lid on the salad container, and set it in a sunny window. The soil should remain damp but not over-saturated, so keep an eye on it and spritz it with water from a little spritz bottle when it needs it–these are excellent jobs for a kid.
5. Harvest or transplant your plants. Microgreens should be harvested when they’re less than two inches tall. You only need to cut enough microgreens for your current meal, since they’re happy growing where they are. This means that every time you eat them, they’ll be so perfectly fresh!
Other baby plants should be transplanted whenever the seed packet instructions recommend. One advantage to using a slick plastic container as a seed starting pot is that the seedlings are really easy to remove for transplant–they just slip right on out!
6. Keep it going. Although you can use the same container for a few meals’ worth of microgreens, and you can use the same container more than once, if you’ve got a few plastic salad containers you can also stagger planting so that you have a continuous supply of microgreens.


You know, I thought about doing this with our salad containers, but seeing as I have yet to order seeds, I don’t expect that to happen anytime soon.
Keeping this in mind for next year.
Do you ever do microgreens? I LOVE them! We mostly use these for microgreens, and just have them do double-duty for seed starting in the spring. I feel like microgreens are easier than seed starting because you don’t have to remember to rinse them regularly.