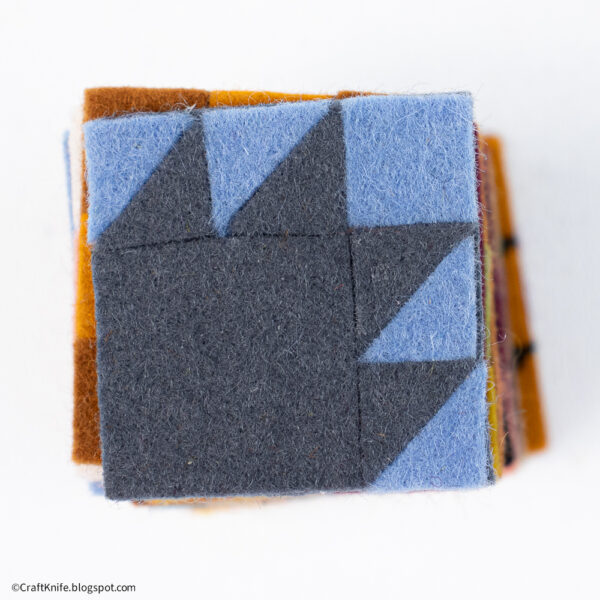
This mini quilt block is cute as a button with no sewing needed!
Y’all know that I am the sewingest sewist who ever sewed (at least in terms of hours logged, lol!), but sometimes even I–or at least my sewing machine!–needs a little break.
But of course, even when I’m not sewing quilt blocks, I still like to make them. These itty bitty guys stand exactly 1.5″ tall, and are made SUPER easily from wool felt. Instead of sewing them, I use a high-quality glue. They turn out adorable every time, and I really like how I can use them to experiment with different color combinations and block patterns without a big commitment.
Here’s how I make them!
Materials
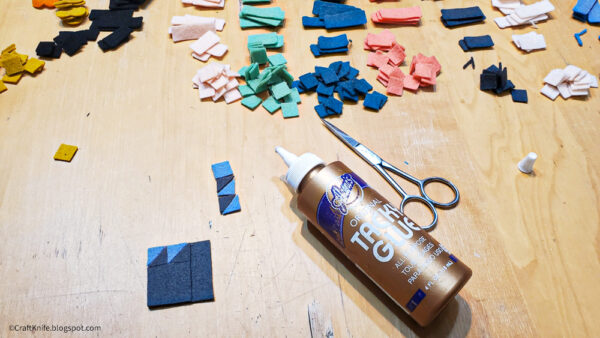
To make these felt mini quilt blocks, you will need:
- felt. If you’re comfortable crafting with wool, wool felt is the peak material for this project. It’s got a great structure and feel, and the thickness of wool felt makes it easy to work with (there’s very little chance of glue bleed-through, for one thing) and gives a very nice finished appearance. This isn’t an affiliate link, but I personally buy all my felt from Weir Crafts–my Gmail tells me that my first order from there was way back in 2012! That being said, if you don’t craft with wool there are tons of high-quality recycled polyester felts in all the beautiful colors of the world, as well.
- glue. With a project this small, details matter a lot, so I do think it’s worth it to use high-quality glue. Fabric glue isn’t necessary, although it’s fine to use, but in my opinion the very best glue for this project is Aleene’s Tacky Glue. A little goes a long way and one bottle lasts forever–it honestly wouldn’t surprise me if I’d also purchased the bottle in these photos way back in 2012!
- measuring and cutting tools. Again, with a project this small, details matter, and the biggest detail is how precisely you measure and cut your pieces. Some of y’all freak out every time I so much as hint at my Cricut being involved in a project, but a Cricut, or a similar die-cutting tool (I also have a VERY old-school Sizzix–honestly, it might also be from 2012…), is a terrific way to get completely accurate, completely uniform cuts. However, a ruler, scissors, and very precise hand-cutting also works perfectly!
- (optional) materials for mounting and/or display. I made a mini autumnal banner with these quilt blocks, but they’d also be very cute as pins or magnets.
Step 1: Pick Your Pattern and Basic Dimensions.
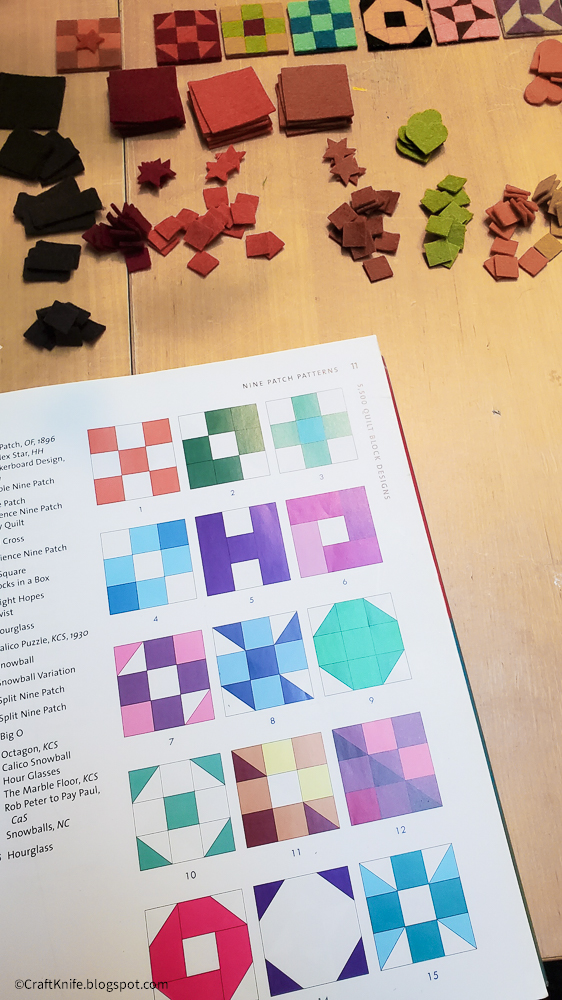
My inspiration for this project was the book, 5,500 Quilt Block Designs, by Maggie Malone. Malone organizes every quilt block ever made by basic pattern, so, for instance, every block that can be made from a basic nine-patch pattern is illustrated in that section.
I love this system, because it tells me that I can make an endless number of 1.5″ quilt blocks just by cutting an endless number of .5″ squares. Part of what I wanted to accomplish with this project was playing with lots of color combinations, so simply by cutting out lots and lots and LOTS of .5″ squares, I could mix and match them and decide on exact block patterns spontaneously as I worked.
If you’re not excited by all the possibilities of the nine-patch, many of these easy quilt blocks would also work well for this project.
Step 2: Cut Out The Quilt Block Pieces.
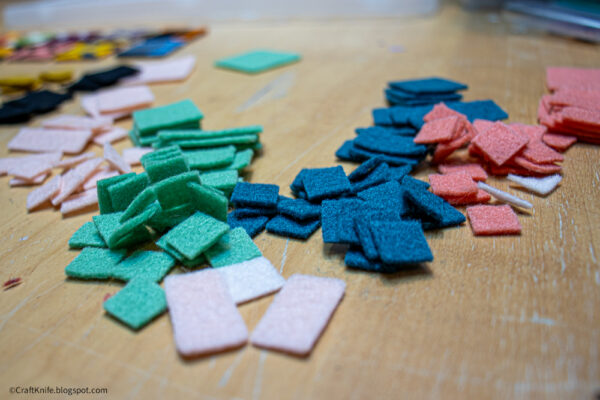
I cut out LOTS of .5″ squares!
You’ll notice in the photos that I did myself some favors by cutting a few 1″x.5″ rectangles and a few 1″x1″ squares, although you can, of course, create those on the quilt block simply by placing .5″ squares next to each other. I also used a lot of half-square triangles, but I found those easiest to cut by hand with thread scissors.
For the backing of each quilt block, you also need to cut one 1.5″x1.5″ square. I also cut these from felt, but honestly any backing would work, since it won’t show. If you’re making magnets, mat board would be an excellent choice for a backing.
And again, you can cut these little pieces by hand-
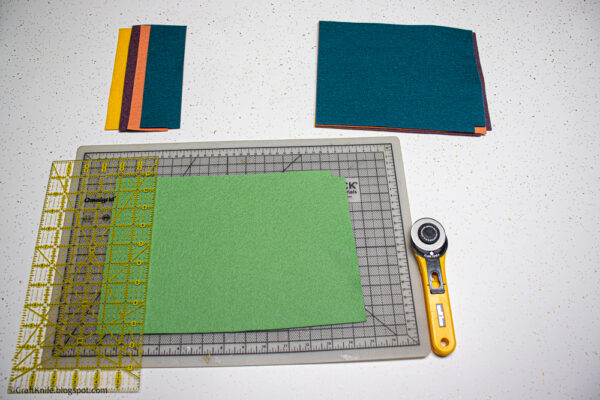
–or with the help of your favorite die-cutter:
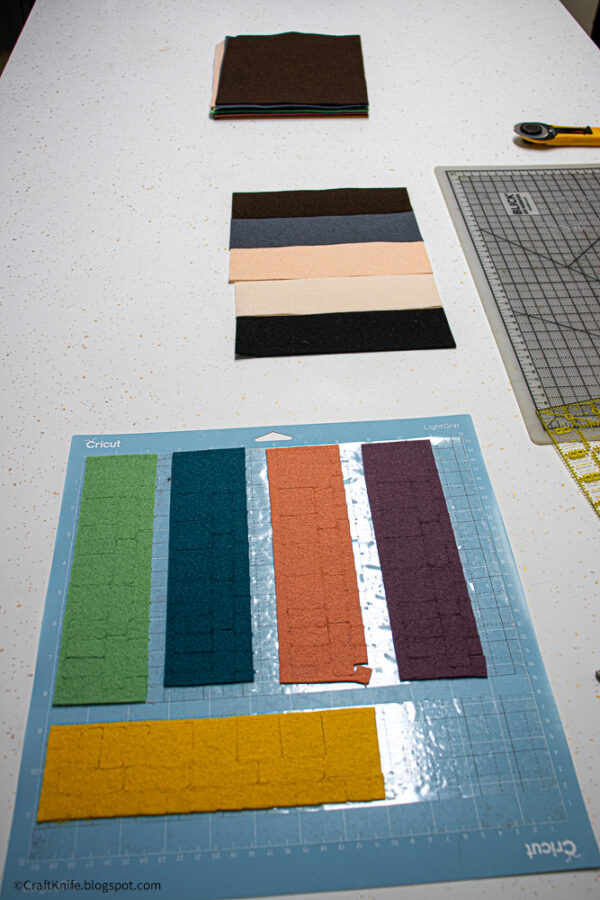
I will treat myself to a Reese’s pumpkin for every person who gripes at me about my Cricut in the Comments. Y’all need to stop griping at me in the Comments!
Step 3: Place And Glue The Quilt Pieces To The Backing.
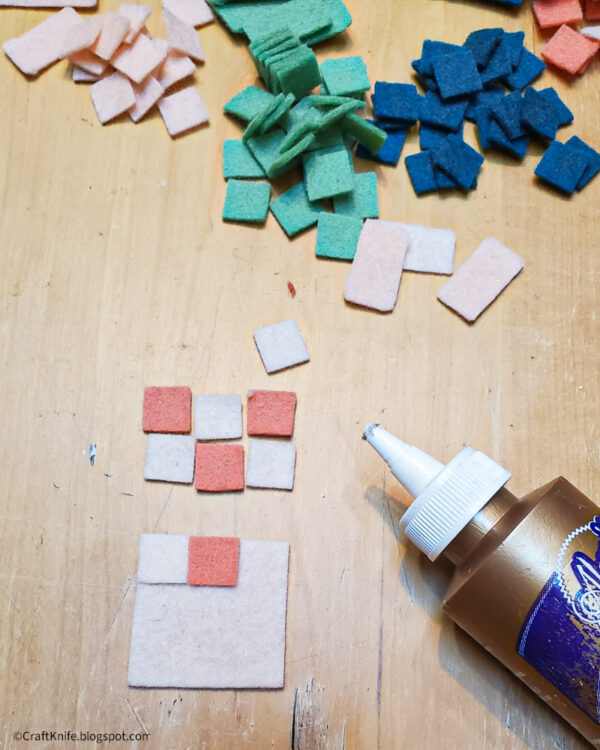
This is the fun part!
Now that you’ve got your pieces and your pattern, get comfy, turn on a podcast, and spend a delightful evening with this coziest of cozy crafts. First, build your block just by laying out the pieces on your work surface until you’re fully satisfied with the colors and the pattern.
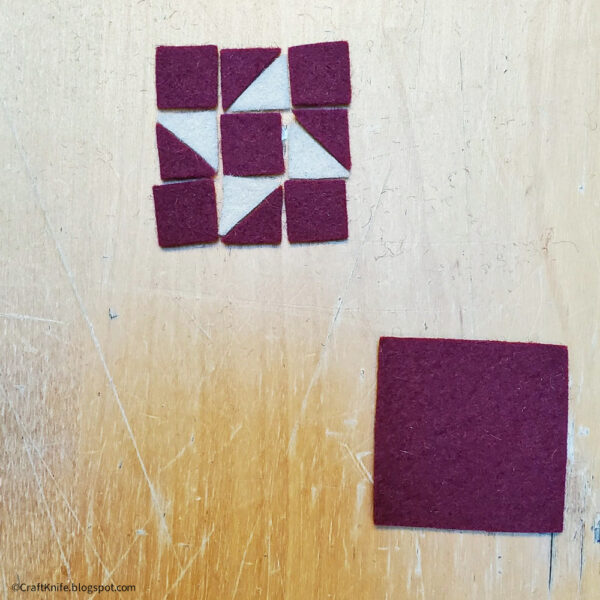
When you’re happy, it’s time to glue!
Because precision is so important, I like to start at one corner. Simply spread the back of a piece with glue, then set it lightly in place.
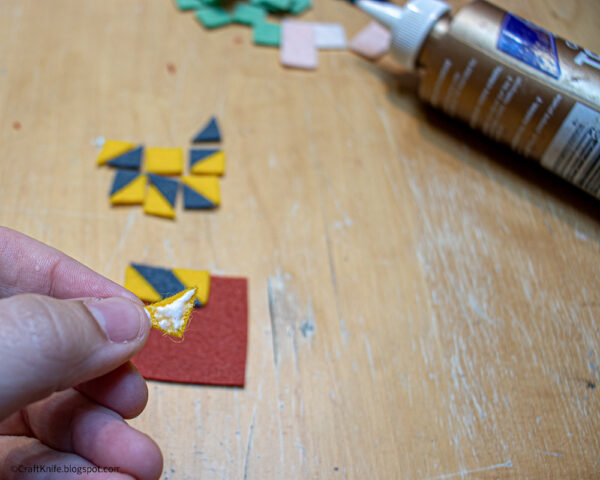
Setting it down lightly means that you can adjust it if you need to for alignment. After I get a full row down, I press the whole row more firmly to set the glue in place.
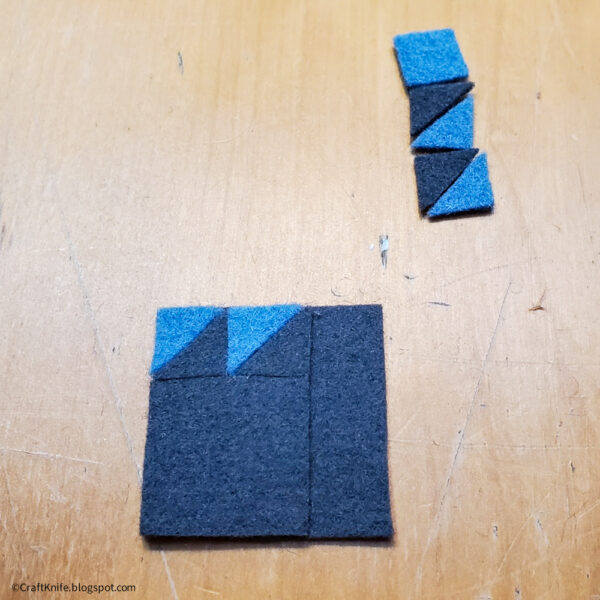
It’s VERY fun to watch your design come to life!
Step 4 (Optional): Add Materials To Mount Or Display Your Finished Blocks.
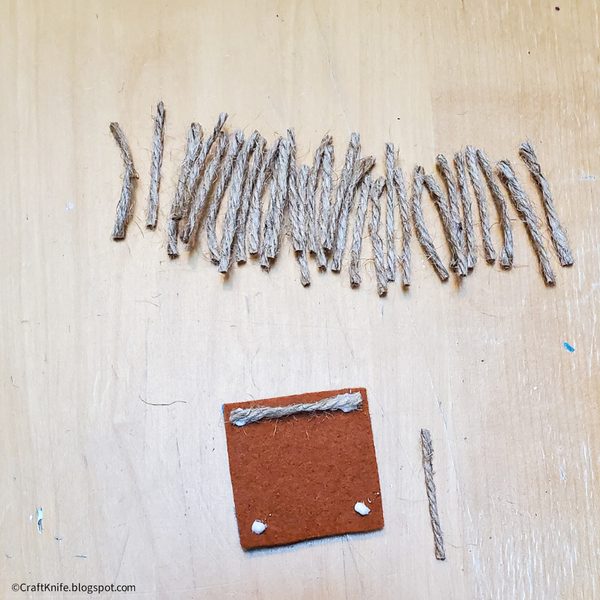
To display your finished blocks, you could glue a magnet or whip stitch a pinback to the back. I glued twine hangers so that I could hang my mini quilt blocks as a banner.
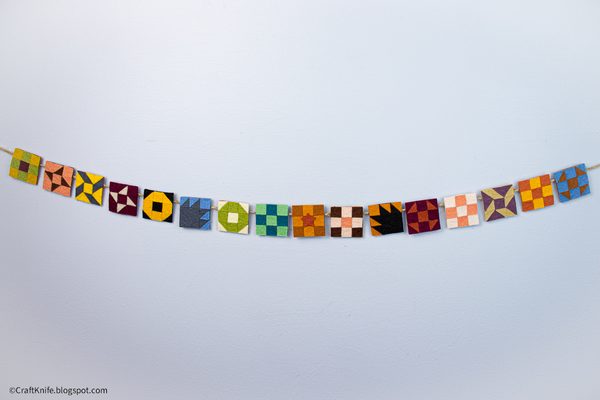
I was going for an autumnal vibe, but to be honest, I got too excited about all the color combinations and didn’t really stick to my theme. I’m already thinking about trying again for Valentine’s Day, though, since I like Valentine’s Day colors but I’m kind of sick of hearts.