
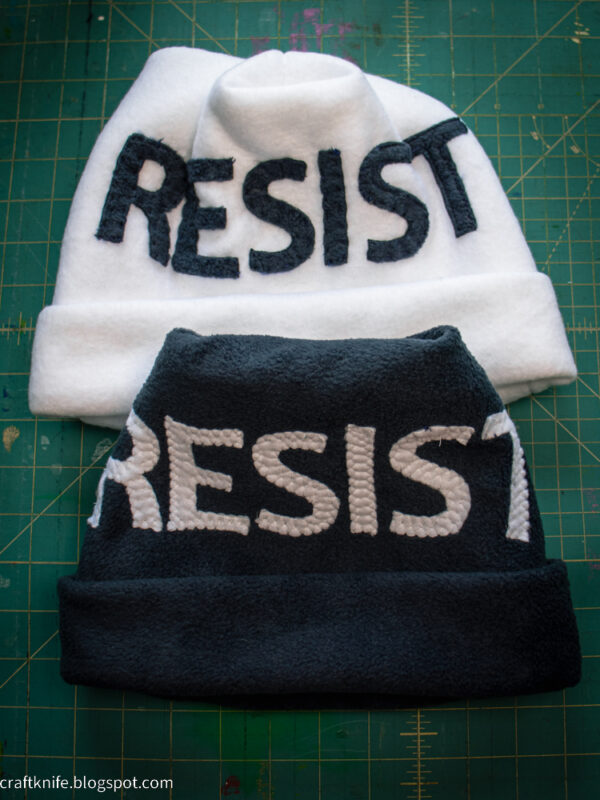
Your new favorite warm fleece hat is currently sitting in your stash!
I am on a mission to bust my ridiculous amount of stash fabric before I end up on TLC about it. That, combined with the cold snap that’s managed to swing halfway across the country to hit not just me but each of my kids at different colleges, and I found myself digging through my stash recently to pull out all my bits and pieces of fleece scraps to make these SUPER warm fleece hats to send to them.
These hats have a double layer of fleece throughout, and a quadruple layer of fleece around the brim, so they’re warm and cozy and absolutely perfect for the coldest parts of winter. And since they’re made from scratch, you can customize them with some nifty fleece-on-fleece applique.
Here’s how!
Materials
To make a fleece hat, you will need:
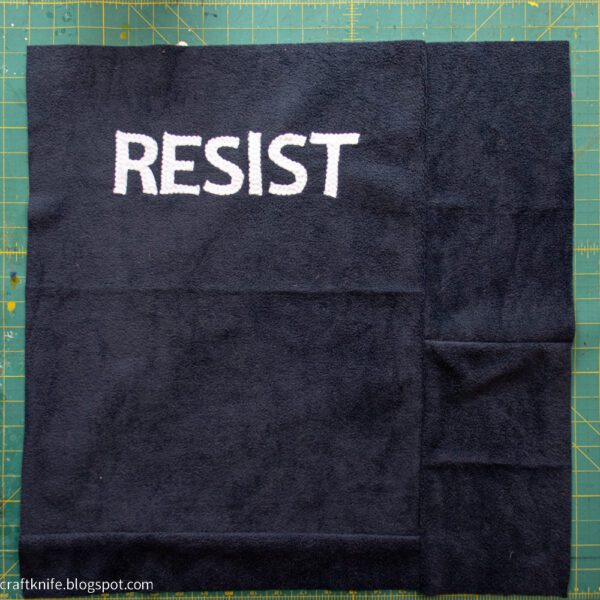
- fleece, 24″x24″. As you can see from the above image, I actually pieced together my fleece to achieve the correct dimensions. The trick is to piece the fleece so that the stretch is always going in the same direction, across the width. And the secret is that the bottom third of the fleece square will be invisibly tucked up inside the hat, so nobody will ever know that the white hat in my photos has a big square of teal mermaid print fleece pieced into it!
- glue stick. Glue basting is THE way to go for fleece-on-fleece applique. Glue sticks are a lot of plastic waste, but I’ve also tried this exact project with white school glue and it did not work at all… which is crazy, because white school glue works great for basting cottons. You learn something new every day!
- cutting and sewing tools. My basic supplies include a self-healing cutting mat, a gridded quilting ruler, washable pen, fabric scissors and a rotary cutter, and sewing machine with a universal sewing needle and matching thread.
Step 1: Cut and place all elements of your hat.
Lay out your 24″x24″ square of fleece right side up, making sure it’s placed so that the stretch goes across the width and, if you have directional fabric or any scrap bits you want to hide, that the top of your hat is at the top. Remember: the bottom third of that hat will end up tucked inside and totally invisible, so if you’re piecing together the fleece for this hat and you have some colors you don’t like, put them there!
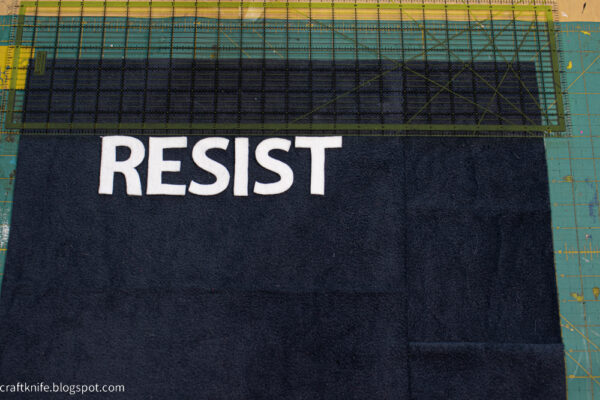
The working surface for applique on this hat will be across the top, from 3.5″ from the top to 6″ from the top. That gives you 2.5″ vertical inches all the way around the hat. Cut out any applique pieces you want to use for embellishment, and use the glue stick to stick them down on the fleece exactly where you want to stitch them in place. It’s surprising how well the glue will stick!
Step 2: Applique the embellishments onto the hat.
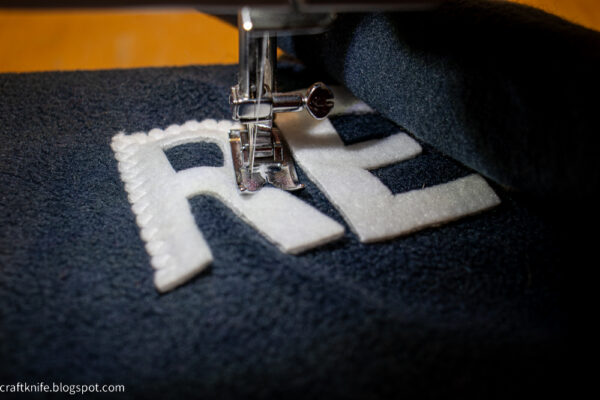
I’ve tried several sewing methods for these appliques, and to be honest, I’m not entirely happy with anything that I’ve tried yet. The good news is that fleece won’t fray, so at least you don’t have to worry about that!
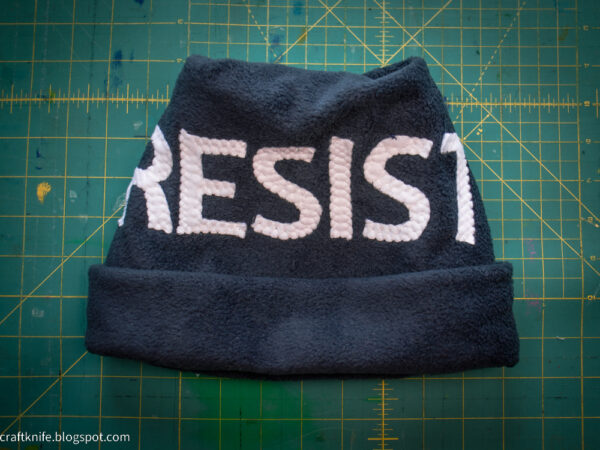
For this navy hat, I chose a zigzag stitch, and I don’t love it:
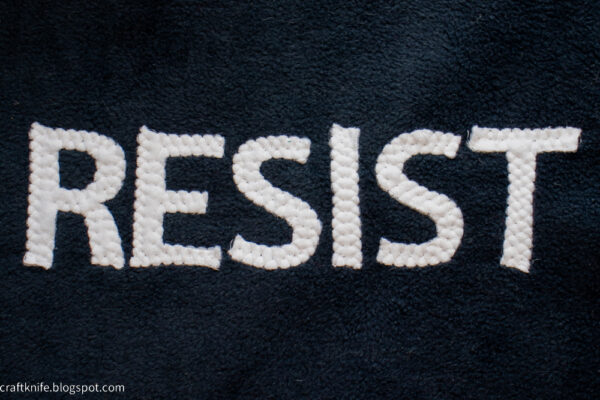
It’s sooo textured, argh!
For the white hat, I chose to hand-stitch it with a running stitch, and although it’s still not exactly what I was going for, I do like it a lot better:
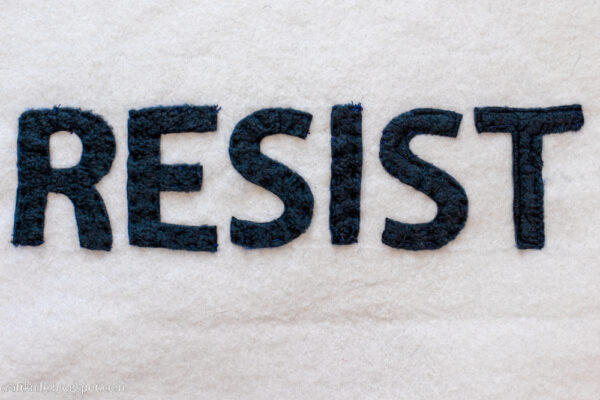
In second place, though not shown, is a straight stitch on the sewing machine, and in third place is a hand-stitched blanket stitch.
Zigzag is a VERY distant fourth, ahem. But at least it looks consistent and intentional!
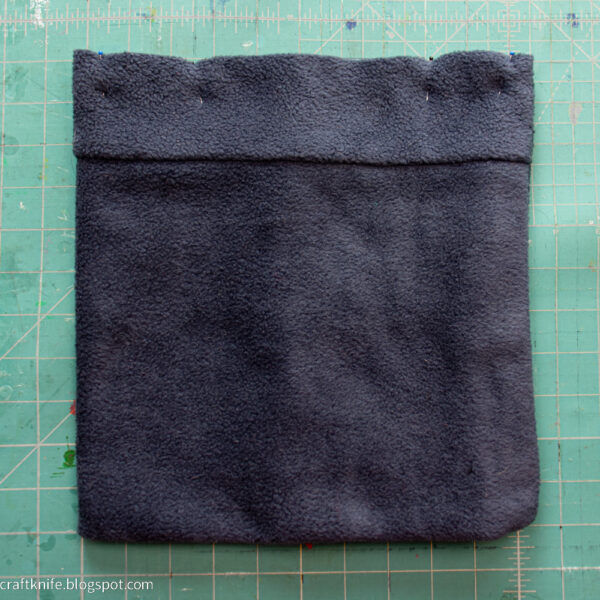
Step 3: Sew up the long side of the hat.

With right sides together, fold the fabric in half hot dog-style, then sew up the long side with a .5″ seam to make a long tube. In the above photo, you can really see all the piecing I did to get that single 24″x24″ square, lol!
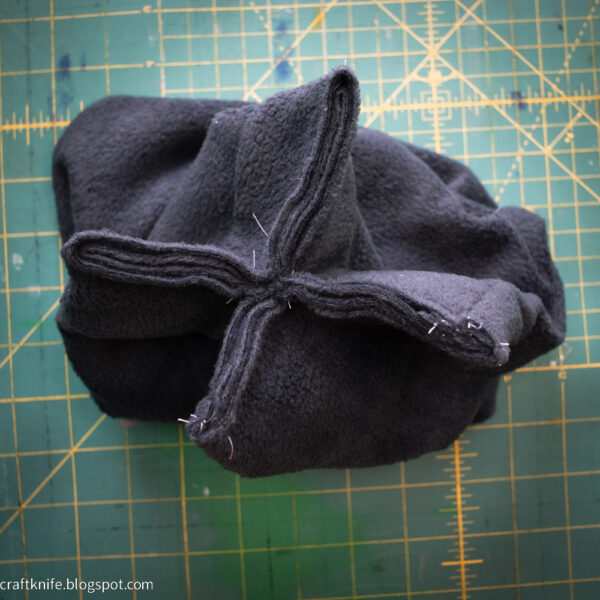
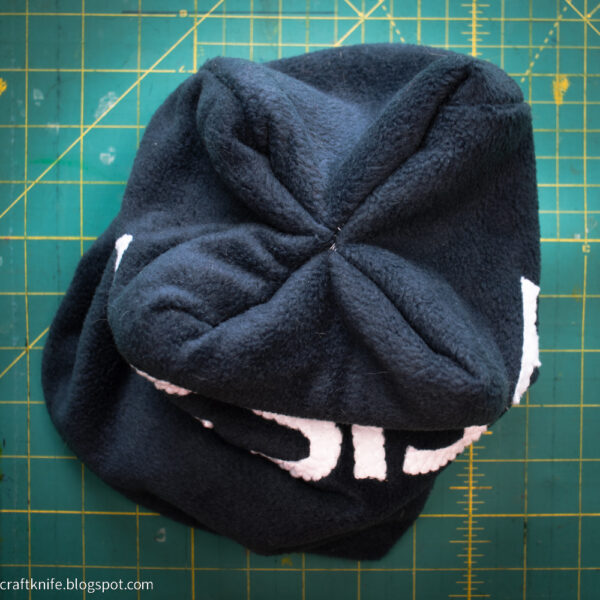
Step 4: Sew the top of the hat.
Fold the bottom of the tube up over the top of the tube, until the bottom edge lines up with the top edge all the way around. This should give you a tube half the length, two layers thick, and with wrong sides together. In the above photo, you can see how the narrow piece of fleece that used to be inside out and at the bottom of the tube is now right side out and at the top. If you did any applique embellishment, that will now be inside the hat.
The bottom folded edge of this tube will be the bottom brim of your fleece hat, so make sure that it’s not twisted.
Measure the top edge of the hat, and divide that into quarters. Put a pin through all four layers of the hat at the left and right quarter marks (you can see those pins in the above photo), and then pick the hat up and squeeze the center apart to make the middle two quarters. You’ll stitch each of these quarters from the edge of the hat to the pins:
Sometimes that very middle bit can be hard to get under the sewing machine. If so, just a couple of hand stitches will completely close the gap.
Step 5: Turn the hat right side out.
Your hat is now finished, but it’s inside-out! Turn it right side out, and use a dull pencil or a chopstick to poke out the corners as much as you like. Some people like their corners poked all the way out, but I don’t, so I leave the corners mostly un-poked, which gives the hat a more traditional rounded top.
Wear the hat with the brim folded up, which makes it extra warm over your ears!
P.S. Still have too many fleece scraps? Here’s what else you can do with them!


