Seriously, y’all, these are the easiest seed starting pots on the planet. There’s no origami involved. No fancy tools. Heck, making these seed starting pots is even easier than opening the packaging on store-bought seed starting supplies!
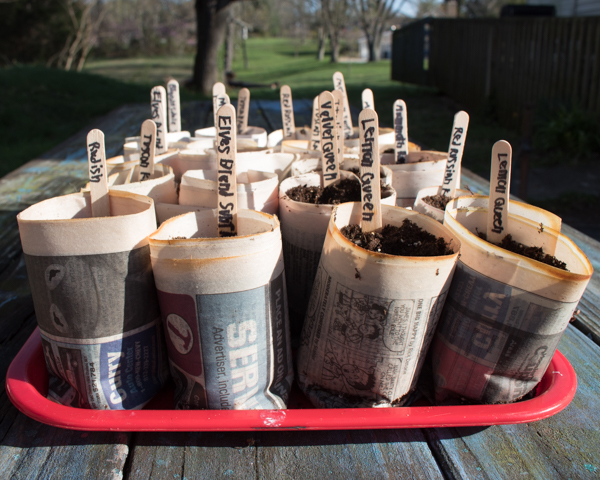
I LOVE these DIY newspaper seed starting pots, because you can make them as-needed, and there’s no waste-you plant your sprouted seedlings right in this pot, which decomposes to enrich the soil and allow your baby plant’s roots to spread. No trauma to the babies, nothing to carry to the trash bin–it’s a double win!
DIY Newspaper Seed Starting Pots
All you need are:
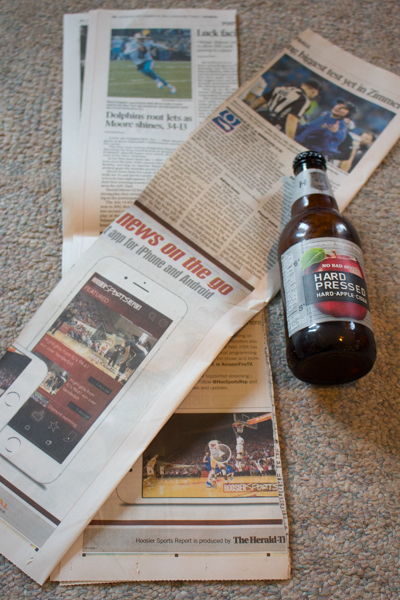
newspaper. If you don’t take the newspaper yourself, just ask around. A single day’s paper is enough to give you plenty of pots to start out with.
beer bottle. A hardship to obtain, I know. If you don’t have one, I know for a fact that you have something similar on hand. Check your pantry. Check your fridge. I know you can do this!
plant markers (optional). You can write the name of the plant directly onto the newspaper pot with Sharpie, and the writing will last long enough for you to get the pot into the ground, but I paid my kid a penny a pop to write me a bunch of plant markers onto popsicle sticks, and you know what? Those work just as well as the cuter plant markers.
1. Rip your newspaper right down the middle. Don’t use the ad flyers, and don’t use the Sunday comics (because you’re saving those for wrapping paper, right?). But all the other sections? Just go ahead and rip them all right down the middle.
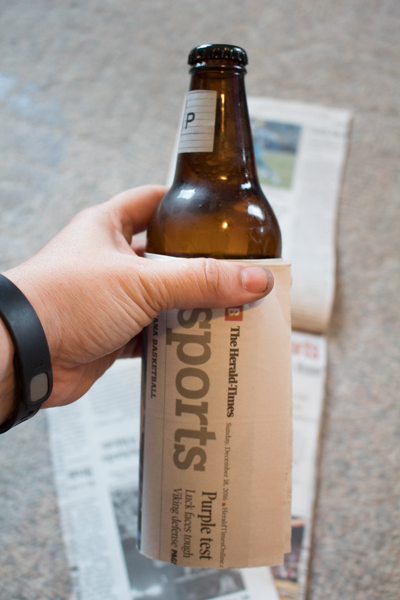
2. Wrap a strip of newspaper around your beer bottle. You want about two inches of of the strip to hang off of the bottom of the bottle, so I find that lining the top of the strip up along the top edge of the beer bottle’s label works well. Keep wrapping the strip around the bottle until it’s all wrapped up–you’ll overlap it on the bottle a few times, which will make your pot stronger.
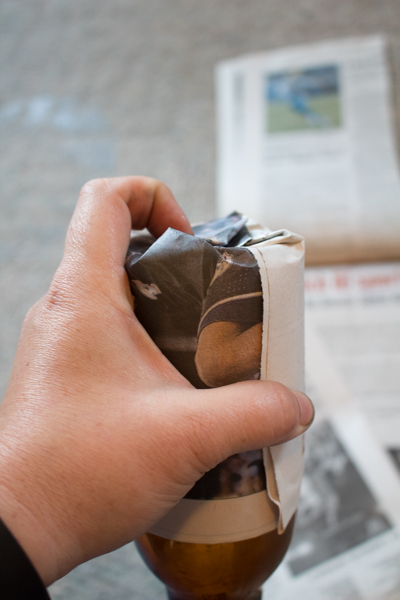
3. Fold in the bottom of the newspaper cylinder. Neatly fold it up against the base of the bottle, all the way around.
4. Slide the newspaper seed starting pot off of the beer bottle. When it’s free, give the bottom fold a good crease all the way around. Once you set it in a tray and fill it with damp soil, it will learn to keep that fold, and by the time you’re ready to plant, you may have to rip it or snip it with scissors to open the bottom back up.
These newspaper seed starting pots don’t last forever, obviously, what with staying damp and being filled with dirt, but they will last for more than long enough to grow your plants from seed to good, sturdy plant start.
If you set them in a tray, you’ll also be able to gently water them by putting water only in the tray and letting the newspaper wick the water up to the rest of the pot.


Thanks for sharing! It’s very useful!