
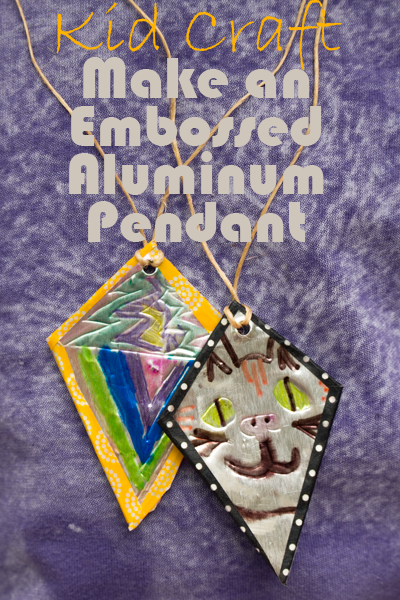
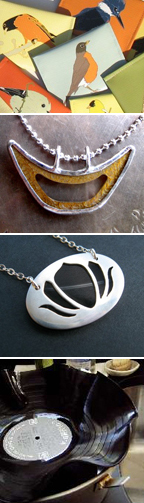
If you’ve got kids (or a Scout troop, or a day camp…) who love making jewelry, then they’ll love making these embossed aluminum pendants.
These pendants, which utilize upcycled aluminum and washi tape, are easy to make look cute, and since there’s no drying/curing time required (a big deal in the world of jewelry crafting!), the kiddos can walk away wearing their creations–remember how I said this was perfect for Scouts and campers?
To make these embossed aluminum pendants, you will need:
upcycled aluminum. I do NOT recommend using aluminum cans for this, because they can have sharp edges. Instead, break down used food service trays or pie pans. Even the embossing that’s already there can add interest to your pendants.
stylus. Here’s how to make a stylus.
thin cardboard. Think cereal boxes, or other food packaging. For the pendants in these photos, I used the packaging for some Barbie dolls that my younger kid received for her birthday. Did you know that Ken dresses like a hipster now? True story.
permanent markers. We use Sharpies and Prismacolor markers interchangeably. Any permanent marker will do.
double-sided tape. You can also use spray mount, if you have it. Neither are particularly eco-friendly, but they’re necessary, and you’ll only use a small amount.
washi tape. Washi tape is made of paper, so it’s actually an okay craft supply. Kids LOVE washi tape, so don’t be afraid to stock up.
hole punch. Use the smallest diameter that you have, although the regular diameter is also okay.
cording. Use your favorite.
Okay, that was a crazy-lot of supplies, but the tute itself is pretty simple:
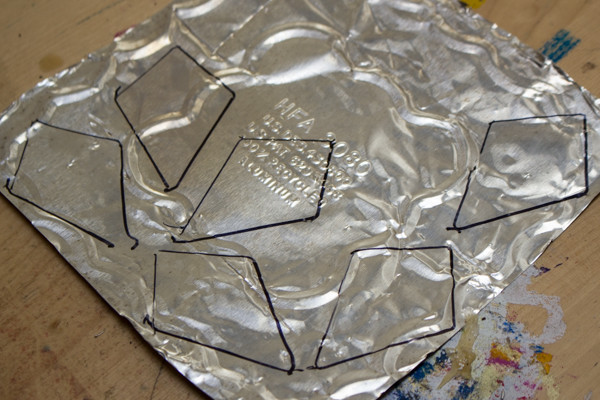 1. Trace and cut out pendants from upcycled aluminum. I used straight edges, so that the kids would have an easier time wrapping them in washi tape. Older kids should be able to figure out wrapping round edges, though.
Cut the pendants outside the lines, because you’ll have a chance to trim them in the next step.
2. Attach the pendants to the backing cardboard. The aluminum will be the front side of the pendants, and the back sides will be the thin cardboard. You can either use cardboard with a graphic that you’d like to show on the back side on the pendants, in which case that side will face down in this step, or you can plan to cover the back of the pendant with washi tape later, in which case it doesn’t matter which side faces down.
Coat the back of the aluminum pendants in either spray mount or double-sided tape, and then arrange them onto the cardboard.
Cut out the pendants again, this time cutting just inside the lines, and cut the cardboard along with it, ending up with pendants that are aluminum on one side and cardboard on the other. If you used a piece of double-sided tape to secure the aluminum to the cardboard, then the edges won’t be secure, but we’ll fix that later.
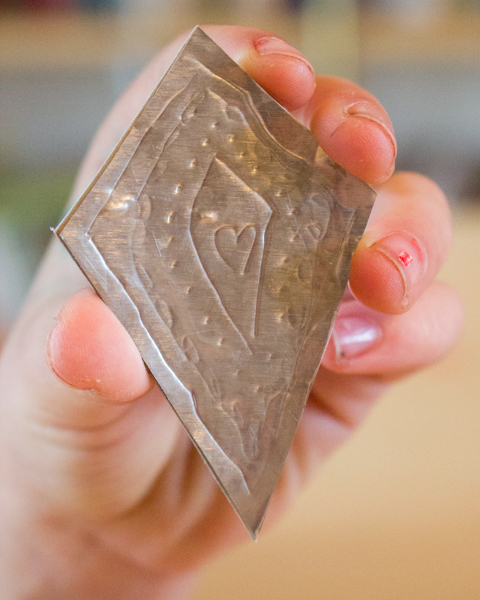
3. Emboss the pendants. Give the kids each a stylus and let them use it to draw on their pendants, embossing them with their designs. This part is fun!
4. Embellish the pendants. Let the kids add details to their embossing using the permanent markers.

Remind them that permanent marker takes a few minutes to set onto slick surfaces, so it will smudge if they’re not careful.
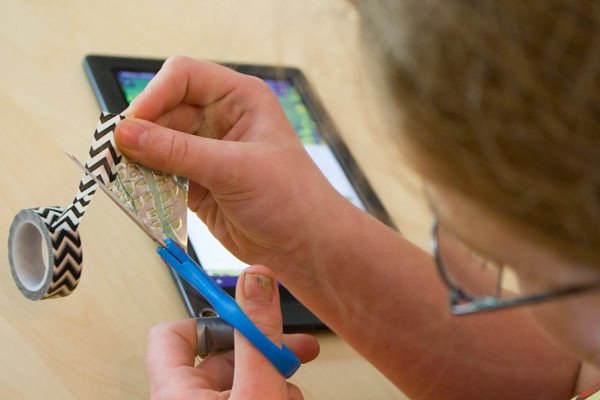 5. Wrap the edges in washi tape. After the permanent marker is dry, the kids can wrap the edges of their pendants–and the backs, if they’d like–in washi tape. The easiest way for a kid to do this is to tear off a piece of tape a little longer than one edge, place the tape along the front edge of the pendant (so that they can place it where they like), wrap it to the back, cut off the excess, and repeat for the remaining edges.
If the kid wants, she can also cover the rest of the pendant’s back in washi tape.
6. Seal the pendant. This is optional, but if the pendant is likely to get wet, you may want to give it a couple of coats of sealant. Some sealants can cause permanent marker to bleed, so spot-check this first if you’re doing this step.
7. Hole punch and tie the pendant. Punch the pendant at the top, then loop cording through the hole and tie it into a necklace. I like to use a double sliding knot for all kid jewelry.
These pendants are fairly quick to make, but still satisfying, since it lets kids use some different tools and materials than they might usually, and they tend to turn out really cute.
Especially that kitty cat one. Adorbs, right?

Hi there, what kind of sealant would you recommend?
Anything that won’t smear your permanent marker. I have a couple of non-eco-friendly sealants that I use when I absolutely need them–spray sealant and brush-on polyurethane–so if I needed to seal these, I’d test them on a scrap piece of aluminum with the permanent markers that I planned to use. A more eco-friendly option is Mod Podge, but it’s not as good of a sealant for jewelry, so it really depends on how well you need the piece to be sealed.