
You don’t want to forget all the wonderful memories that you made on your vacation, do you?
That’s why travel journals are so valuable. Just a couple of lines of text or a sketch or two every day, and you’ll be amazed at the detailed memories you’ll be able to pull up every time you look back on your travel journal. I created my first travel journal 18 years ago, and I remember that vacation so much better than far more recent vacations that I took but didn’t write about.
What you don’t want to do, however, is drop a bunch of money on some gorgeous, leather-bound, parchment paper journal, not when it’s going to get stuffed in your backpack, dragged on trains and planes and buses, pulled out next to tide pools and earthquake fault lines, and not to mention WRITTEN IN! Who needs the pressure?
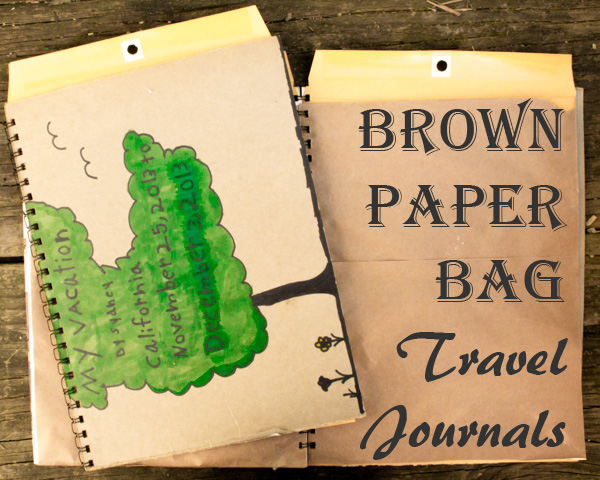
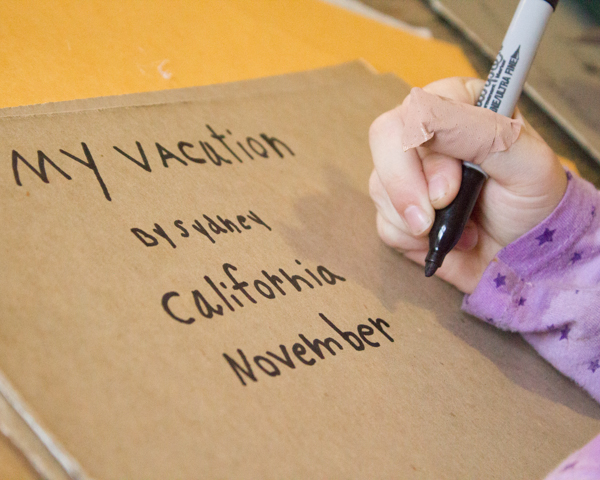
Both my kids and I really like to make these quick and dirty DIY travel journals for ourselves out of brown paper bags, cardboard, and other scrounged materials. I like the ability to practice my VERY basic sketching skills and write stupid thoughts down without worrying that I’m messing up a “nice” book, and making the books themselves seems to make writing in them throughout our trip a lot more fun for my kiddos.
Here’s how we whip out these bad boys the day before a big vacation:
1. Decide on a size. Kids don’t do as well writing and drawing in cramped spaces, so I make my kids’ travel journals pretty big–around 9″x12″. At that size, the books fit well in their backpacks, but still give them plenty of room to create.
I, however, like a pretty small book, and I generally use the scraps leftover from making my kids’ books to make my own about 4″x6″.
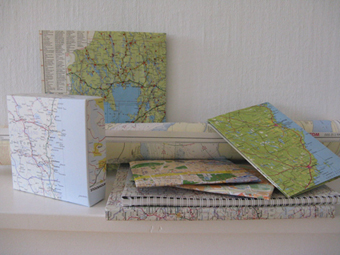
2. Collect upcycled papers. I spiral bind my kids’ books, so I scrounge covers for them out of cardboard–shipping boxes, pizza box lids, record album covers, etc. Sheets of plastic, wood laminate, or the covers of discarded hardback books would also work, if you’ve got any such thing hanging around.
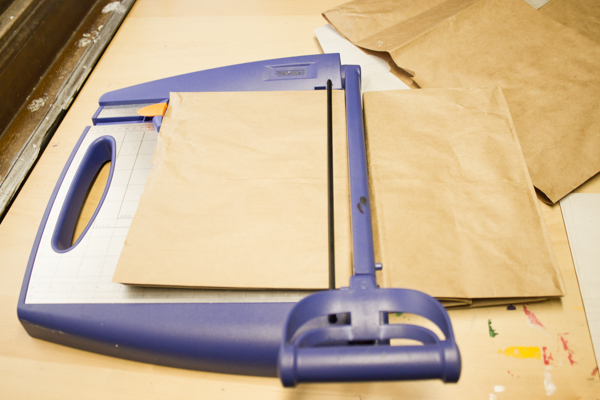 The inside pages of your travel journals can be as interesting (or not) as you wish them to be. Most of our pages are cut from brown paper bags, because we all like how nicely they take crayon, colored pencil, and marker. For my kids’ books, I intersperse these sketching pages with lined paper, to give their handwriting at least a passing shot at legibility. I also include at least a couple of upcycled manila envelopes in my kids’ journals, to catch some of their little souvenirs, and I encourage them to choose some purely decorative papers from our stash of scrap paper, so that later, when we’re home, they have a place to paste in photos and postcards from the trip.
 3. Organize and bind your travel journal. Writing and drawing in their travel journals daily is actually a requirement for my kids, because I’m mean, so I have them organize their pages so that they have a sketching page, a drawing page, and a page for photos for each day of our trip, with the souvenir envelopes and any extras put wherever they wish. I sandwich those pages inside a cardboard front cover and back cover, and bind them with my Zutter Bind-It-All
.
I do NOT spiral bind my own little travel journal; instead, I cut my pages to twice their width, stack them, fold them in half, and then stitch down the middle with my sewing machine set to a very long stitch.
Pack your finished journal in your carry-on bag, and don’t forget to include a small set of colored pens. Write in it every day–what you see, what you do, how you liked it–and keep it forever, so that you’ll always remember this trip.


Travel Journals are so much fun! We’ve used altered books for travel journals in the past. One of Emma’s favorite things to do is gather brochures and then collage in her journal. I love the idea of a page for sketching, a page for writing and a page for photos (or collage) for each day of the trip. Might have to get a few travel journals put together for our upcoming trip to Gramma’s.
Someday, I WILL buy a Zutter Bind-it-all. Someday.
My next project is to figure out how to combine the travel journals with the scrapbooks that we create after the trip. I don’t necessarily just want to put extra pages in at the beginning, because we never know how many pages it will take to scrapbook each destination, but I do think it would be really cool to combine the two, perhaps along with the girls’ state fact work, as well.
Love these ideas, and that you are “mean” enough to encourage your kids to start early!
I like to cut out guidebook pages and just bring the applicable sections on whatever trip I’m taking, along with a small map on which I’ve highlighted places I want to see. For my last trip, I made a thin book using these items, plus added some blank pages, a pretty small envelope to hold ticket stubs, etc., and sewed it into a cardstock cover. It’s thin enough so that I can insert it into a pocket in my photo book attach it to the inside back/front cover (whenever I get around to making it, since I’m about three trips behind) or scrapbook. The other folks on the trip kept commenting about my cute little guidebook/journal and it was sure handy to have the map tucked inside!
I LOVE your guidebook/journal project! Our public library has “free” days for its book sale room, and there are always tons and tons and TONS of old guidebooks there, free for the taking. We often grab them up for our scrapbooking work after our trip, but I really like the idea of incorporating them into our travel journals, instead.
Pingback: Crafting a Green World | The home for green crafts and tutorials!
Pingback: Crafting a Green World | The home for green crafts and tutorials!