
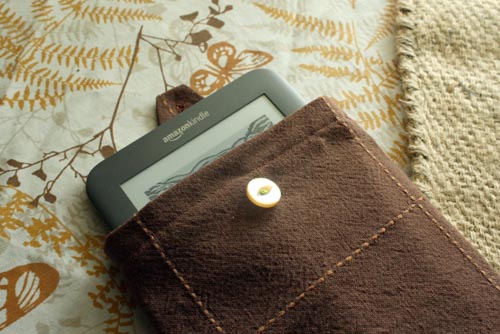
My husband just got a Kindle, and he is loving it! He loves that it’s small and that he can instantly snag new books whenever he wants. What he doesn’t love is worrying about his Kindle getting damaged in his bag on the way to and from the train station, so I thought I’d whip him up a simple little cozy to keep it safe and sound.
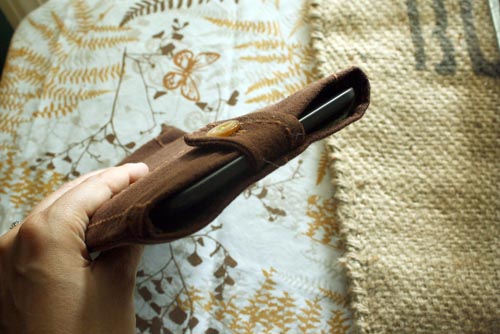
This Kindle cozy took less than an hour to make, and it fits his Kindle like a glove!
Materials
- 1 9 x 12″ piece of recycled crafting felt
- 1 9 x 12″ piece of scrap fabric (or organic fabric, if you don’t have the right sized scrap)
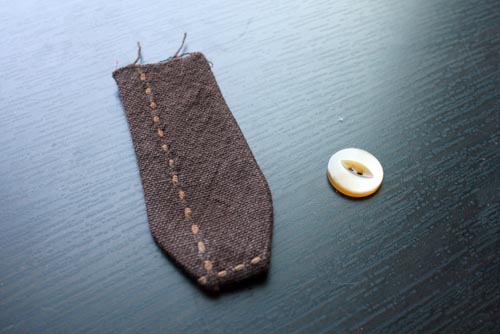
- 1 6 x 1.5″ piece of scrap fabric, for the flap closure
- 1 vintage button
- sewing machine or needle and thread
Directions
1. Cut your larger fabric piece in half, so that you have two pieces that are each 9 x 6″, and cut your felt into two 7.5 x 6″ rectangles.
2. Sew your felt on three sides, starting on one of the long sides and ending on a long side, so one of the short, top sides remains open.
3. Place your two 9 x 6″ fabric pieces right sides together and then do the same with them.
4. Fold the smaller piece of fabric over, so it now measures 3 x 1.5″. Iron, and then sew up the long sides, leaving the top open.
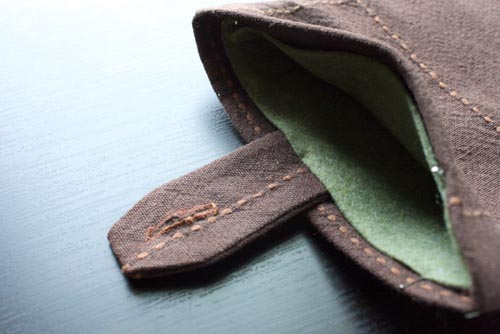
5. Leave the felt as-is, then flip your bigger piece of fabric and flap right side out. You can push out the corners of the flap to make a rectangular flap or leave the corners tucked in for a pointier look, then use your machine to sew in the button hole 1/4″ from the finished bottom of the flap (the photo below is from before I stitched the button hole):
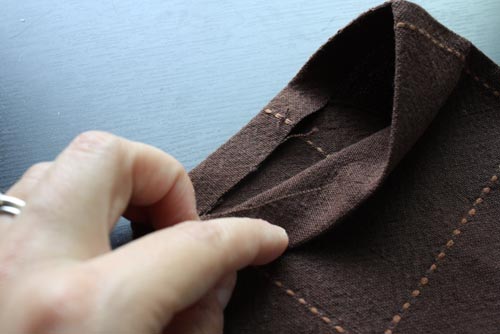
 6. Take the outer pouch and fold the unfinished edge in by around 1″, then iron:
7. It’s time to assemble! Tuck your felt pocket into the fabric pocket, so both open sides are facing up. Pin all the way around the top.
8. Tuck the flap, unfinished side down, into the center of the pouch’s top seam, in between the lining fabric and the outer fabric. The flap should stick out like this:
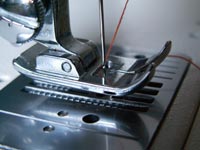
9. Now, you’re ready to sew! Stitch around the top seam of your case.
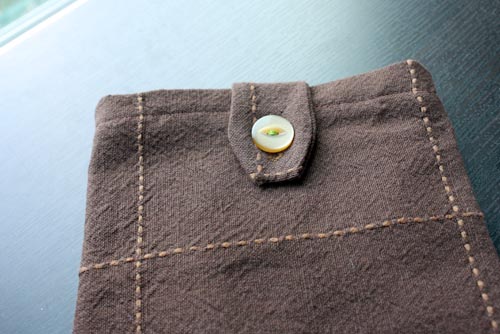
10. Add your button, and you’re all done!
This tutorial works for my husband’s Kindle, which is the Kindle 3G. Some of the other models are different dimensions, so you might have to scale things up a bit to accommodate the bigger models.
I’m sure other folks have made some cute, upcycled gadget cases. Share away in the comments!


In step 3, shouldn’t that be “right” sides together? Just clarifying. Thanks.
Pingback: 10 DIY Valentine’s Day gifts for your loved one »
Love this case. I think I am going to try it this weekend. So simple and looks nice too! Thanks for the instructions.
What about the button hole?
Oops! I’ll add that in. You sew it in step 5. 🙂
Pingback: DIY Valentine’s Day Gift – DIY Kindle Case | Life Is A Party, LLC
Pingback: 5 Great Ideas for a Handmade Valentine's Day | Province of Briarcliff
There are other fasteners you can use if you’re not the handiest at button holes (like me). Toggles and loops or frog closures, for example.
Pingback: Our Top 14 D.I.Y. Gifts for HIM for Valentine's Day ⋆ Moonstruck Charms