Kids love personalized stuff. You know this for a fact if you’ve ever gone into a gift shop with a kid and watched her break her heart fruitlessly searching for a key chain with her name on it. You ESPECIALLY know this for a fact if you have more than one kid and you like to give them matching stuff; they will fight to the death over which completely identical beach towel, or pillow pet, or sandwich is whose.
Monograms are your friends, Dear Readers, as are complementary colors.
So when PlanToys gave me two completely identical toy chests and free reign to do whatever I liked with them, I knew that Step 1 was, as it always is, to personalize them for each kid.
These PlanToys toy chests have a nice, clean surface at both the front and the back that are suitable for a variety of personalization methods. I debated painting on each child’s monogram, but since I want to make these toy chests into portable LEGO play tables (more on that later!), I wanted the monogram to be wipeable, which means coating it in a clear sealant, which the rest of the toy chest doesn’t need.
For the same reason, I rejected the idea of a fabric applique. I normally stain-proof fabric with beeswax, but waxed fabric can’t be glued. Another time, perhaps I’ll experiment with other clear sealants on fabric.
Paper, then, is the best choice for your monogram for this project. You can stain-proof and waterproof paper. You can adhere it to practically any surface. And it comes in infinite varieties, so your kid will definitely find a color and pattern that she likes.
To personalize a toy chest of your own, you will need:
1. pretty paper. Anything will work, but for this particular project, we’re using scrapbook paper. The kids each chose their own paper, and I was pleased with how lovely their choices looked when paired with the natural wood of the toy chests.
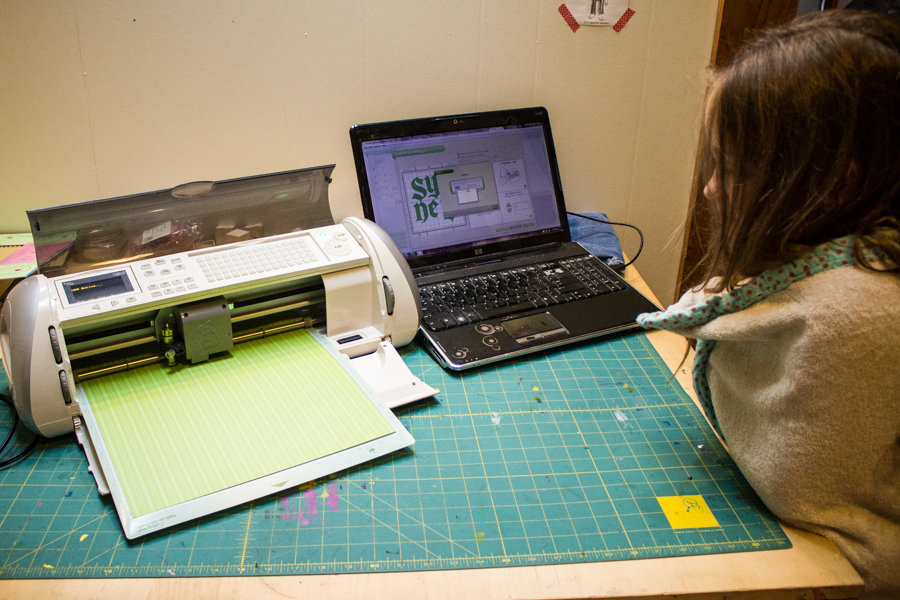
2. die-cut machine, stencils, or freehand drawing skills. I used my Cricutto cut these monograms. I like the ability to choose my font and adjust its size on my computer, and then simply have the paper cut to my specifications, but a fancy die-cutting machine isn’t, of course, necessary. You can get the same effect with stencils, or by tracing clip art to make a template, or by drawing your own letters.
3. clear sealant. Depending on the size of your letters, you might seal them with clear packing tape, several coats of Mod Podge, or a single coat of polyurethane or a spray sealant. The latter two are the quickest options, but aren’t particularly eco-friendly.
4. glue. Choose a thin, clear cement, such as Mod Podge or spray adhesive. Again, spray sealant isn’t an eco-friendly solution, but it is the easiest tool for a tidy appearance in this particular project.
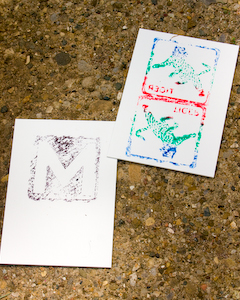
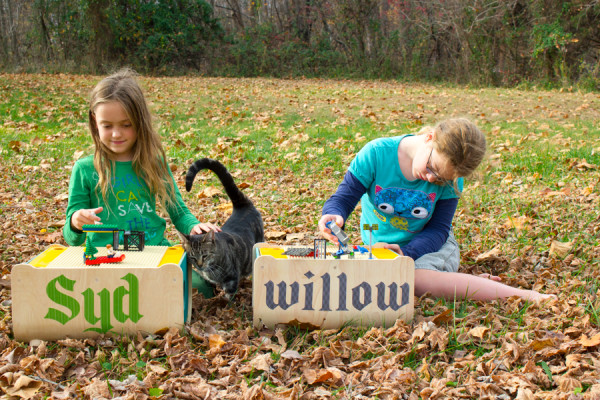
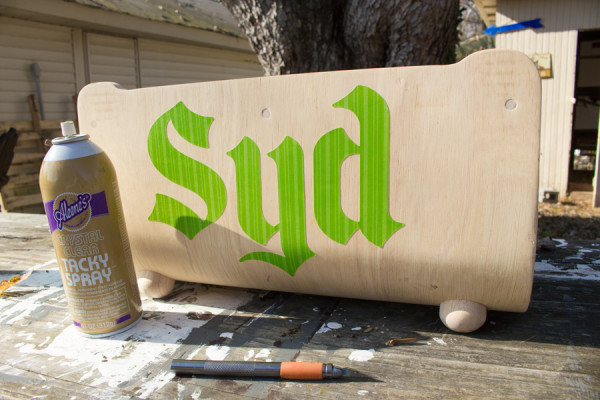
1. Cut the monogram. You’ll want to decide if your monogram’s height, or its width, is more important to you. Syd’s monogram, as you can see in the top image, is the maximum height for this toy chest–5 inches. That means, however, that I didn’t have room for her entire name. I kept Willow’s full name to the maximum width for this toy chest, 15 inches, but you’ll notice that the letters, then, are smaller.
Decide how you want to measure your own monogram, and then cut out the letters accordingly.
2. Seal the monogram. Lay the paper letters face up on a non-stick surface, such as waxed paper, then paint or spray the clear sealant onto them. Let them dry thoroughly.
3. Adhere the monogram to the toy chest. There’s a little peg at the top center of both sides of the PlanToys toy chest that is a great marker for centering your monogram. I don’t recommend even drawing guidelines with a pencil, unless it’s very, VERY lightly; wood just doesn’t always erase cleanly. Have faith in your ability to eyeball, and if something does end up crooked, insist to the end of your days that you meant it to look that way.
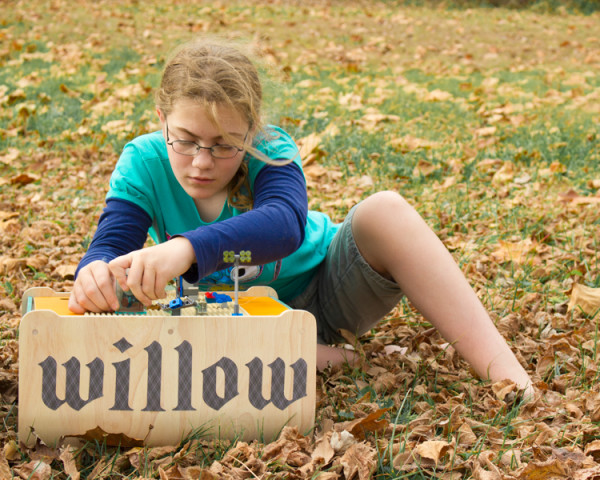
The kids are now easily able to tell their toy chests apart, and with the clean lines of the chests and the pretty paper of the monograms, they’re currently among their nicest possessions!
On Monday, I’ll show you how to further personalized these toy chests by turning them into portable LEGO play tables with LEGO storage inside.
PlanToys gave me these toy chests for free, because I can’t write about something if I haven’t glued scrapbook paper to it!