


Need some sturdy plant markers this year? Need them to be cute? Need them to be free?
These wire hanger and found object plant markers are sturdy enough to stand up to several seasons of use in your garden. Made from things like broken pottery, pretty rocks, and all sorts of little embellishments, they’re as cute as you want to make them. And since you can make these entirely from your stash, they are entirely free!
Here’s how to make the first part of the project: garden-sized shepherd’s hooks created from wire coat hangers.
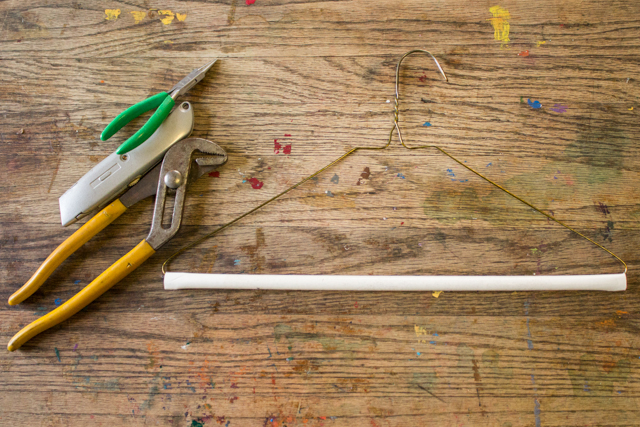
Gather your supplies. It’s good to have a couple of different pliers for bending the wire, and a box knife will help you get that cardboard tube off of the hanger, but the key to this project is the hanger itself. I get my wire hangers from Freecycle, and I have different uses for different types; here I’m using wire hangers with cardboard trouser guards. A wire coat hanger with a cardboard trouser guard is made from sturdier stuff than a regular wire hanger, and thus will keep its shape without bending from the weight of your found object plant markers.
You’ll also notice, when you get that cardboard tube off, that the hanger is actually cut off at the bottom, with bent ends to hold it inside the cardboard. I use this feature to make two shepherd’s hooks from one base–the second hook can hold additional plant information, the name of the plants in the next row, or just something pretty.
Next >> Make the Double Hook
Remove the cardboard tube. Use the box knife to slit each end of the cardboard tube, and the hanger ends should slip out of the tube without much fuss. I give these cardboard tubes to my kids to whack each other with, and when they end up making each other cry I take them away and recycle them.
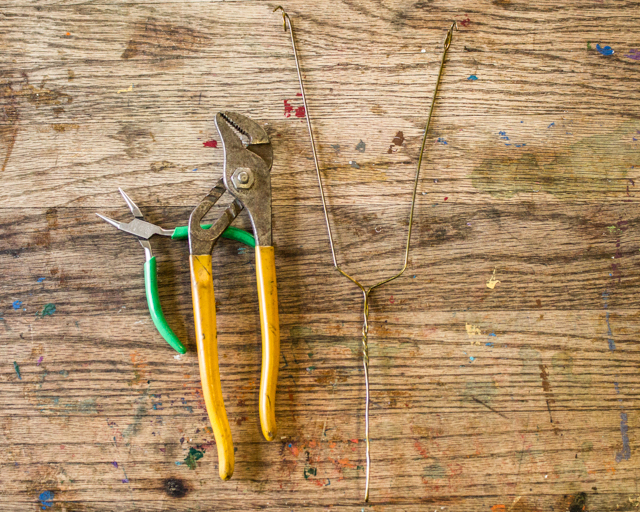
Straighten the top of the hanger. Using pliers, it takes just a few seconds to straighten the top of the hanger. This is the part that you’ll put in the ground, so you want it to be nice and straight.
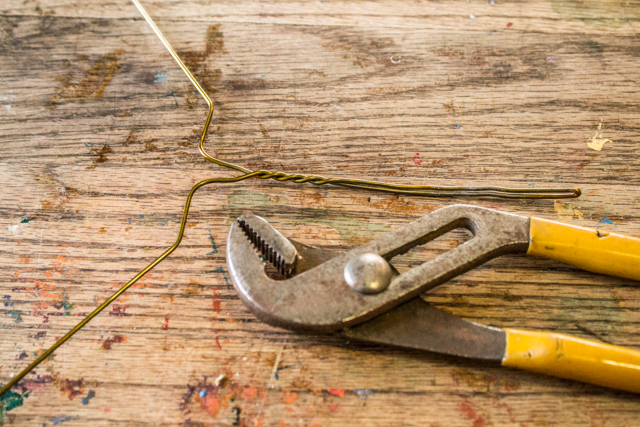
Bend the two arms of the hanger to your liking. There should already be one hook at the end of each arm, so you’re partially done already. I like to use my needlenose pliers to put a couple more crooks in the wire, or sometimes even a spiral, so that the plant marker can’t work its way off the hook if it’s a windy day or a cat bats at it.
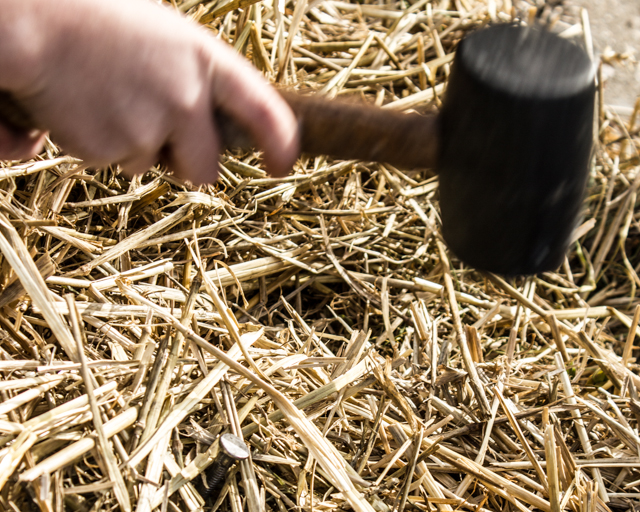
Plant it! If your ground is soft, you may just be able to press the base in, but I have my kiddo helping me in these photos, and kiddos love tools, so she’s first pounding a giant nail into the ground, then pulling it out and setting each hanger in the hole made by the nail.
Tomorrow, I’ll show you how I make the plant markers to hang from these little shepherd’s hooks. I use found objects, little trinkets, and jewelry wire, and I must warn you:
It’s a lot of fun!


This is so cute! I usually just put the plastic plant tags in the ground with my plants, and a month later, they’re broken or gone.
As I was planting some lettuce last week, I ran across one of these — http://craftingagreenworld.com/2009/03/31/recycle-vinyl-blinds-into-plant-markers-another-quickie-tutorial/ –that I had put in four years ago! I actually could still read it, but I clearly HAD lost it. It’s above ground all the way for me, now.