
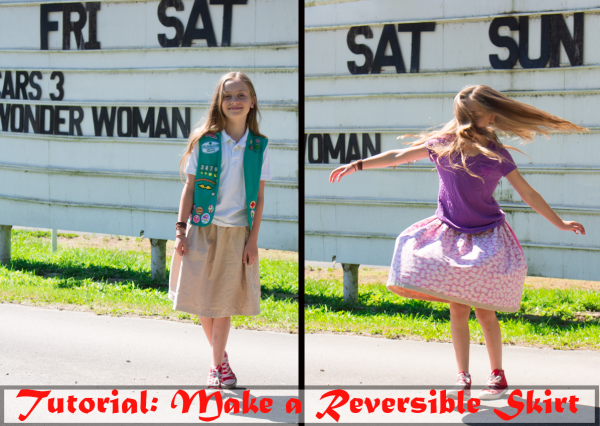
It’s business on one side, and a party on the other!
Or in this case–it’s Girl Scout khaki on one side, and pretty pink on the other!
My kiddo wanted a dressier version of her Girl Scout uniform, but I also know good and well that she is simply not going to wear a khaki skirt for any reason other than a dressy Girl Scout occasion. I’m not one to enjoy sewing something that will get little use, so yes, I made her the khaki skirt that she wanted, but I made it reversible, with some pink prints from my stash that I know she’ll enjoy wearing every other day.
Want to make your own reversible skirt? It’s not hard, and it’s a great stash buster!
You will need:
up to 2 yards of two different fabrics. I’m afraid that I went overboard and sewed this skirt too large, but to be fair, Girl Scouts wear those khaki uniforms from the 6th grade until they graduate high school and bridge to adults. It was boring enough to pick out khaki fabric the first time–I don’t want to do it every year until my kid graduates! This particular skirt used two fabrics that were 22″ x 72″, but I could have halved both measurements and still had a fine skirt for an eleven-year-old.
1/2″ elastic.
measuring and sewing supplies.

1. Measure and cut two identical skirt pieces. Each should be the desired length of skirt + 1.5″ and the desired width (two to three times the wearer’s waist measurement) + 1.5″. To make sure that the two pieces are absolutely identical, I like to lay one on top of the other and cut them simultaneously.
2. Measure and mark the hem/waistline. You will overlap these skirt panels when you sew them together, with one skirt panel folded over the other to make the skirt’s hem, and the other skirt panel folded over to make the skirt’s elastic waistband casing. You will see, then, a different-colored bias hem on one skirt and a different-colored waistband on the other.
Measure and mark 1.5″ from the bottom edge of the skirt panel that you’d like to use for the bottom hem, and 1.5″ from the top edge of the skirt panel that you’d like to use for the elastic waistband casing.
3. Sew both skirts. Sew each skirt panel into a tube by sewing the short sides together and finishing the seams.
4. Sew the hem and waistband. Place the two skirt pieces wrong sides together, and overlap them by 1.5″ inches. The skirt that will be folded over and sewn to make the bottom hem should overlap the other skirt piece by 1.5″ at the bottom, and the skirt that will be folded over and sewn to make the elastic waistband casing should overlap the other skirt piece by 1.5″ at the top–the marks that you made in step 2 should help you with this.
Fold the bottom hem up, crease it, then fold it again to the inside and edge stitch it, encasing the raw edge of the other skirt panel.
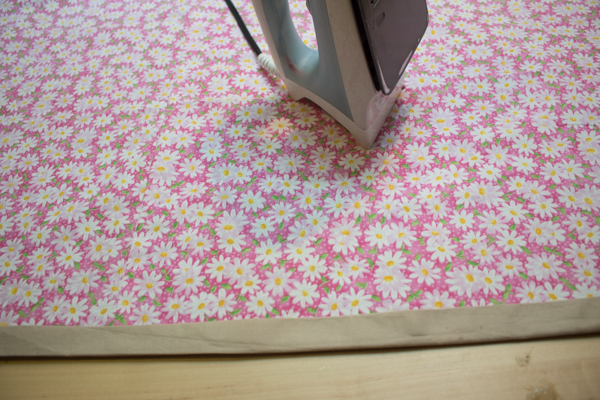
Turn the skirt inside out, then fold the top waistband hem up and crease it, then fold it over again and edge stitch it down, leaving an opening to insert the elastic.
Attach a safety pin to the elastic, feed it through, sew the ends together, and sew the opening in the casing closed.
And now you have a reversible skirt! You can use this method to alter the matching skirts from this tutorial, and outfit a whole troop of Girl Scouts.


Awesome!