
Candy wrappers do have one redeeming quality: they’re so cute! Here’s how to make a candy wrapper picture frame to show off your favorite photo.

Candy wrappers tend to be vibrant and pretty and decorative in a way that a lot of other trash isn’t, which makes them great candidates for upcycling, even if you don’t normally eat a lot of candy.
We DON’T eat a lot of candy, and although my kid really wanted her ninth birthday party to be candy-themed, I still tried to keep it toned-down candy-wise, giving the party the “feel” of having a lot of candy without, you know, having a lot of candy.
One of my choices was to have NO individually-wrapped candies. Not only does that just compound the waste, but I also did not want to spend the next year coming upon tiny candy wrappers all over the house and yard.
Therefore, at the end of the party, I ended up with a few of these larger wrappers, rather than a million smaller ones:
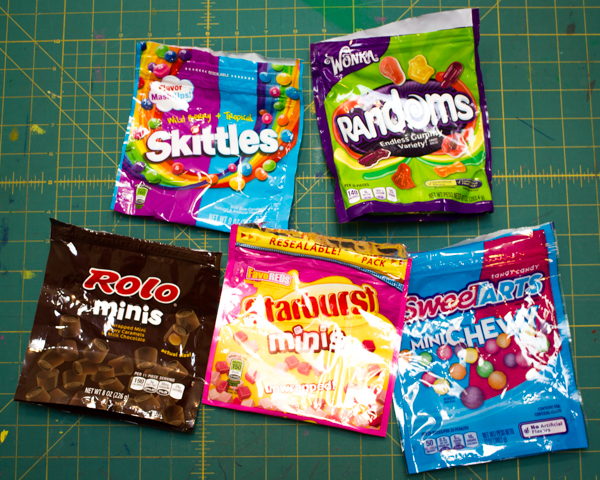
However, in this candy wrapper picture frame that I’m going to make as a party souvenir for my kid, you can of course use the smaller wrappers. Just remember that although these five bags were enough for one frame for me, with only a little waste leftover, you’ll need to score more than five small bags of candy for your own frame.
Here’s what else you’ll need:
- mat board. I like mat board the best, because it’s designed for this usage, but really thick cardboard–think corrugated–will also work well. Thinner cardboard won’t work as well, because it’ll want to warp when you’re trying to get your candy wrappers taut.
- cutting mat, x-acto knife, rotary cutter, ruler, etc. This is just me, but the more chaotic my materials are, the more structured I like the design to be. So I cut my wrappers into strips precisely 1″ wide. If you don’t care about that, then you can freehand your strips with just scissors.
- tape. Regular Scotch tape is actually the best adhesive for this project. When you’re tired of your frame, you can peel off the wrappers, toss them with the tape, and recycle the cardboard frame.
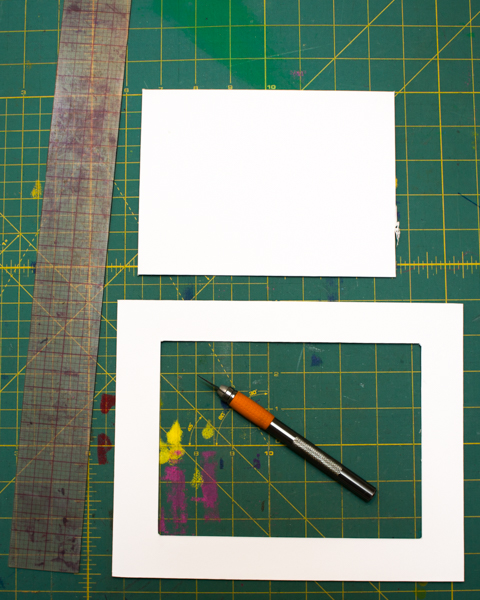
1. Cut the mat board to size. You can do this for any size, but I started with an 8″x10″ mat board, and cut a 5″x7″ rectangle into its center. Do you know how to do the math for this? Subtraction is your friend! Here’s the formula:
(mat board length-picture length)/2
Measure that from both ends, mark, and draw parallel lines at that measurement on the back side of your mat board. Turn the mat board ninety degrees and repeat, and you’ll have drawn the rectangular box that you need to cut out.
Use a sharp x-acto knife (and then probably replace it again when you’re done, because mat boards are hell on x-acto knives!) to cut out that rectangle, and you’ll have made your picture window:
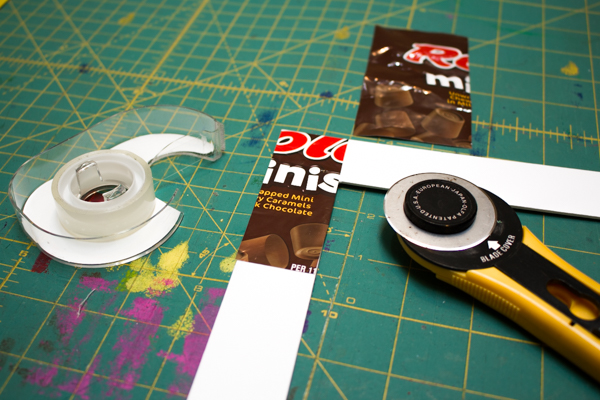
2. Cut the candy wrappers to size. Wash and dry them well, then cut away the seams and cut each candy wrapper into strips.
3. Wrap the corners of the frame first. Cut a wrapper strip that’s exactly the width of the mat board frame.
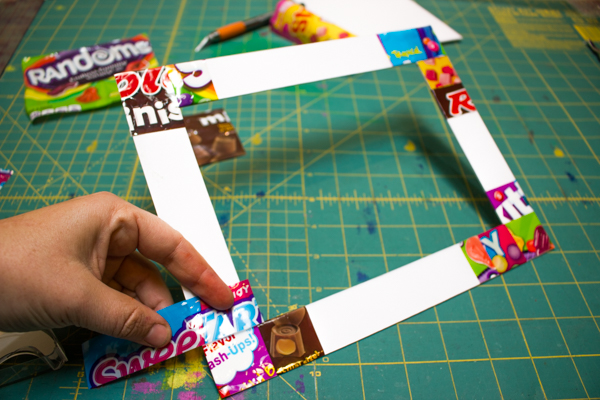
For each candy wrapper strip, you’ll first tape one edge to the back of the frame, then wrap it around the front of the frame and tape it again to the back. With these corner strips, however, you’ll be taping one edge to the back of the frame, flush with the edge, wrapping it around the front of the frame, and taping it there:
You’ll be overlapping it with other strips later, but this will cover those wonky corners:
4. Wrap the rest of the frame. Continue to tape strips to the back of the frame, wrap them around the front to the back, and tape them to the back until the entire frame is covered with candy wrapper strips:
5. Add the photo. I put together a photo collage of the kid’s birthday party using a digital design program, making it 5″x7″ but centering it onto an 8″x10″ page. After printing it, I trimmed off 1/4″ from all sides, then made sure that the photo was centered perfectly in the fame and taped it down.
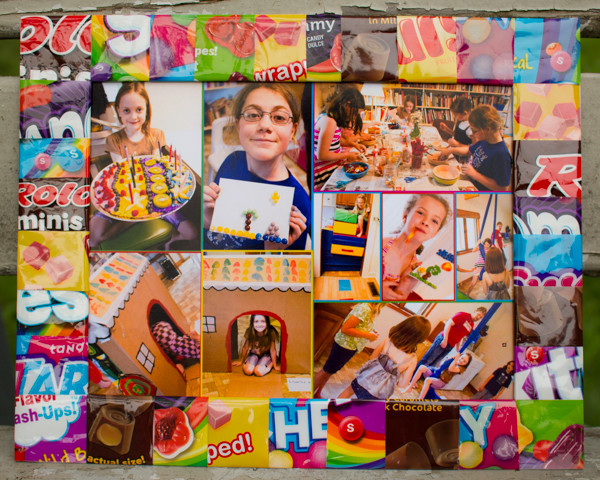
You can put this into another commercial photo frame, if you’d like, but we’re kind of minimalists, and I think it looks cute on the wall just the way it is.


Pingback: Crafting a Green World | The home for green crafts and tutorials!
Pingback: 30 Ways to Refinish Picture Frames - Crafting a Green World
not helpful at ALL