
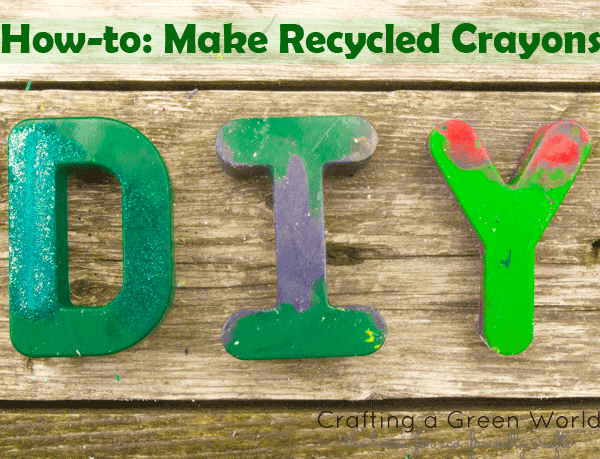
Save your broken crayons, and use them to make fun, new recycled crayons that will thrill the kids.
These recycled crayons are made from all the stubs and broken bits that nobody uses to color with anymore. Once you’re finished, the crayons will be big enough to color with again, and they’ll also be made into unique shapes that your kids are going to want to try out right away.
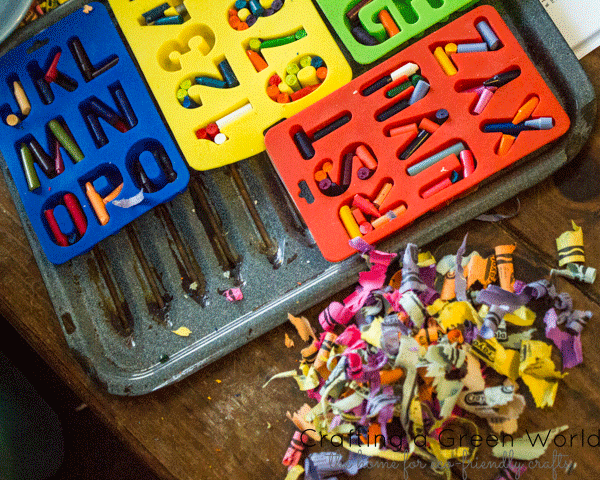
To begin, figure out what you want to use as a crayon mold. Your mold should be non-stick so that your finished crayons will slip out easily, but other than that, be creative! Non-stick muffin tins work well, as do all of the huge variety of food-grade silicone baking molds that are out in the world now. I keep an eye out at thrift stores and especially garage sales, and my novelty silicone mold collection now includes the letters and numbers, skulls, LEGOs, peace symbols, leaves, hearts, robots, fish, Christmas trees, and much, much more–people are always selling those molds at their garage sales!
Of course, if you’re creative, you can find other objects that make great molds. I’ve got a couple of popsicle molds that make really fun crayons, and if you stick a popsicle stick in them before they solidify, they actually look like popsicles.
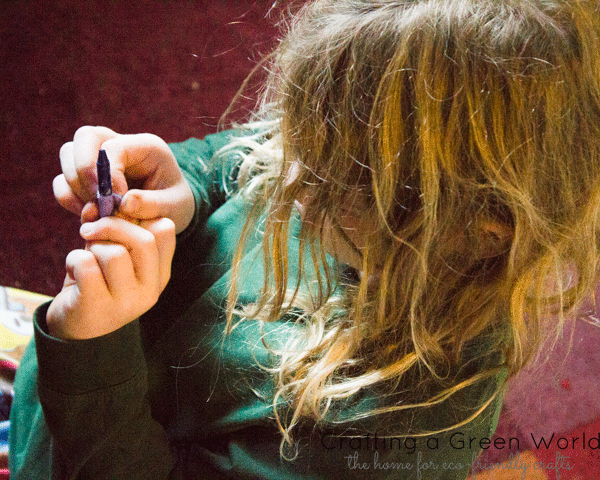
Next, grab your kids, because filling the molds with crayon bits is a job that everyone can do. I use my x-acto knife to cut each crayon’s wrapper from top to bottom, so that it peels off easily. Then the kids and I break the crayons into tiny pieces and arrange them to fill the molds. Go easy on the darker colors, the purples and blues, because they just look dark in the finished crayons. Instead, use lots of reds and oranges and greens and light blue, and add darker colors judiciously for emphasis.
Set your molds on a larger tray to catch any drips or spills (my husband once dumped an entire spaghetti sauce jar of melted crayon into the oven as he was attempting to remove it with clumsy, oven mitted hands. It wasn’t fun), then set your oven to its lowest setting and pop the tray of molds right in.
Keep an eye on the crayons as they melt; the secret to not getting that annoying clear wax layer on the top of your crayons is to melt them only until they’re liquified, but not so long that they continue to separate the pigment from the wax (of course, if you’re looking to make yourself a concentrated source of non-toxic pigment, now you know how!). When the crayons look as if they’re all melted, take them out of the oven and leave them to cool.
Especially if you’ve chosen an elaborately shaped novelty silicone mold, don’t even attempt to remove the crayons from their mold until they’re cool all the way through. Even so, crayons are brittle, so if your mold has fiddly bits (Grr, those robot hands and that curvy, curvy S!) don’t be surprised if you break a few crayons attempting to remove them. If you do, just pop them back into the oven to remelt, and try again when they’ve cooled.
These crayons make great presents for toddlers and preschool kids, especially, but I don’t know any kid of any age who wouldn’t like LEGO or skull crayons. Heck, *I* play with our LEGO and skull crayons!


Those molds are awesome! Do you use them just for crafting or for food as well?
And I love recycled crayons. We don’t use crayons often enough really to get them down to stubs anymore. Might have to do something about that.
I made crayons with my kids all the time. We’d melt them in a can which was on the stove in a pot of water, then pour the melted stuff in paper cups about 1/4″ thick. It was the kids’ job to separate the crayons into like colors and to later peel the paper cups off. Fun stuff!
I love the article, but you didn’t mention what temperature to set the oven to?
I said that you should set your oven to its lowest setting, which varies for many ovens. Low and slow is the key to getting a good melt!