

What else can your kid do with her old, outgrown building blocks?
She can draw with them!
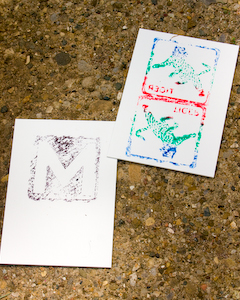
Well, not WITH them, with them (although she can create wood block prints with them), but old building blocks, specifically the cubes, easily become the base material in a really fun drawing game that my kids and I play together a lot.
Here’s how to make your own art dice, and how to play with them:
1. Collect old building blocks. Your blocks don’t have to be huge, but they should definitely be larger than, say, dice, because your kid will be drawing on them–you don’t *really* want her to get frustrated and throw a fit, do you? And unlike the blocks in my decoupaged building blocks tutorial, these blocks should all be cubes.
Most of our building blocks are unfinished wood, so that’s what we use, but I don’t see why painted wood or plastic wouldn’t also work for this project, if that’s what you’ve got on hand. You may need to experiment with your drawings, however, because the Sharpies that we’re going to use won’t work as well on every surface.
2. Draw on the blocks. My kids and I are studying art usingDrawing With Children, so we’ve based this particular set of art dice on the five shape families from that book–dots, circles, curves, lines, and angles. You can model your dice on that, or get creative with your own categories–one die could have different shapes on it, and one die could have different colors, and one die could have different thicknesses of line, etc. Just have fun with it!
You don’t need to seal the blocks when you’re finished, although you may.
And that’s it! The game that we play with our art dice is also super simple, and yet really, really fun. To begin, each person sets up with paper and drawing materials–again, based on Drawing with Children, we tend to use Bristol board, black Sharpies, and Prismacolor double-points, but whatever you’re comfortable with is fine.
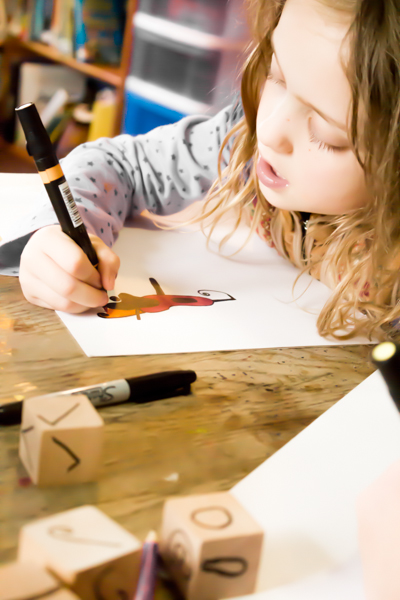 The first person chooses a die at random (pick it out of a hat or a drawstring bag), then rolls that die. Whatever shape comes up, that’s what everyone draws on their own paper. The goal isn’t to copy the shape precisely, but to put your own personal spin on it–you may draw the shape smaller or larger, rotate it, place it wherever you like on your paper, etc.
As participants take turns drawing and rolling the dice, everyone adds each successive shape to their drawing. The result will likely be an interesting abstract that has unexpectedly logical elements to it, as new shapes are rolled and discovered to fit just in one perfect spot–or not!
When we play, we generally continue our game until we come to a consensus that our drawings look complete, and then we spend some time coloring them and finishing them off.
The secret, though, is that this game is so fun that even after we’re completely done, my kiddos tend to stay at the table, drawing and coloring on their own, for a LONG time.
Like, time enough for me to hop on the treadmill time, or time enough for me to read a chapter of my book time.


This is a great idea! We have recently started doing collaborative pages, just as quick together time activities. Also, we have the book, but if we sit down and work on it as a “lesson” there is resistance. Now I can be sneaky about it!
AND, we have on hand (that I just discovered today while trying to destash) some cardboard blank cubes that are meant to be turned into 6 different puzzles (that doesn’t really make sense, but I know what I’m talking about).
Anyway, thanks for the idea!
I do know those puzzle-type cubes, and I think they’d be perfect for creating art dice.
It recently occurred to me that I have the complete set of Draw, Write, Now books, too. I set them aside beside the girls were getting frustrated following the directions in them, but I’m thinking that now, with the skill set we’re working on, these will actually be at the perfect level, so I may start interspersing those with the Drawing with Children lessons, too.
Pingback: Crafting a Green World | The home for green crafts and tutorials!