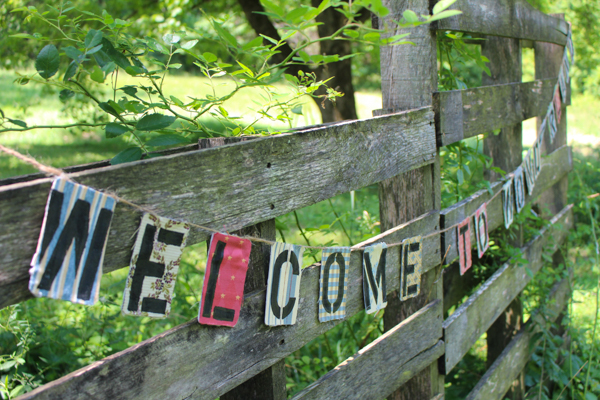
There’s nothing like a bunting to make a festive occasion just that much more special. That’s why my daughter wanted a bunting as part of the decorations for her recent Alice in Wonderland birthday party–and also, of course, she IS my daughter. It’s possible that a love for buntings is expressed at the genetic level…
Knowing what I wanted to make, I sorted through my stash of potential crafting supplies that surely will be useful someday (this is also known as my “stash of trash”) and hit the jackpot when I came across a partial deck of souvenir playing cards. You can’t play a lot of games with a partial deck of playing cards, and you also can’t recycle them–and if you’re me, you apparently also can’t bear the thought of simply tossing them into the waste stream, not when you might want to make a bunting out of them six years later!
The faces of the playing cards would work as-is in the bunting because playing cards are on-theme for Alice in Wonderland, but as for the backs… well, my daughter for some reason didn’t want scenes from Yellowstone National Park in the 1980s decorating her party. Silly girl!
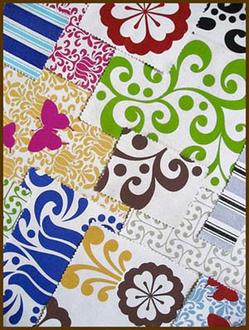
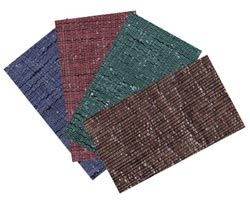
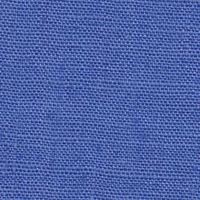
Instead, I turned to another super useful piece of trash, a giant book full of tacky old upholstery samples. These sample books are notorious for being snapped up at thrift stores by avid crafters with stars in their eyes, who then take them home and never, ever figure out a way to separate the samples from their glued-on paper backings.
There isn’t a way, Friends. Stop breaking your hearts on the effort.
So you can’t sew those upholstery samples into anything, because they have thick paper backings glued onto them (you’ll never get that glue off! Stop trying!). What you CAN do, however, is cut and glue them, stencil and paint on them, and embellish the snot out of them. That’s what my daughter and I did to make her upcycled playing card and upholstery sample bunting, and here’s how we did it!
Directions
1. Cut Bunting Pieces Out Of The Upholstery Samples
Use a playing card as a template to trace the bunting pieces directly onto the back of each upholstery sample.
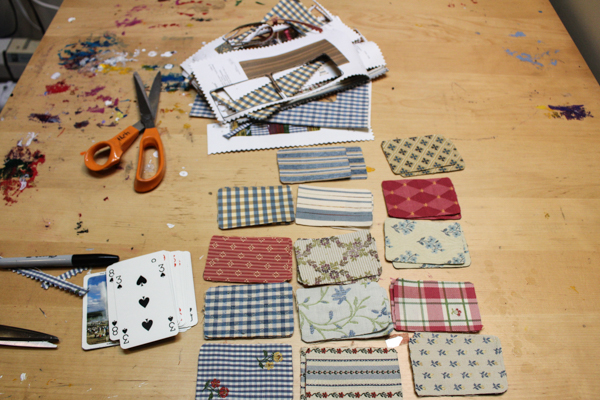
Cutting these pieces out is sort of a nightmare, at least for my own set of upholstery samples, because the glued-on paper backing doesn’t cover the entire piece. I obviously can’t use my fabric scissors to cut paper, and my paper scissors are too dull to cut fabric, so I had to use two different pairs of scissors for every piece, ugh.
2. Embellish as desired
The possibilities for embellishing buntings are practically infinite, but for this bunting, I wanted to spell out a welcoming message.
Stencils and paint to the rescue!
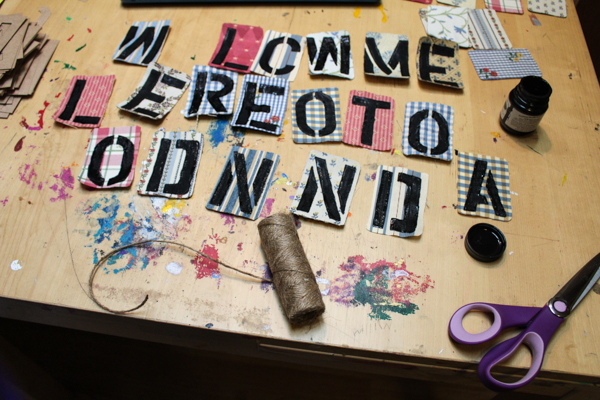
I have a very old-school Cricut on which I can cut letter stencils, but happily, a set of store-bought cardboard stencils that I already had on hand turned out to be perfectly sized for this bunting–yay! I traced each letter onto the front of an upholstery sample piece with black Sharpie.
Because this bunting isn’t washable, you can use any kind of paint on it. My fabric paint is getting a little old, though, so I’ve been using it on any even remotely fabric-adjacent project lately so I can use it up and have an excuse to buy more.
3. Adhere The Upholstery Pieces And The Hanging Cord To The Playing Cards
You can use any type of hanging cord that you’d like for a bunting, from a kid-made yarn cord created on a knitting spool to store-bought bias tape. Bias tape actually would have looked really cute with this particular bunting, except that I filled nearly all of the available space with my letters, and bias tape would definitely have cut the tops off of some of them. Instead, I decided on simple brown twine, to be sandwiched between the upholstery fabric and the playing card.
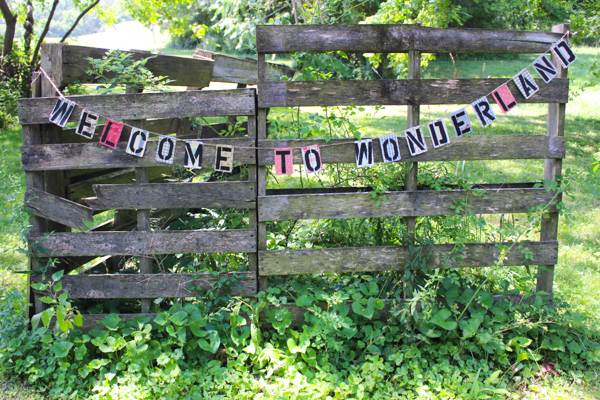
You can also attach the two sides of the bunting pieces together in a number of ways. I seriously considered machine-sewing them together with a wide zig-zag stitch, but then my daughter happened by and got involved, and her solution to every problem is to hot glue it. So she hot glued it!
I wouldn’t use a bunting that was hot glued outside in all weather, but it was perfect for a beautiful, mild birthday party day. Afterward, we hung the bunting in her bedroom, so that every time she looks at it she can remember what a wonderful time she had at her Alice in Wonderland birthday party!
P.S. Do you also have a book of wallpaper samples that you’re wondering what to do with? You can make a bunting with those, too!

Love this one!