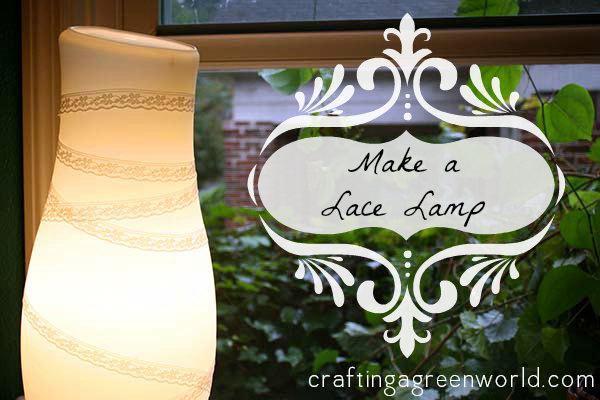
Make your own DIY lighting! Take a glass lamp from plain Jane to shabby chic in just a few minutes with a little bit of lace or ribbon and the right sort of glue.
When my husband’s grandparents sold their house to buy a condo, his grandma Jane let me ransack her sewing stash. We are talking decades of vintage sewing notions. It was heaven, you guys. I love Jane Frye dearly, so for years I’ve held on to these things, waiting for just the right project to use them. I’d been wanting to decorate my office with a little DIY lighting, and when I was looking through my stash, I came across a packet of her lace ribbon. Perfecto!
If you don’t have lace ribbon in your stash, you can easily find some on Etsy. We’re trying to keep it green, right? So vintage is better than new! I used an old IKEA lamp that has been in my office for years, and if you don’t have a glass lamp you could use this to update an old lampshade, too. Part of green crafting is getting creative and making it work, so take a look at what you have and what you can find at thrift stores, so you can do your own version of this project!
DIY Lace-Wrapped Lamp
I used a length of lace ribbon, but you could also do this DIY lighting project with other translucent ribbons for different, equally sweet effects. Use what you have, and have fun with it!
Materials
- old glass lamp or plain, smooth lamp shade
- 1 yard of lace ribbon or other translucent ribbon
- super glue – I used Gorilla Super Glue, because I had it left from repairing some broken pottery, and I like that it dries totally clear.
Directions
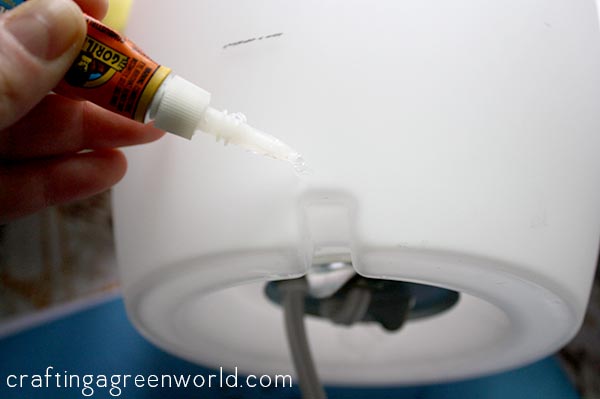
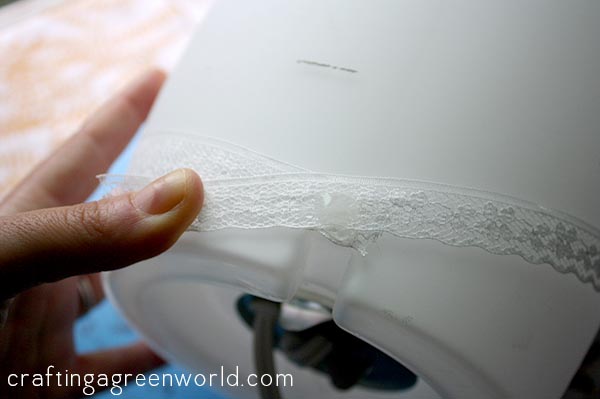
1. Find a spot on your lamp that’s going to be the least visible. I chose the spot right above where the cord comes out the back. Place a dot of super glue there, and secure the ribbon. Make sure not to get your fingers in the glue when you do this! I glued it by putting the ribbon over the glue with about 1/2″ laid down beyond the glue dot and holding it down by that little 1/2″ tail. You can just trim that off before you start wrapping.
2. Wrap away! You want to wrap tightly, because it’s the tension that’s going to hold your ribbon in place. I had to wrap it a few times to get it nice and tight and to make sure that my ribbon ended up right where I’d started.
 3. Speaking of ending up right where you started, you want to do that. Wrap your lace up the lamp, then back down, and secure the whole thing by putting another dot of super glue right where your first dot was and using that same method to glue down the other tail of the ribbon.
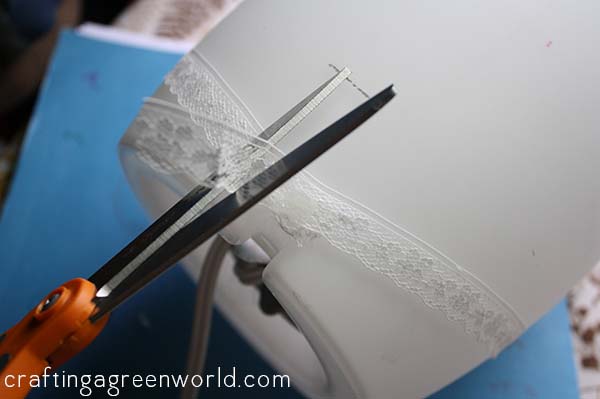
4. Trim the tail off of your ribbon, and you’re all done!
Easy peasy, right? Have you guys done any fun DIY lighting projects? I’d love to hear your ideas in the comments!


