Turn an old coffee container into a DIY play blender for your kid’s play kitchen. Then kick back, and watch the pretend play unfold!
My two-year-old’s relationship with blenders is…complicated. He loves smoothies and “banana swirl,” bit the loud noise from my Vitamix freaks him out. He has to actually leave the kitchen before I turn the blender on most of the time.
Related: 6 Ways I Engage My Toddler in the Kitchen
I’ve been trying to help him through his fear of blenders (frappophobia?), so I was delighted when he wanted to pretend play that an old coffee canister was a blender. Of course, I wanted to take his idea and make him an even more blender-like toy for his play kitchen. It was so simple!
Related: Raid Your Kitchen for Sensory Play!
Play Blender for Your DIY Play Kitchen
Materials
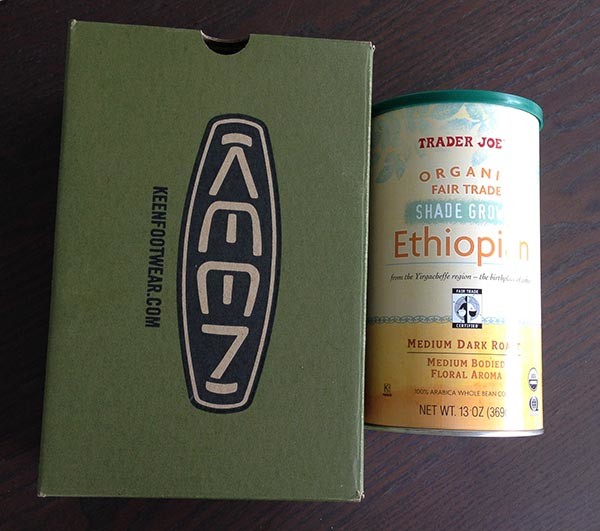
+ old coffee canister – Cardboard or metal is fine. Mine was a cardboard one from Trader Joe’s. You could also use an oatmeal container.
+ shoe box – A child’s shoe box is best but a full-sized one will work fine.
+ hot glue gun and glue
+ low VOC spray paint – I used white, but you might like the black and silver variation I mention below. You decide!
+ dot stickers like these – This is for the power and speed buttons. You could also draw or paint on the buttons or glue something on. My son still puts things in his mouth, so I was worried that a little glued-on button might be a choking hazard. But maybe your kid doesn’t do that anymore!
Directions
1. Place your coffee canister on top of the shoe box to decide where you want the blender’s jar to sit. Mine is centered on the back third of the shoebox.
2. Trace the base onto the box. Don’t be like me and use a neon marker, though. That will show through even many layers of paint. Use a pencil.
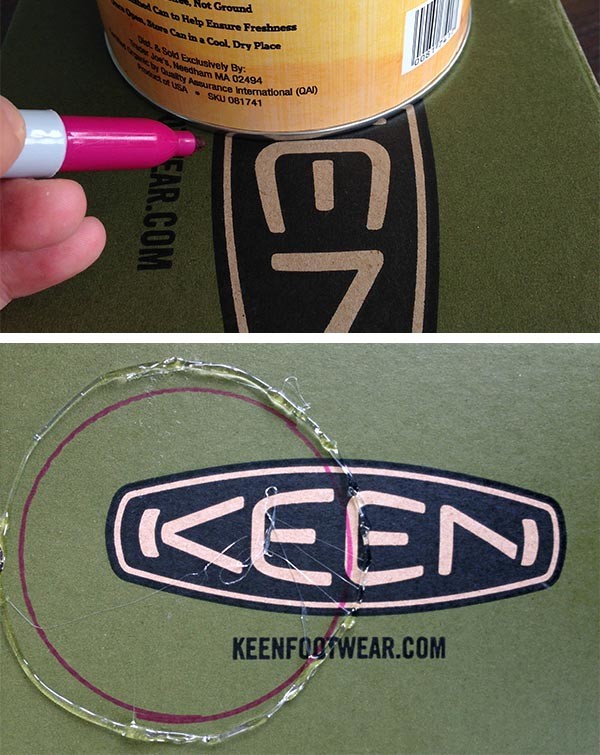
3. Use your glue gun to draw a circle just outside the circle you traced on the shoe box. This creates the “seat” for your blender’s jar.
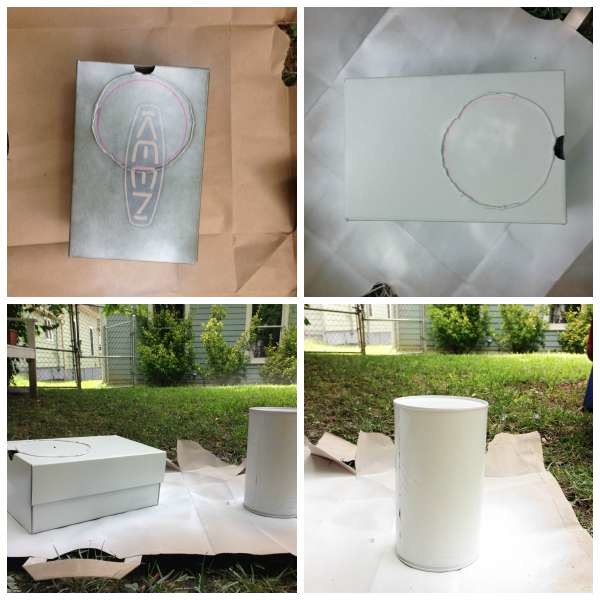
4. Spray paint the box and tin. I painted both parts white, but I think that if I make another one of these for my kid’s school, I will paint the top part silver and the base black. Whatever you decide, make sure you do many thin coats of paint rather then a couple of thick coats. Since this toy blender will get a lot of use, you want to be sure the paint will withstand all of that play kitchen love.
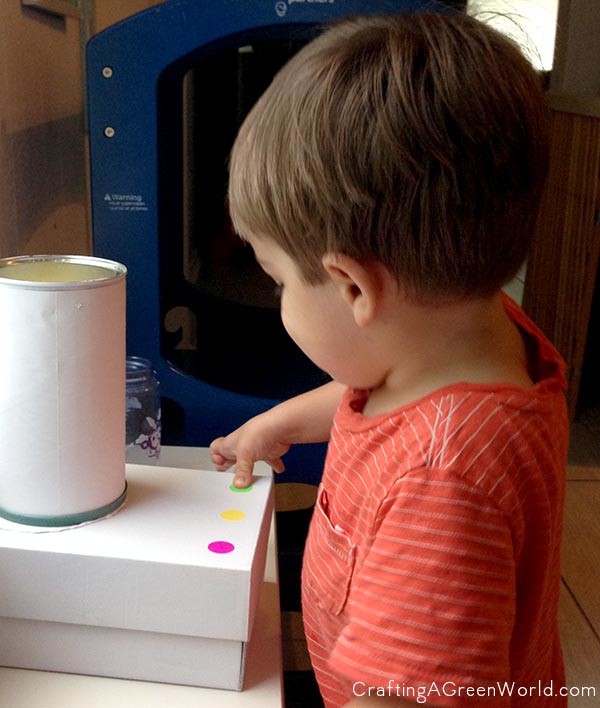
5. Apply the dot stickers to your blender. I did an on, off, and high button on mine. You can do whatever you want! Maybe your kid will want to apply the stickers himself.

6. Play! My son likes making “smoothies” with his play blender using the PlayToys Fruit and Vegetable Play Set that we have.
The only problem with this is that, since it’s not a real blender, the pouring part is tricky at the end. But that’s just fine motor learning, right?