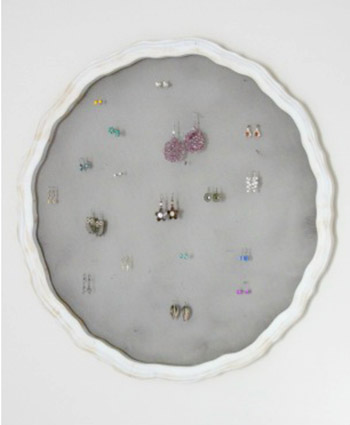
Desperate for a way to organize and store your jewelry? Create an upcycled DIY jewelry organizer!
I found the coolest upcycled project at a garage sale and had to share it with you guys! I want to be up front and say that I didn’t create this organizer — I simply painted it. Even so, it was too awesome not to share!
Related: DIY Hanging Jewelry Storage from a Hanging Fruit Basket
The woman who sold it to me said that the frame was the molding from an antique table and then she attached the screen mesh. She said she used it for flower arrangements, but I immediately saw an awesome jewelry organizer/display! Now you can recreate it, too!
Upcycled DIY Jewelry Organizer
Materials
+ A frame of some sort. You can easily find an empty picture frame at a thrift store or garage sale.
+ Screen mesh. You can find screen mesh at your local hardware store, but if you can you use a screen mesh from an old door, that’s even better!
+ A stapler or staple gun
+ (Optional) Low VOC spray paint
Directions
1. Clean your frame of any dust or dirt.
2. If you want to paint your frame, now is the time to do it!
3. Cut the screen mesh to the size of your frame, leaving a little bit around the edges so you can attach it to the frame.
4. Attach the mesh to your frame using a stapler or staple gun.
5. (Optional) I painted the mesh to give it a fresh and clean look, but it’s definitely not something you have to do. If you decide to paint your mesh, I would suggest painting it before you attach it to your frame (that way you don’t have to tape off your frame and such).
6. Hang and organize your earrings!
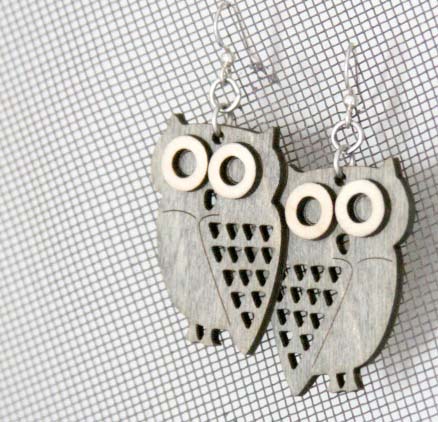
That was pretty simple to create, right? Now you have a place to arrange all of your DIY recycled jewelry. I love the way the frame doubles as eclectic wall art, too!