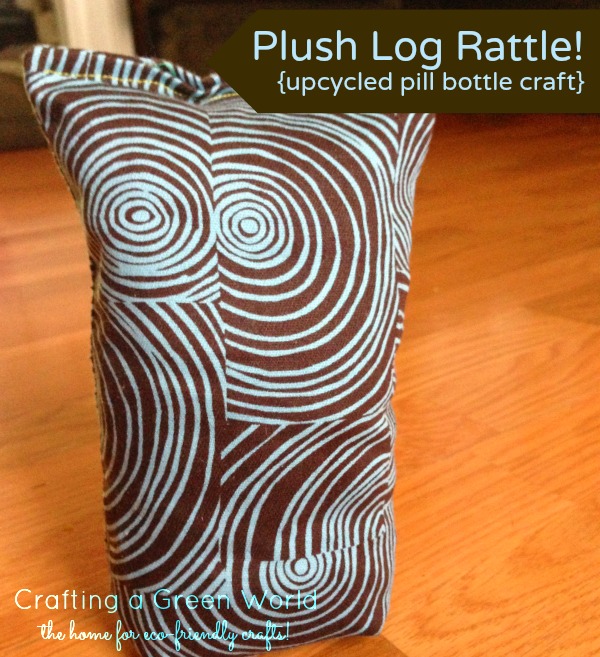
Got an old pill bottle handy? Here’s how to turn it into a simple plush DIY baby toy that rattles!
My kid is super into toys that make noise lately, so when I finished off a round of antibiotics, I saved the bottle to make a DIY baby toy for him that has a built in rattle. I wanted something simple that would encourage creative play, and this faux bois “log” toy was just what I imagined. Here’s how you can make your own!
Want more pill bottle crafts? Check these out!
I used this beautiful wood grain Harmony Art fabric from our sponsors at Organic Cotton Plus. It’s called Let is Grow and is as pretty in person as it is in the photos. It worked perfectly for this DIY baby toy! I love a good faux bois.
Faux Bois Log Toy Tutorial
Materials
- old pill bottle
- about 20 dried beans (I used black eyed peas.)
- Harmony Art Let it Grow fabric, cut into two 9″ X 6″ squares
- pen
- ruler
- tiny fabric scraps, for stuffing (See this post for deets on stuffing without polyfill!)
- sewing machine, thread, pins
Directions
1. Put the dried beans into your pill bottle, and give it a shake, to make sure it’s loud enough for you. Once you get it into the stuffed rattle, it’s going to get quieter, so play around with it until it’s a bit louder than you’ll want the toy to be.
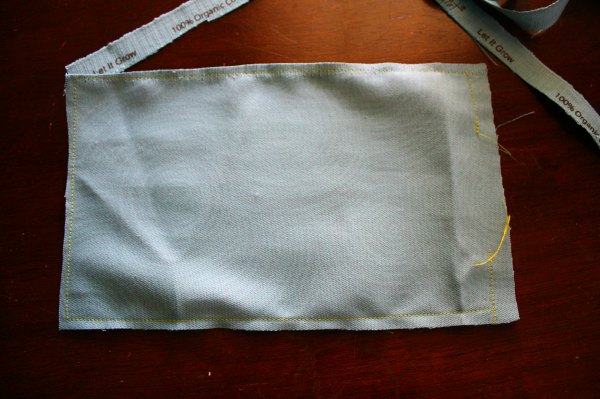
2. Place your two fabric pieces wrong sides together, and sew them up. You’re going to use a 1/8″ seam allowance on both long sides and on one narrow side. On the other narrow side, use a 1/2″ seam allowance, and leave a 3″ opening on that side:
3. Make your flat bottom. Lay the sewn bag on the table, lining up the long seams. So, you’ll have one long seam running down the center as you look down at it, and you want to feel with your hands to make sure that the back seam is lined up. As you smooth things down, the bottom of the fabric will natrurally want to form a diamond shape:
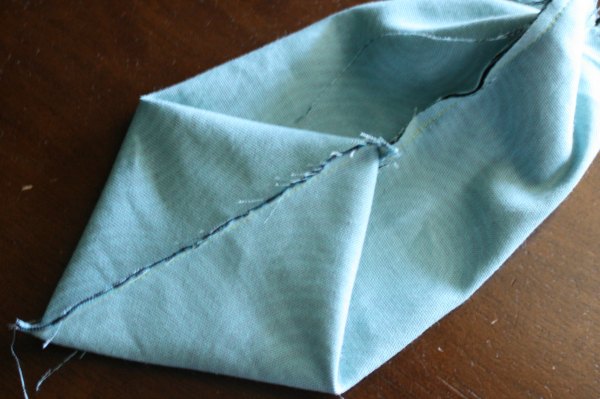
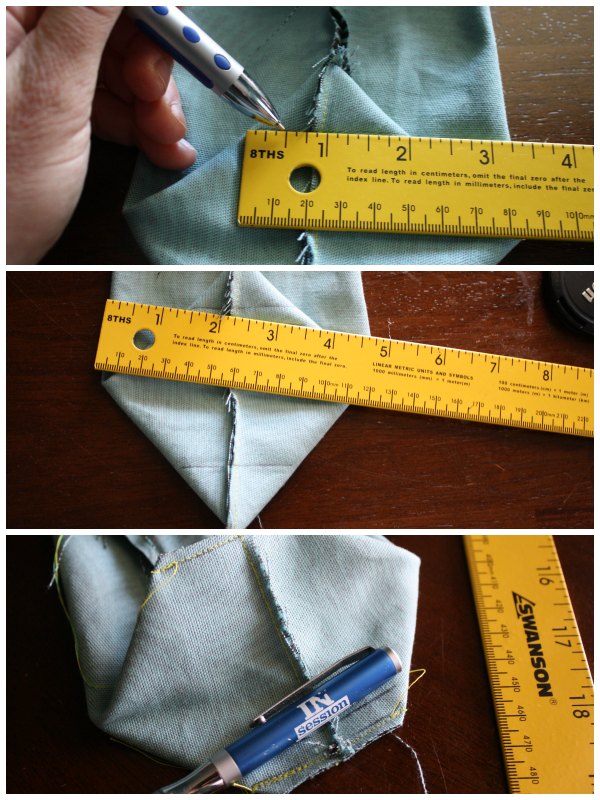
4. Use your ruler to mark off two 2″ lines running parallel to the seam: one near the top of the diamond, and one near the bottom. Pin to secure your fabric, sew along these two lines, then trim off the excess.
5. Flip your fabric right-side-out, then stuff about 1/4 full with your fabric scraps. Slide in your rattle into the casing. Use your fabric scraps to stuff around all of the sides of your rattle and above it to finish stuffing. You want to stuff it pretty well, but not too tightly, because you need to get that top part back into your sewing machine.
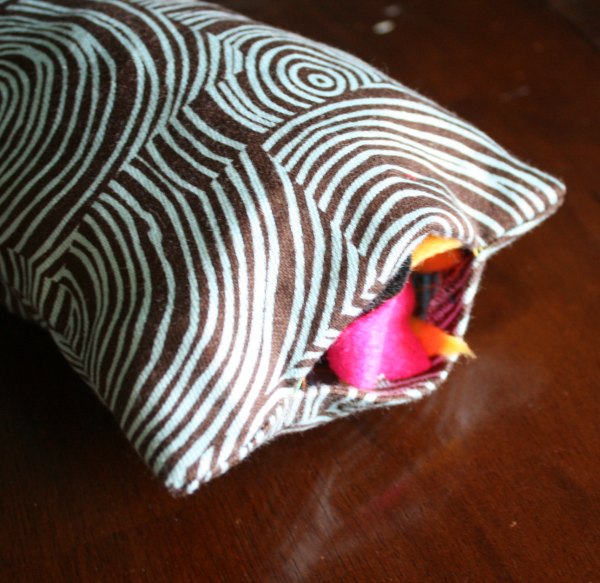
6. Fold the unfinished bit of fabric on your rattle in, then use your sewing machine to stitch a line straight across the top. This is going to close off the opening that you left, so your baby can’t get at the stuffing or at the rattle with the beans inside.