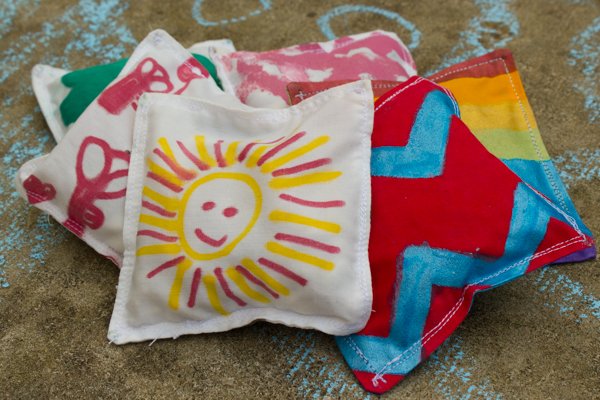
1. Cut scrap fabric to size. We’ll be following along with my original stenciled bean bags tutorial to make these kid-decorated ones, so I’m using my standard 4.5″ square template. You can go larger, though, if you’ve got some larger scraps and you don’t want to create waste by trimming them. Just stick to a square shape, and feel free to experiment!
2. Back with freezer paper, or starch the heck out of it! Stiffening the fabric is really essential to making this a kid-friendly project–kids don’t like shifty, squiggly surfaces, and trying to use fabric markers to draw a detailed portrait of the cat on an un-stiffened piece of cotton is just a recipe for a tantrum.
And don’t you have enough of those already?
You can saturate the fabric with spray starch (have you tried homemade spray starch?), but my quicker, simpler solution is to iron freezer paper to the back of my fabric. It gives each square the sturdiness of paper, and my kids have no problems working on that surface.
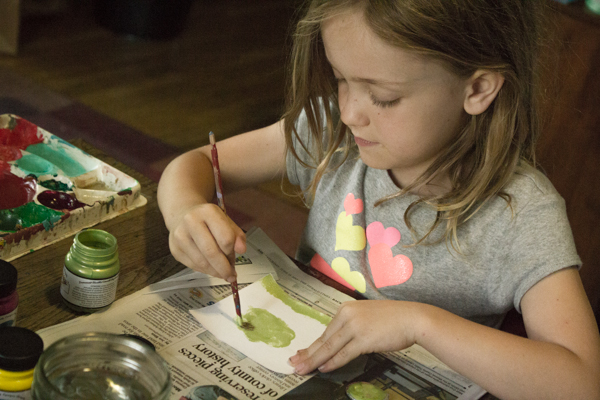
 3. Let the kids loose! I have a large selection of Jacquard fabric paint
, Tee Juice markers
, and Crayola fabric crayons, and I set my kids free with all of them. My kiddos LOVE to use the fabric paints and fabric markers, but I can’t ever get them to try out the fabric crayons (too fussy!).
Whichever medium you use, let it dry and cure for at least 24 hours before the next step.
4. Sew the bean bags. Follow my stenciled bean bags tutorial, or just wing it–it’s not rocket surgery. You could use your own dried beans, but if you’re going to purchase dried beans for these bean bags, though, go ahead and purchase white beans. It doesn’t make a ton of difference, but especially if you’re using thinner fabric and haven’t covered the surface completely in paint, the white beans look a little nicer inside the bean bags than pinto beans do.
Your kiddos can start playing with their bean bags as soon as you’ve finished sewing them. If you’d like to give them as a gift, it just takes another ten or so minutes to also sew up a nice drawstring bag to package them.



Great project! This one probably would also be a good beginner sewing project as well. Not that the kiddo has any interest in the sewing machine, but she could probably sew them up by hand.
Thanks!
If you used a nice felt, she could stitch them together with embroidery floss. To counter the kid-stitching that might leave holes where the beans could fall out, you could even glue the bean bags closed first, and then her stitching would be mainly decorative.