Need some gift bags? Here’s my method for how to sew a drawstring bag. It’s the easiest drawstring that you’ll ever sew!
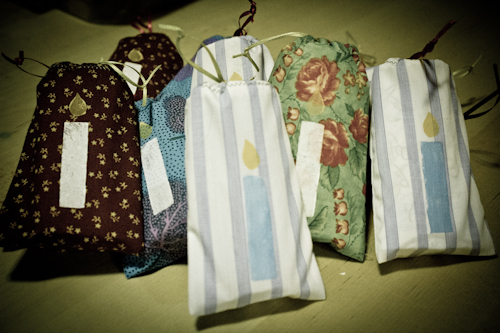
I sew a lot of little drawstring bags, dozens at a time for my etsy shop, one or two every time a new mismatched set of chess pieces or Bella Sera trading cards presents itself as a storage problem, a couple every weekend, it seems, to package the gifts for the endless parade of children’s birthday parties that my daughters attend.
When I sew a lot of something, and often, I’m always trying to refine my methods. In particular, although I create my drawstring bags using my own simple drawstring bag tutorial, the casing is fiddly to sew when the bag opening is smaller than the sewing machine’s free arm (as it always seems to be, sigh), and opening a couple of stitches in the seam to thread the ribbon through requires careful attention for a moment, causing me to miss some conversation in the Fringe episode that I’m trying to watch while I sew, and a double-drawstring enclosure keeps items contained more securely than a single drawstring does, keeping all those chess pieces from falling out when their bag is hurled by an angry child at her sister’s head.
In the year since I crafted my first drawstring bag tutorial, I’ve refined it to correct these fiddly bits and to make the bag even quicker and easier to sew. Read on for the quickest, easiest, drawstring bag tutorial that you’re ever going to find:

I still use the same bits from my fabric stash to sew my drawstring bags, and the same sizing standards, although these days it’s a package of U.S. presidents flash cards that I place narrow side on the fold and cut around to make a drawstring bag the perfect size for birthday candles or Beyblades.
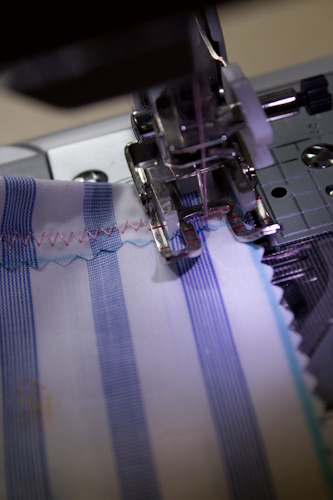
After you’ve cut out your fabric but before you sew up the two long sides of your drawstring bag, however, fold each of the two short sides of your fabric down a half-inch to an inch (depending on whether your drawstring is going to be narrow or wide), and stitch it down. you’ll be left with a narrow tube, open at each end, running across both short sides of your fabric. This will be the drawstring casing.
At this point, if you want to add an applique, or freezer paper stencil, or any cute embellishments to your drawstring bag, do it now, before the bag is sewn up and it becomes more fiddly to do.
Fold the bag in half, right sides together, and sew up the two long sides. Begin your stitching right at the stitching line for the drawstring casing, and sew all the way to the bottom of the bag. Do not sew through the drawstring casing!
The two drawstring openings on either side of the bag are unhemmed, yes, but since they’re securely stitched on either side they’re unlikely to unravel. For a perfectly clean drawstring opening, simply hem the long sides of the drawstring fabric with a very narrow hem before you begin the first step of this tutorial.
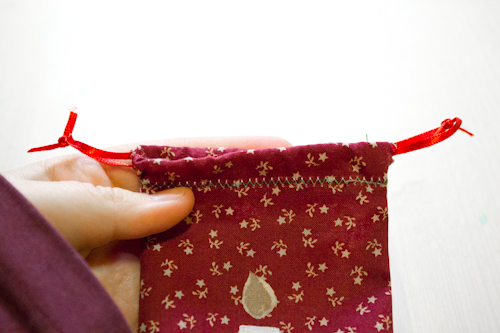
Thread one drawstring through a casing opening on one side, all the way around the casings, and out on the side on which you began, and tie it off. Thread another drawstring through a casing opening on the other side, all the way around, and out on the side on which it began, and tie it off.
Pulling both drawstrings tight, and then knotting them together, will make a much more secure enclosure for your bag than a single drawstring will, although it will be harder for a small child to manage. For a kid who certainly ought to be putting away her own chess pieces and Beyblades and peg people, however, and not leaving them out for me to step on in the middle of the night on my way to the bathroom, this is the perfect solution.
Other than, you know, getting the kid to actually put her stuff away. That’s still hard.


Pingback: From Cloth Pads to Crocheted Tampons: DIY Menstrual Supplies
Pingback: How-to: Dog Treat Bag from Fabric Scraps
Pingback: Make Recycled Gift Bags and Gift Boxes | Crafting a Green World